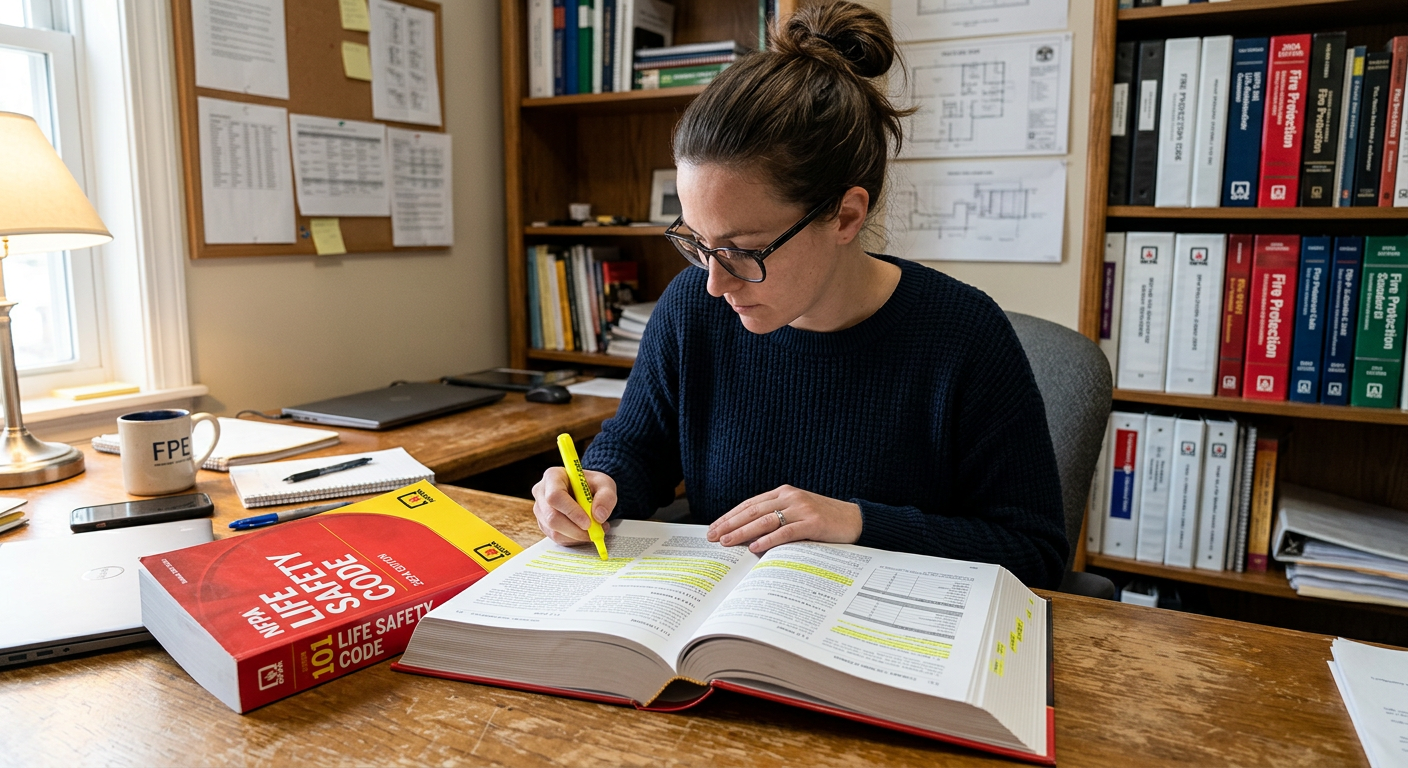
NFPA 101, the Life Safety Code, is a massive document—over 400 pages of dense technical requirements. For many architects and building professionals, opening the code book for the first time can be intimidating.
However, once you understand the structure and logic behind the tables, the code becomes a powerful tool rather than an obstacle. This guide walks you through the most common NFPA 101 tables and how to interpret them.
Section 1: Understanding NFPA 101 Structure
NFPA 101 is organized into two main parts:
| Part | Chapters | Content |
|---|---|---|
| Chapters 1–11 | General Requirements | Rules that apply to ALL occupancies (e.g., means of egress, protection, building services). |
| Chapters 12–42 | Occupancy-Specific Requirements | Rules tailored to specific building types (e.g., Assembly, Business, Healthcare). |
The Golden Rule: Start with the occupancy chapter (e.g., Chapter 38 for Business), then refer back to Chapters 1–11 for general rules.
Section 2: The “Three-Column” Table Structure
Many NFPA 101 tables follow a three-column format, making them easy to read once you know what to look for.
| Column | What It Contains |
|---|---|
| Column 1 | The condition or requirement (e.g., “Building height”). |
| Column 2 | The code reference (e.g., “Section 7.3.4.1”). |
| Column 3 | The specific requirement (e.g., “Maximum 75 feet”). |
Pro Tip: When reading a table, always check the title and scope notes above it. These tell you exactly what the table applies to (e.g., “New buildings only” or “Sprinklered buildings”).
Section 3: How to Read “Means of Egress” Tables
The Means of Egress tables (Chapter 7) are some of the most frequently referenced in NFPA 101. Here is how to interpret them.
Example: Table 7.3.1.2 – Occupant Load Factors
| Occupancy | Occupant Load Factor |
|---|---|
| Business areas | 100 sq ft per person |
| Mercantile | 60 sq ft per person |
| Assembly (concentrated) | 7 sq ft per person |
| Assembly (less concentrated) | 15 sq ft per person |
How to use it:
-
Determine your occupancy type (e.g., Business).
-
Find the occupant load factor (e.g., 100 sq ft per person).
-
Divide the floor area by the factor (e.g., 2,000 sq ft / 100 = 20 occupants).
Example Table: 7.3.3.1 – Egress Capacity
| Component | Capacity Factor |
|---|---|
| Stairs | 0.3 inches per person |
| Level components (doors, corridors) | 0.2 inches per person |
How to use it:
-
Determine the occupant load (e.g., 100 people).
-
Multiply by the factor (e.g., 100 × 0.3 = 30 inches of stair width required).
Section 4: How to Read Occupancy-Specific Tables
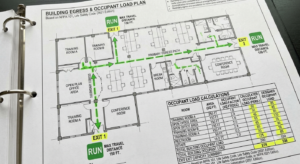
Each occupancy chapter (12–42) contains unique tables that apply to that specific building type.
Example: Table 14.2.4.2 – Educational Occupancies (Egress)
| Condition | Requirement |
|---|---|
| Sprinklered building | Travel distance ≤ 75 ft |
| Unsprinklered building | Travel distance ≤ 50 ft |
How to use it:
-
Find your occupancy (e.g., Educational).
-
Determine the condition (e.g., Sprinklered or Unsprinklered).
-
Apply the requirement (e.g., If you have a sprinklered school, travel distance must be ≤ 75 ft).
Section 5: Understanding “Exceptions” and “Notes”
Tables often include exceptions, notes, and reference codes that modify the requirements. These are critical!
| Element | What It Means |
|---|---|
| Exception (a) | An alternative to the main requirement. |
| Note 1 | Provides additional context or clarification. |
| Reference (e.g., 7.4) | Directs you to another section for more detail. |
| “See also” | Points you to related requirements. |
Example: A table might say “Minimum two exits required. Exception (a): Single exit is permitted if occupant load ≤ 50.”

Section 6: Step-by-Step Process for Using NFPA 101 Tables
Here is a simple 5-step process for navigating any NFPA 101 table:
| Step | Action |
|---|---|
| 1 | Identify your occupancy type (e.g., Business, Assembly, Healthcare). |
| 2 | Find the appropriate occupancy chapter (e.g., Chapter 38 for Business). |
| 3 | Navigate to the relevant section (e.g., Section 2 for Means of Egress). |
| 4 | Locate the table and read the title, scope, and any notes. |
| 5 | Apply the requirement to your specific condition. |
Section 7: Practical Exercise
Let’s walk through a real-world example.
Scenario: You are designing a 20,000 sq ft office building (Business occupancy) with a sprinkler system. The building has two floors.
Step 1: Identify occupancy. Business (Chapter 38).
Step 2: Determine the occupant load. Table 7.3.1.2: Business areas = 100 sq ft per person. 20,000 sq ft / 100 = 200 occupants.
Step 3: Determine egress requirements. Table 7.3.3.1: Level components = 0.2 inches per person. 200 × 0.2 = 40 inches of door/corridor width required.
Step 4: Determine travel distance. Chapter 38 (Sprinklered): Maximum travel distance = 200 ft.
Step 5: Verify with your local AHJ.
Section 8: Common Mistakes and How to Avoid Them
| Mistake | Why It’s a Problem | How to Fix |
|---|---|---|
| Reading the wrong table | Incorrect requirements. | Check the table title and scope. |
| Ignoring exceptions | Overly conservative design (higher cost). | Read all exceptions carefully. |
| Missing code references | Missing critical requirements. | Follow all references (e.g., “See 7.4”). |
| Using the wrong edition | Requirements change between editions. | Always use the edition adopted by your jurisdiction. |
| Not verifying with AHJ | Local amendments may differ. | Confirm with your local authority. |
Conclusion
NFPA 101 tables are a powerful tool once you understand their structure. By following the steps above, you can confidently navigate the code and design buildings that are safe, compliant, and efficient.
Take Action Today:
-
Open your NFPA 101 code book and find the table for your last project.
-
Walk through the steps to verify the requirements.
-
Share this guide with a colleague or team member.