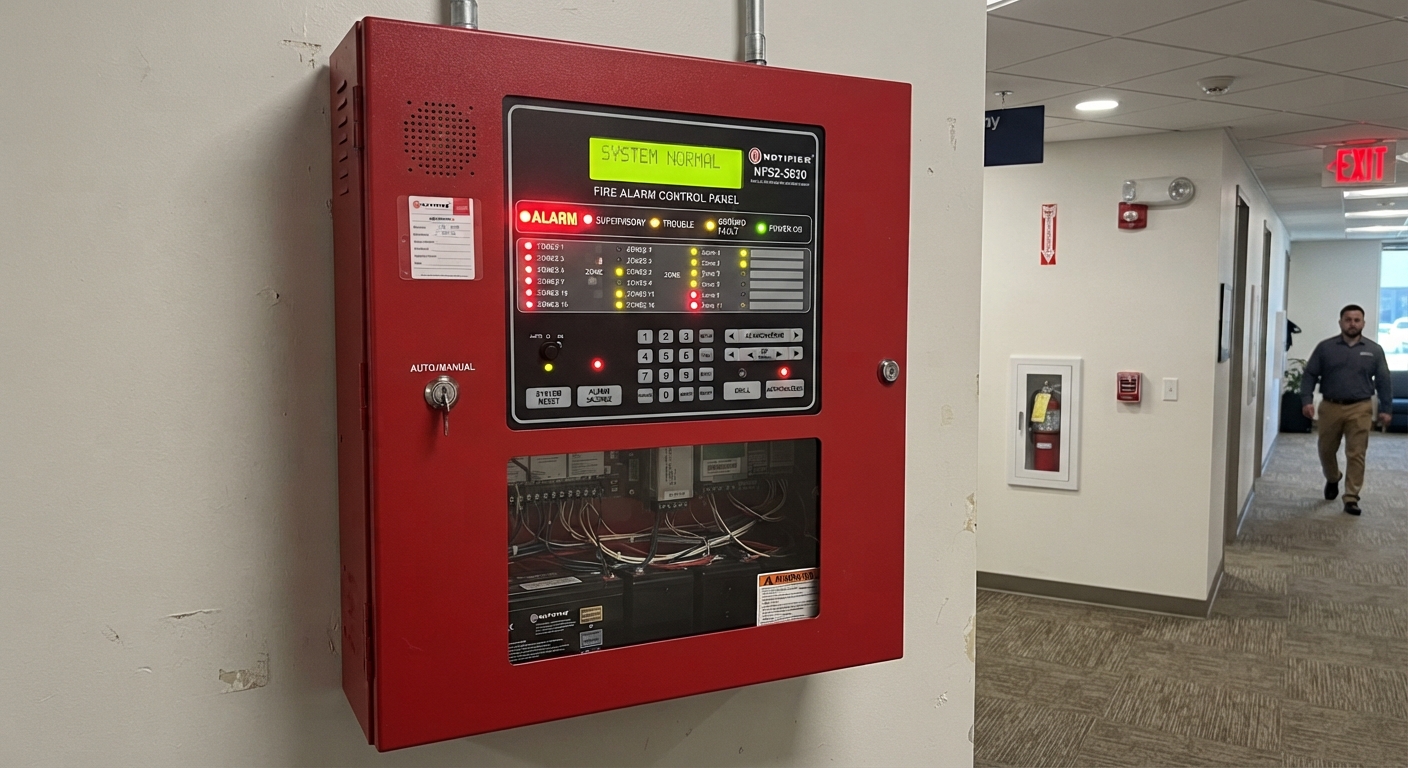
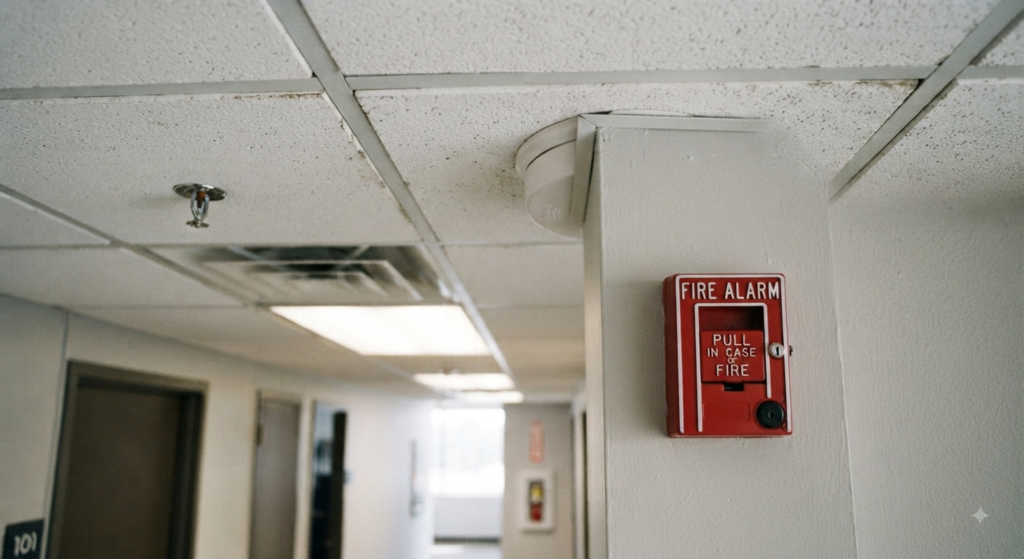
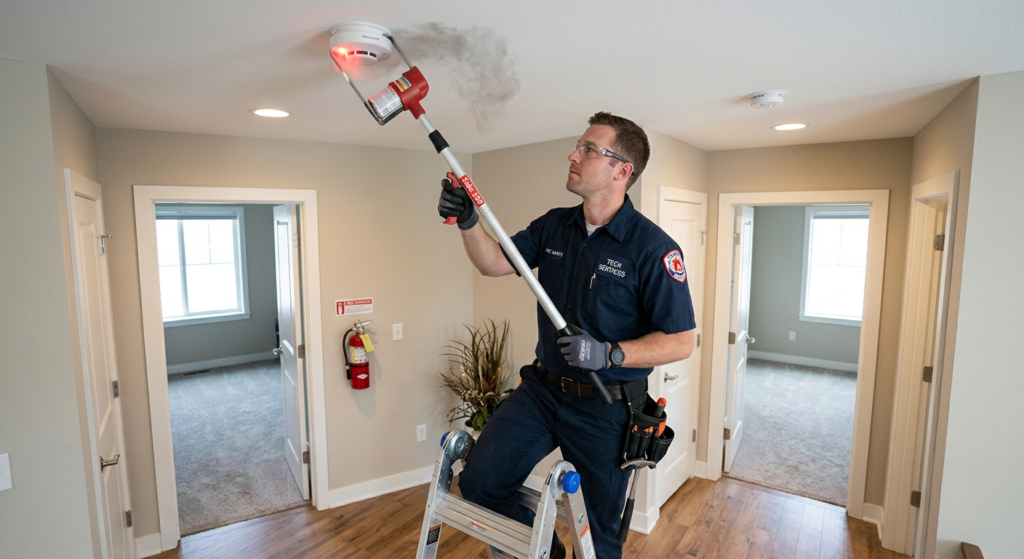
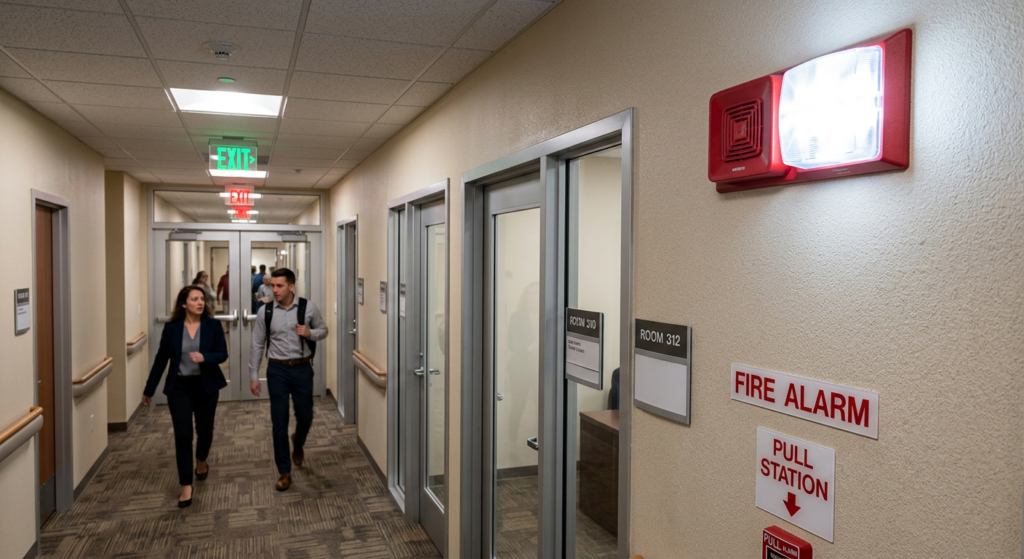
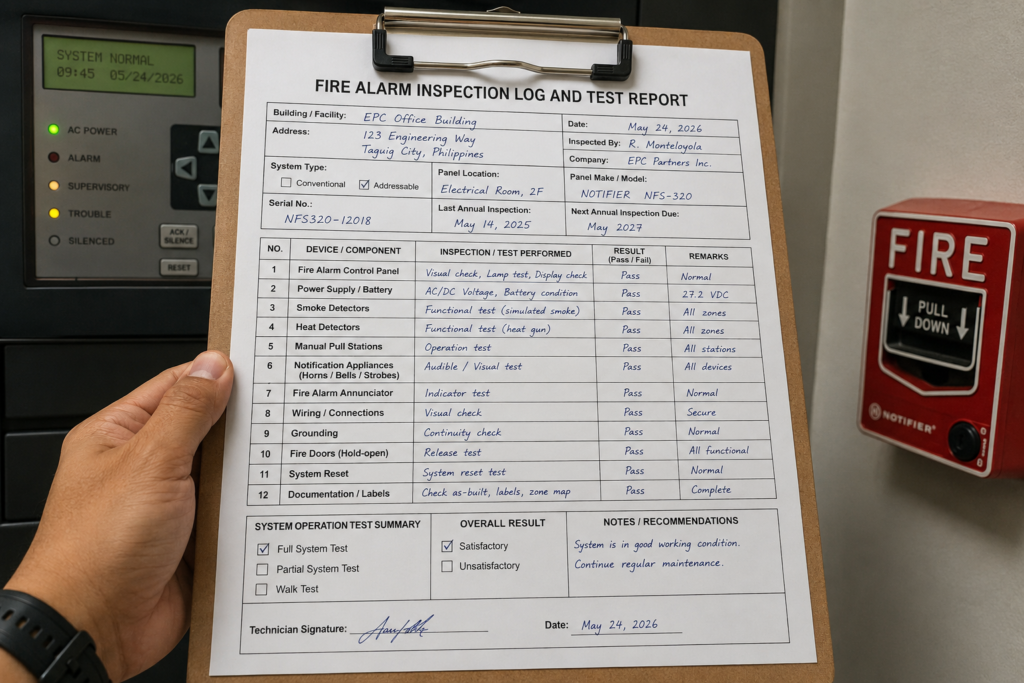
Not every commercial building requires a fire alarm system. The requirements depend on the occupancy type, the building size, and the occupant load. Knowing when a fire alarm is required can save you from costly design errors and code violations.
This quick-reference guide summarizes the NFPA 101 fire alarm system requirements for different occupancy types. Always verify with your local authority having jurisdiction (AHJ) and the latest edition of NFPA 101.
Fire Alarm Requirements by Occupancy Type
OCCUPANCY TYPE
CODE REF.
FIRE ALARM REQUIREMENTS
AMBULATORY
(20.3.4.1, and 9.6)
✅ Yes – Required to be provided with a fire alarm system.
ASSEMBLY
(12.3.4.1, and 9.6)
✅ Yes – Required when the occupant load is more than 300 occupants.
BUSINESS
(38.3.4.1, 38.3.4.2, and 9.6)
✅ Yes – Required when any of the following conditions exist:
The building is 2 stories above the level of exit discharge.
The occupancy is subject to 50 occupants above or below the level of exit discharge.
The total occupant load is 300 occupants or more.
EDUCATIONAL
(14.3.4.1, and 9.6)
✅ Yes – Required.
Exceptions:
The building area is less than 93 sqm.
The building has a single classroom only.
The building is located more than 9.1m from another building.
HEALTHCARE
(18.3.4.1, and 9.6)
✅ Yes – Required to be provided with a fire alarm system.
ONE & TWO FAMILY DWELLINGS
(24.3.4.1, and 9.6)
⚠️ Smoke Alarms Required – Not a full fire alarm system. Smoke alarms shall be installed in:
All sleeping rooms.
Each level of dwelling units, including the basement.
HOTELS & DORMITORIES
(28.3.4.1, and 9.6)
✅ Yes – Required.
Additional Requirements:
All guest rooms must accommodate hearing-impaired individuals with visible notification appliances.
Annunciation shall be provided in buildings more than 3 stories in height or having less than 50 guest rooms.
APARTMENTS
(30.3.4.1, and 9.6)
✅ Yes – Required if the apartment building has 4 or more stories in height or more than 11 dwelling units.
Not required when each dwelling unit is separated by at least a 1-hour fire barrier.
MERCANTILE
(36.3.4.1, and 9.6)
✅ Yes – Required for ‘Class A’ mercantile occupancy.
INDUSTRIAL
(40.3.4.1, and 9.6)
✅ Yes – Required.
Exceptions:
The total occupant load is less than 100.
The occupant load above and below the level of exit discharge is less than 25.
STORAGE
(42.3.4.1, and 9.6)
✅ Yes – Required.
Exceptions:
It has ‘low hazard’ contents only.
The aggregate floor area is less than 9,300 sqm.
The building is protected with an approved, supervised automatic sprinkler system.
How Fire Alarm Systems Work
All fire alarm systems operate on the same basic principle:
“If a detector detects smoke or heat, or someone operates a manual pull station (break glass unit), the alarm sounders operate to warn occupants that there may be a fire and to evacuate.”
Fire alarm systems may also incorporate remote signaling equipment to alert the fire brigade via a central station.
Types of Fire Alarm Systems
Fire alarm systems can be broken down into four main categories:
Type
Description
Conventional
Divides the building into zones; each zone is wired to a specific circuit on the control panel.
Addressable
Each device has a unique address; the control panel identifies exactly which device has been activated.
Analogue Addressable
Provides more detailed information (e.g., “smoke level 65%”) rather than just a simple alarm signal.
Wireless
Uses radio signals instead of hard wiring; ideal for historic buildings or temporary installations.
NFPA Xchange Community Discussion
For more insights and discussions on fire alarm requirements, visit the NFPA Xchange community:
Type of Initiation: Refer to __.3.4.2 for the specific ‘type of initiation’ required for each occupancy type.
Purpose: This information is not complete and is intended as a quick reference only. Always refer to the full NFPA 101 code or your local codes for complete and up-to-date requirements.
Fire alarm systems are the backbone of any commercial building’s fire safety plan. They provide early warning, alert occupants, and notify emergency services—buying precious time for evacuation and fire suppression.
NFPA 72 (National Fire Alarm and Signaling Code) and the IBC (International Building Code) set strict requirements for fire alarm systems in commercial buildings.
This guide covers:
When a fire alarm system is required.
Key system components (detectors, pull stations, notification appliances).
Installation and testing requirements.
Common violations and how to avoid them.
Section 1: When Is a Fire Alarm System Required?
Not all commercial buildings require a fire alarm system. The IBC and NFPA 72 specify when one is mandatory.
Condition
Requirement
Code Reference
Occupant Load > 300
Fire alarm system required.
IBC 907.2
High-Rise Buildings
Fire alarm system required (with voice evacuation).
IBC 907.2.12.1
Assembly Occupancies
Required if occupant load > 300 (or > 100 in some jurisdictions).
IBC 907.2.2
Educational Occupancies
Required for all educational buildings (K-12).
IBC 907.2.3
Healthcare Occupancies
Required for all healthcare buildings.
IBC 907.2.6
Hotels & Dormitories
Required for all hotels and dormitories.
IBC 907.2.8
Apartments
Required for buildings with > 6 units.
IBC 907.2.9
Business Occupancies
Required if occupant load > 500 (or as specified by local code).
IBC 907.2.1
Pro Tip: Even if not required, installing a fire alarm system is a best practice that can save lives and property.
Section 2: Key Components of a Fire Alarm System
A commercial fire alarm system consists of several interconnected components.
Component
Function
Code Reference
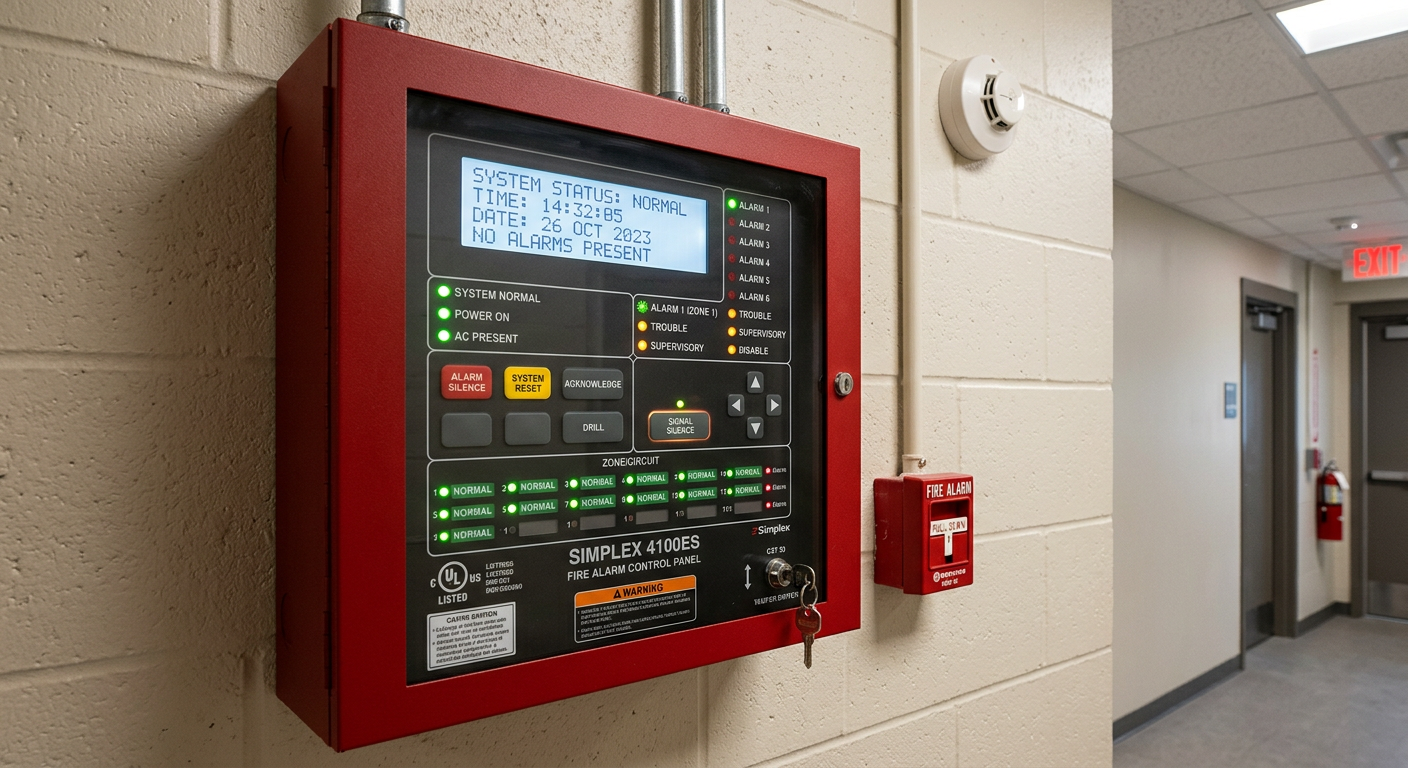
Fire Alarm Control Panel (FACP)
The “brain” of the system; receives signals from detectors and initiates alarms.
NFPA 72, 10.2
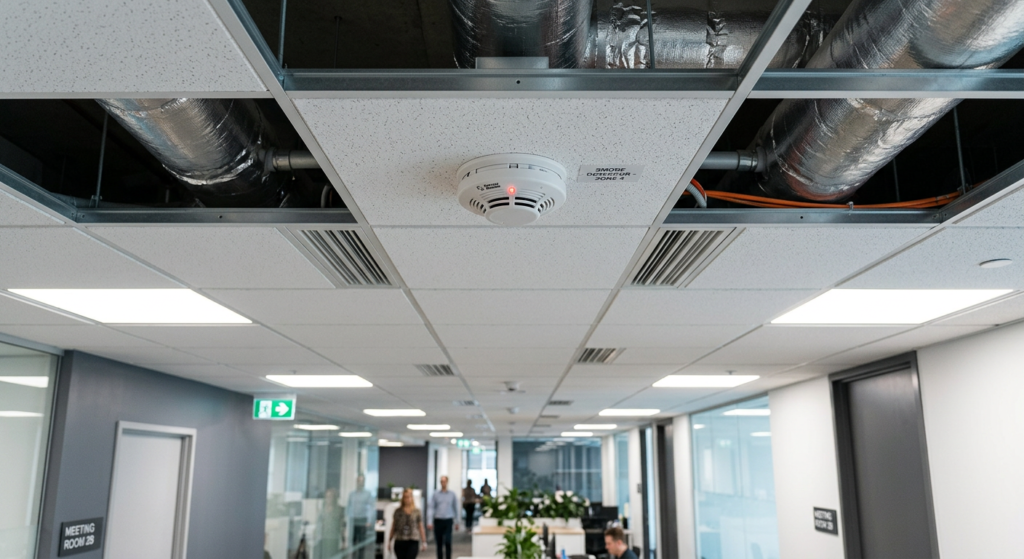
Smoke Detectors
Detect smoke particles and send a signal to the FACP.
NFPA 72, 17.7
Heat Detectors
Detect rapid temperature rise or high temperatures.
NFPA 72, 17.6
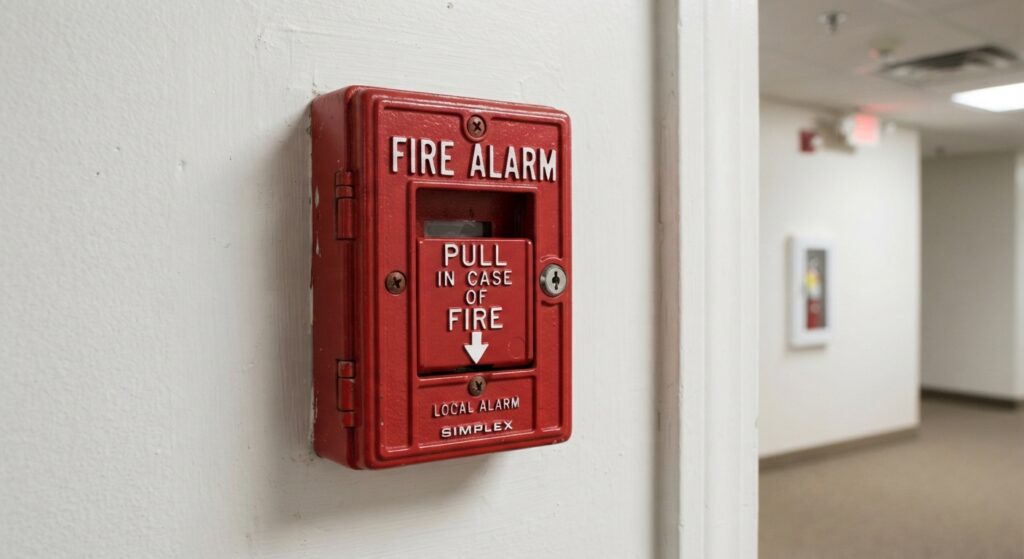
Manual Pull Stations
Allow occupants to manually activate the alarm.
NFPA 72, 17.15
Notification Appliances
Audible (horns) and visual (strobes) devices to alert occupants.
NFPA 72, 18.1
Voice Evacuation System
Provides pre-recorded or live voice instructions to occupants.
NFPA 72, 24.5
Remote Monitoring
Sends alarm signals to a central monitoring station.
NFPA 72, 26.1
Power Supply
Primary power (building electrical) + secondary power (battery/generator).
NFPA 72, 10.5
Pro Tip: All components must be listed by an approved testing laboratory (e.g., UL, Intertek).
Section 3: Smoke Detector Placement (NFPA 72)
Proper placement of smoke detectors is critical for early detection.
Location
Requirement
Code Reference
Ceilings
Detectors must be mounted on the ceiling (or wall within 12 inches of the ceiling).
NFPA 72, 17.7.4
Spacing
Maximum spacing is 30 feet between detectors (per NFPA 72 guidelines).
NFPA 72, 17.7.4
Dead Air Spaces
Avoid placing detectors near corners or high air movement areas.
NFPA 72, A.17.7.4
Mechanical Rooms
Heat detectors are preferred in dusty or humid environments.
NFPA 72, 17.6
Kitchens
Heat detectors or specialized smoke detectors (avoid false alarms).
NFPA 72, A.17.7.5
Common Violation: Placing smoke detectors too close to air supply vents (which can dilute smoke).
Section 4: Notification Appliance Requirements
Notification appliances ensure that all occupants are alerted during a fire.
Required in public areas and areas with hearing-impaired occupants.
NFPA 72, 18.5
Voice Evacuation
Required in high-rise buildings and large assembly occupancies.
NFPA 72, 24.5
Two-Way Communication
Required for high-rise buildings (to allow firefighter communication).
NFPA 72, 24.6
Pro Tip: For areas with high ambient noise (e.g., industrial spaces), audible alarms must be louder to be effective.
Section 5: Testing, Inspection, and Maintenance (NFPA 72)
Fire alarm systems must be regularly tested and maintained to ensure they function properly.
Test Type
Frequency
Procedure
Code Reference
Visual Inspection
Weekly/Monthly
Check control panel for trouble signals, visible damage, and battery status.
NFPA 72, 14.2
Functional Test
Annually
Test each detector, pull station, and notification appliance.
NFPA 72, 14.4
Battery Test
Annually
Test secondary power (batteries) under load for 90 minutes.
NFPA 72, 10.5
Full System Test
Annually
Simulate a fire alarm condition; verify all components operate correctly.
NFPA 72, 14.4
Central Station Monitoring Test
Annually
Verify that signals are transmitted to the monitoring station.
NFPA 72, 26.1
Documentation: All inspections and tests must be recorded and retained for inspection by authorities (NFPA 72 requires records for at least 3 years).
Section 6: Common Violations and How to Avoid Them
Violation
Why It’s a Problem
How to Fix
Missing or damaged detectors
Occupants will not be alerted.
Replace or repair immediately.
Improper spacing
Detectors may not detect smoke in a fire.
Verify spacing is within code requirements.
Dead batteries
System fails during power outage.
Test batteries annually; replace as needed.
Blocked notification appliances
Occupants cannot see or hear alarms.
Keep areas clear of obstructions.
Missing documentation
Inspectors cannot verify compliance.
Maintain inspection logs.
Unauthorized system modifications
System may not function as designed.
Only licensed contractors should modify systems.
Conclusion
Fire alarm systems are a critical life-safety feature in commercial buildings. By ensuring proper design, installation, and maintenance, you can protect occupants and comply with NFPA 72 and IBC requirements.
Take Action Today:
Verify your building has a fire alarm system (if required).
Schedule an annual professional inspection to ensure compliance.
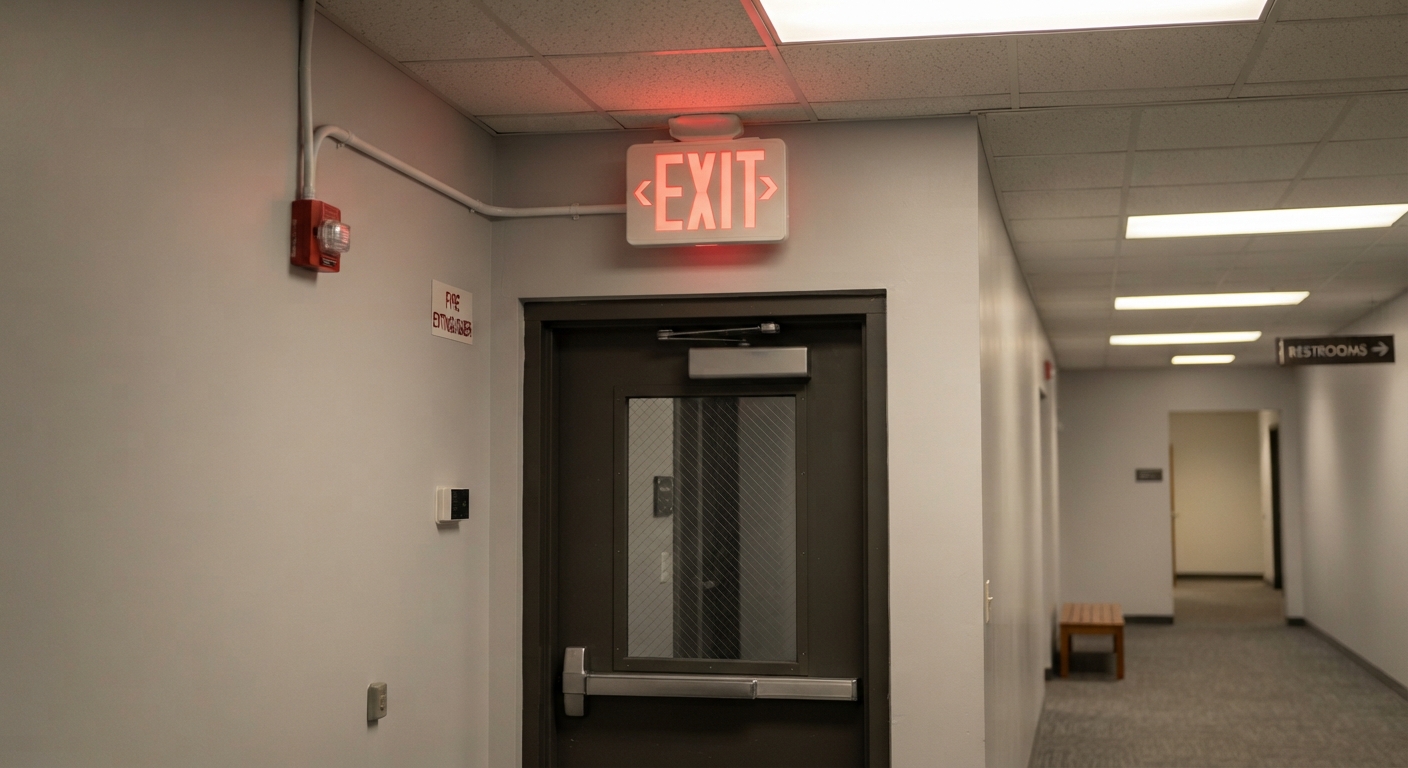
In a fire or power outage, visibility is survival. Emergency lighting and exit signs are critical components of a commercial building’s life safety system, guiding occupants to safety when it matters most.
NFPA 101 (Life Safety Code) and the IBC (International Building Code) set strict requirements for emergency lighting and exit signs to ensure they function reliably during emergencies.
This guide covers:
Exit sign requirements (placement, illumination, and visibility).
Emergency lighting requirements (duration, illumination levels, and testing).
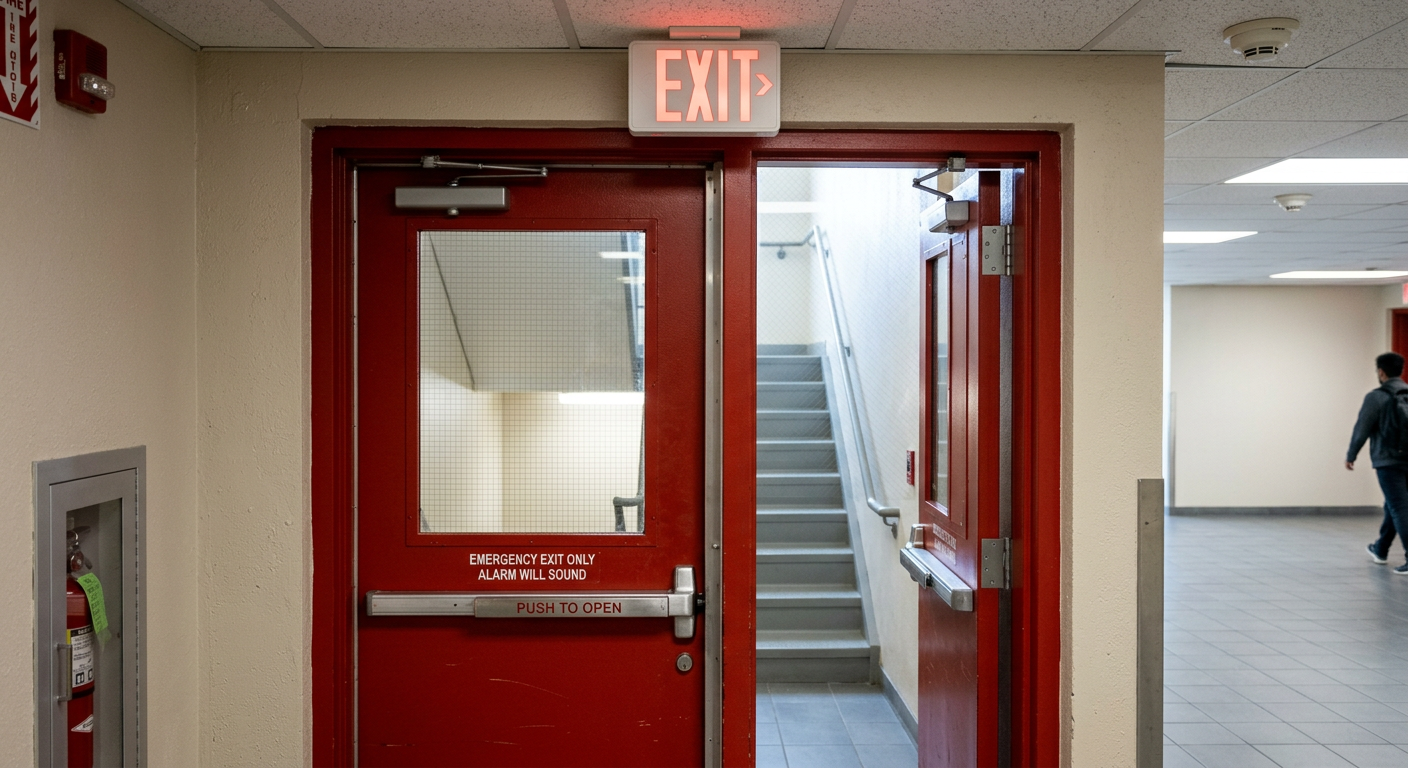
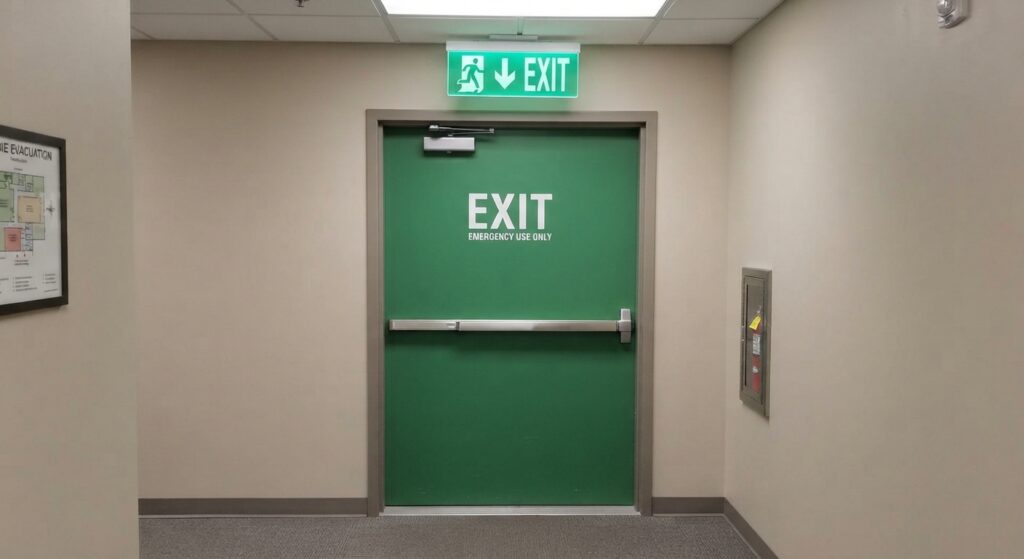
Exit signs are required in all commercial buildings to clearly mark the path of egress.
Requirement
Details
Code Reference
Location
At every exit door, exit access doorway, and along the path of egress where the direction of travel is not obvious.
NFPA 101, 7.10.3
Visibility
Must be clearly visible from any direction of approach.
NFPA 101, 7.10.2
Illumination
Must be illuminated at all times (internally or externally).
NFPA 101, 7.10.4
Lettering
The word “EXIT” must be in red or green letters (per local jurisdiction), at least 6 inches high.
NFPA 101, 7.10.2
Background
High contrast between letters and background.
NFPA 101, 7.10.2
Emergency Power
Must be connected to emergency power (battery backup or generator).
NFPA 101, 7.10.6
Common Violation: Exit signs that are blocked by doors, equipment, or storage.
Section 2: Exit Sign Placement
Exit signs must be placed strategically to guide occupants to safety.
Location
Requirement
Exit Doors
A sign must be mounted above or directly adjacent to every exit door.
Exit Access
Signs must be placed at every change in direction along the egress path.
Corridors
If the path is long, additional signs should be placed to indicate the direction of travel.
High-Occupancy Areas
Additional signs may be required in assembly occupancies (theaters, arenas) to manage crowd flow.
Pro Tip: Conduct a “walk-through” of your building from the perspective of a visitor. If you cannot immediately see an exit sign at every decision point, you need more signs.
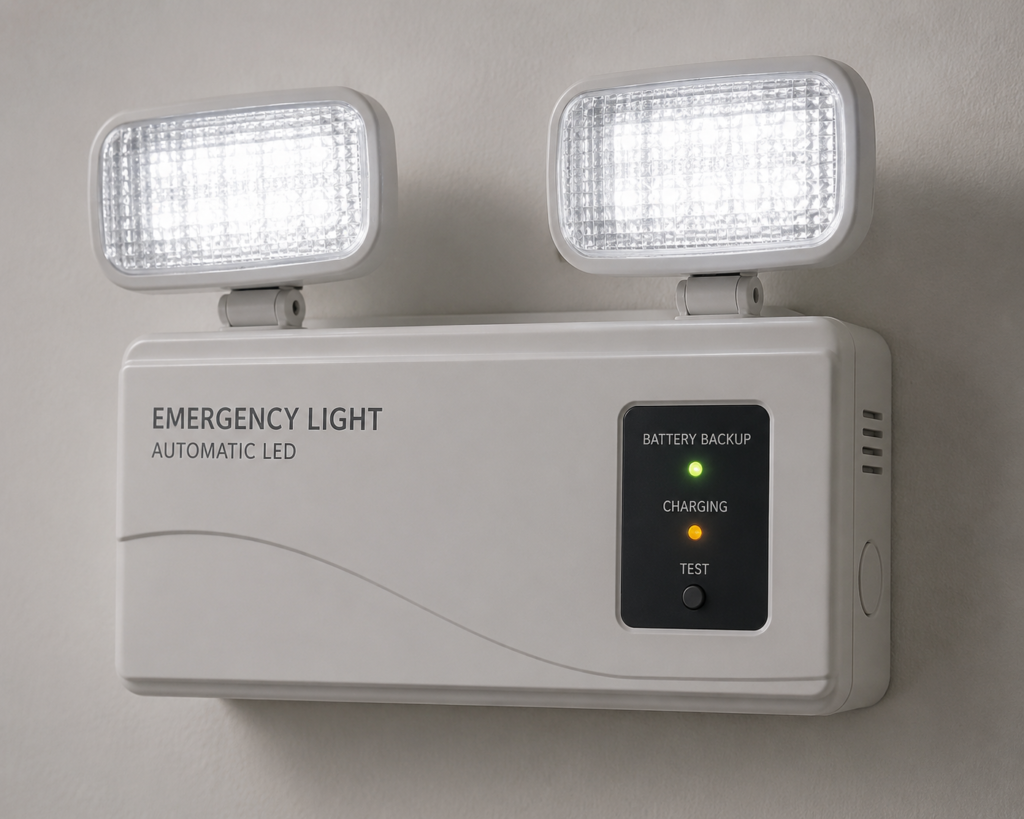
Emergency lighting ensures that occupants can see the path of egress during a power outage or fire event.
Requirement
Details
Code Reference
Illumination Level
Minimum of 1 foot-candle (10 lux) measured at the walking surface.
NFPA 101, 7.9.2
Duration
Must remain illuminated for at least 90 minutes after power failure.
NFPA 101, 7.9.2
Location
Required in all corridors, exit stairs, and exit discharge areas.
NFPA 101, 7.9.1
Automatic Activation
Must activate automatically when normal power fails.
NFPA 101, 7.9.2
Independent Testing
Systems must be tested monthly and annually (NFPA 10).
NFPA 101, 7.9.3
Common Violation: Emergency lights that are blocked by furniture, not working (dead batteries), or not tested regularly.
Section 4: Types of Emergency Lighting Systems
System
Description
Best Use
Unit Equipment (Battery Packs)
Individual fixtures with self-contained battery backup.
Small to medium commercial buildings.
Generator Systems
Central generator powers all emergency lights during an outage.
Large commercial buildings, hospitals, high-rises.
Central Inverter Systems
Central battery system provides backup to multiple fixtures.
Larger buildings where generator is not feasible.
Pro Tip: For small buildings, battery-powered unit equipment is the most cost-effective solution. For large buildings, a generator system provides longer runtime and greater reliability.
Section 5: Testing and Maintenance Requirements
Both exit signs and emergency lighting must be regularly tested to ensure they function properly.
System
Testing
Frequency
Procedure
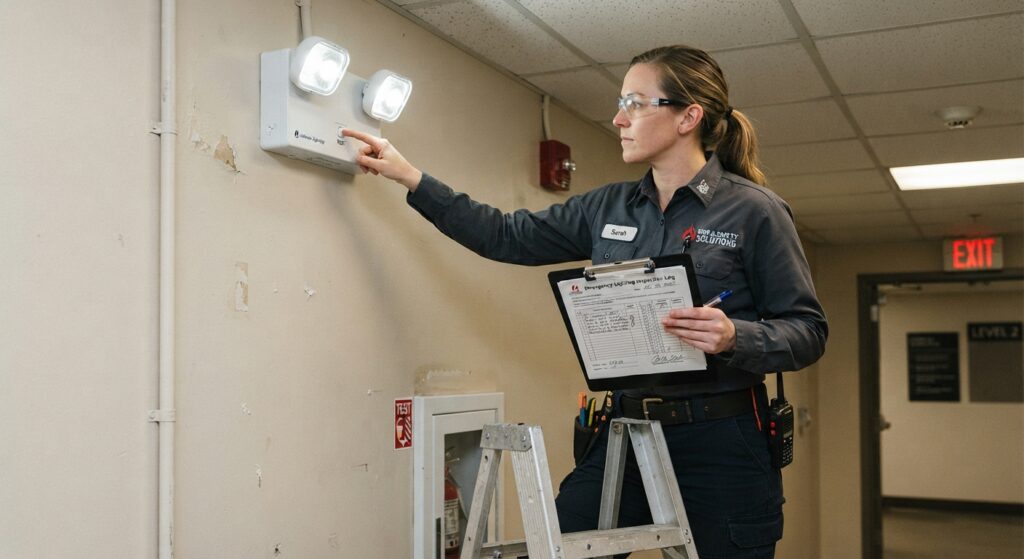
Emergency Lights
Visual Inspection
Monthly
Check lights are on, clean, and not blocked.
Emergency Lights
Functional Test
Monthly
Press test button or switch to battery power. Ensure lights illuminate at full brightness.
Emergency Lights
Full Duration Test
Annually
Simulate power failure for 90 minutes. Ensure lights stay on for the full duration.
Exit Signs
Visual Inspection
Monthly
Check signs are illuminated, clean, and unobstructed.
Exit Signs
Battery Test
Annually
Test battery backup (if equipped) for 90 minutes.
Documentation: All tests must be recorded and retained for inspection by authorities. (NFPA 10 requires records for at least 3 years.)
Section 6: Common Violations and How to Avoid Them
Violation
Why It’s a Problem
How to Fix
Blocked or obstructed exit signs
Occupants cannot see the path of egress.
Keep area around exit signs clear at all times.
Dead or missing batteries
Emergency lights fail during power outages.
Replace batteries annually or as recommended.
Insufficient illumination
Path of egress is not visible in an emergency.
Verify proper illumination levels; add additional emergency lights as needed.
Missing documentation
Inspectors cannot verify compliance.
Maintain inspection logs.
Exit signs not connected to emergency power
Exit signs may fail during a power outage.
Verify connection to battery backup or generator.
Conclusion
Emergency lighting and exit signs are non-negotiable life-safety features in commercial buildings. They ensure that occupants can safely evacuate during a fire or power outage.
Take Action Today:
Inspect all exit signs to ensure they are illuminated, visible, and unobstructed.
Test emergency lights using the monthly and annual test procedures.
Replace dead batteries immediately.
Maintain inspection logs to demonstrate compliance.
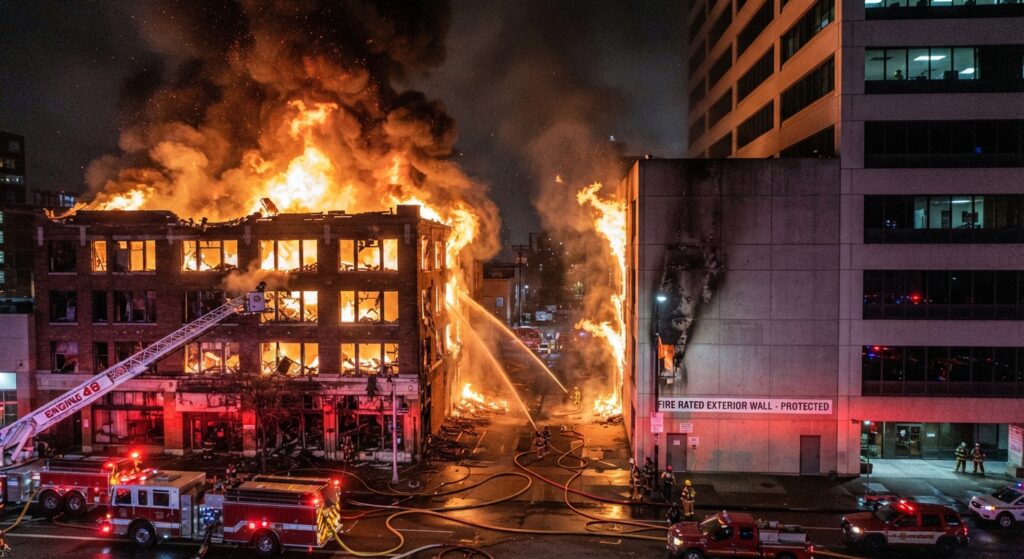
The exterior walls of a commercial building are a critical fire barrier. They serve three essential functions:
Prevent fire spread to neighboring buildings.
Protect the structural frame from collapse during a fire.
Provide occupant safety by containing fire and smoke.
Understanding exterior wall fire resistance ratings is essential for architects, engineers, and building owners to ensure compliance with the International Building Code (IBC) .
This guide covers the key requirements, wall assembly types, and compliance strategies for commercial building exterior walls.
Section 1: What Is a Fire-Resistance Rating?
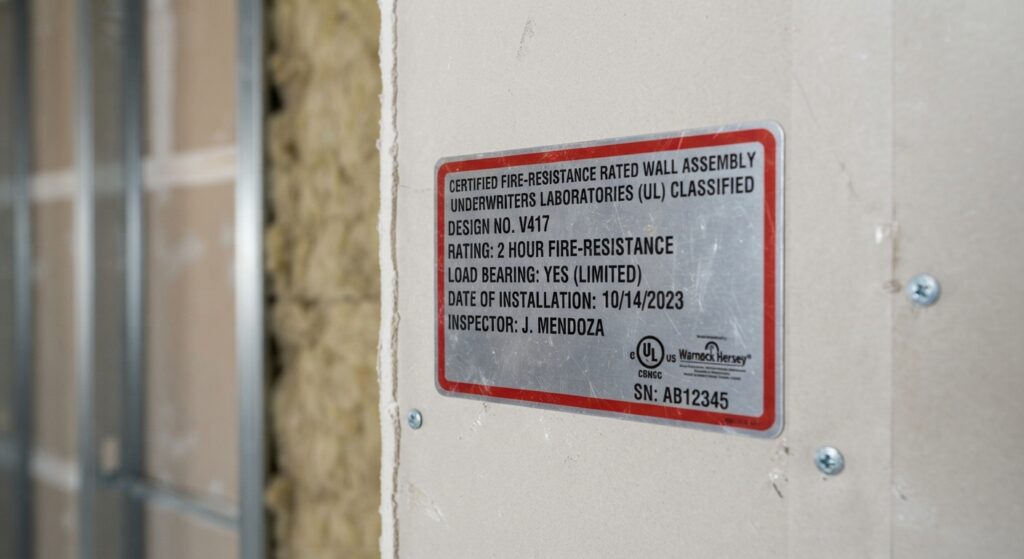
A fire-resistance rating is the duration (in minutes or hours) that a building assembly (wall, floor, or roof) can withstand a standard fire exposure test (ASTM E119 or UL 263).
Rating
Typical Use
Fire-Resistance
1-Hour
Interior corridors, shafts, and lower-risk exterior walls
60 minutes
2-Hour
Standard exterior walls, stairwell enclosures
120 minutes
3-Hour
High-risk exterior walls, fire walls between buildings
180 minutes
4-Hour
Extreme hazard walls, special occupancies
240 minutes
Important: The rating must be verified by an independent testing laboratory (e.g., UL, Intertek) and clearly documented in the building plans.
Section 2: IBC Requirements for Exterior Walls
The IBC sets specific fire-resistance requirements for exterior walls based on two factors:
Construction Type (IBC Table 601).
Fire Separation Distance (IBC Table 602).
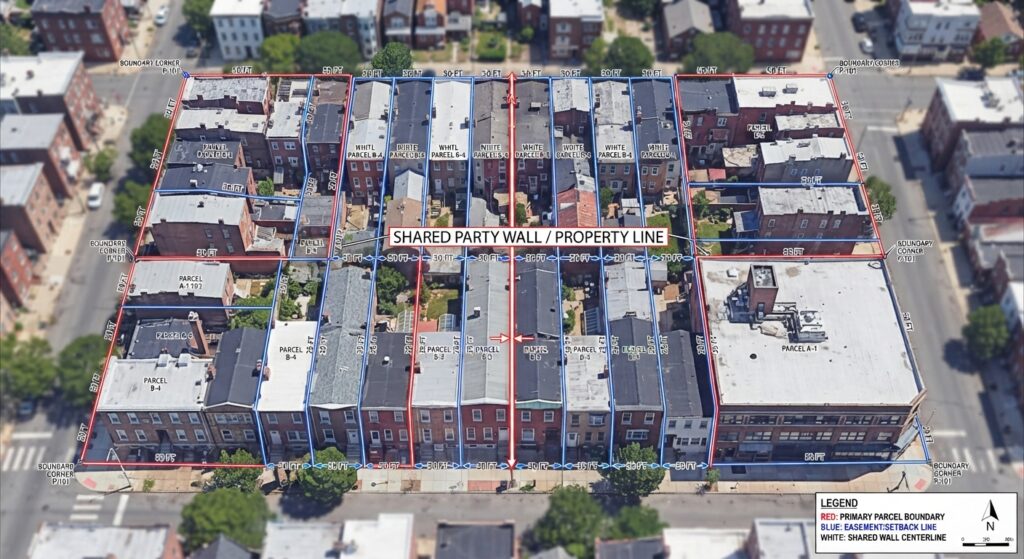
IBC Table 602 outlines the minimum fire-resistance rating for exterior walls based on the distance to the property line:
Fire Separation Distance
Required Fire-Resistance Rating
Less than 5 feet
3-Hour (or 4-Hour for high-hazard)
5 to less than 10 feet
2-Hour
10 to less than 30 feet
1-Hour
30 feet or greater
0-Hour (No rating required)
Key Takeaway: The closer a building is to the property line, the higher the fire-resistance rating required for its exterior walls to prevent fire spread to neighboring structures.
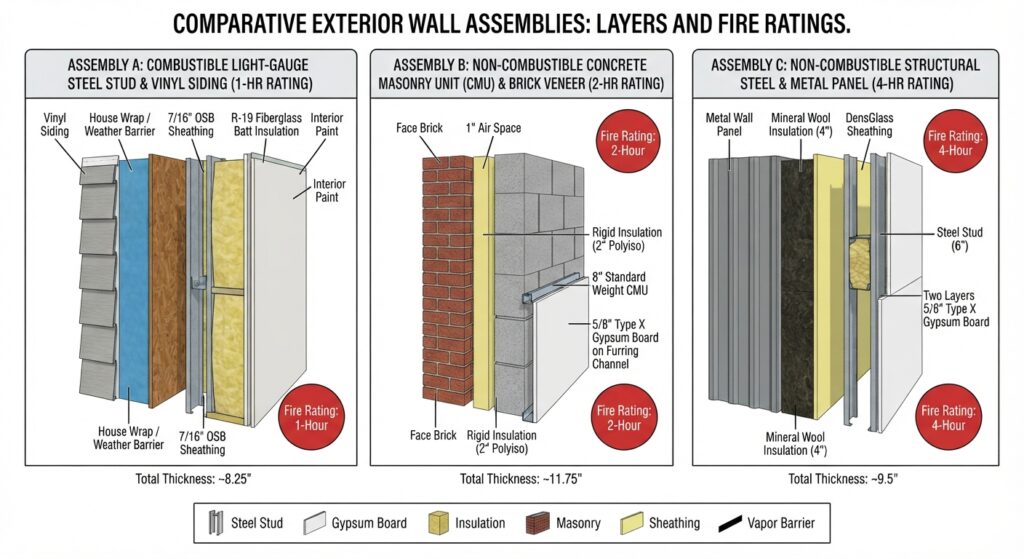
Section 3: Types of Exterior Wall Systems
Different exterior wall systems achieve fire resistance in different ways.
Wall System
Typical Rating
How It Works
Masonry (Brick, Block, Stone)
2–4 Hours
Thick, non-combustible materials that resist heat penetration.
Concrete (Cast-in-Place or Precast)
2–4 Hours
Dense concrete resists heat transfer and provides structural stability.
Fire-retardant-treated wood + multiple layers of gypsum board.
Curtain Wall (Glass/Aluminum)
0–1 Hour (varies)
Fire-resistant glazing and framing can achieve up to 1 hour; often requires fire-rated spandrel panels.
Structural Insulated Panels (SIPs)
1–2 Hours
Rigid foam core with fire-rated facings (gypsum, metal).
Pro Tip: For high-rise buildings, non-combustible construction (Types I and II) is required, meaning exterior walls must be of non-combustible materials like concrete, masonry, or metal.
Section 4: Fire-Rated Glazing and Windows
Exterior walls often include windows and glazing, which are vulnerable points for fire spread. Fire-rated glazing can achieve specific fire-resistance ratings.
Glazing Type
Rating
Use Case
Wired Glass
20–45 Minutes
Low-hazard areas; rarely used in commercial exterior walls.
Ceramic Glass
1–2 Hours
Fire doors, vision panels in fire-rated walls.
Fire-Rated Tempered Glass
1–2 Hours
Commercial storefronts, exterior glazing near property lines.
Fire-Rated Insulating Glass Units (IGUs)
1 Hour
Energy-efficient fire-rated glazing for exterior walls.
Important: Fire-rated glazing must be installed in fire-rated frames—the frame and glass must work together as a tested assembly.
Section 5: Fire-Rated Joints and Penetrations
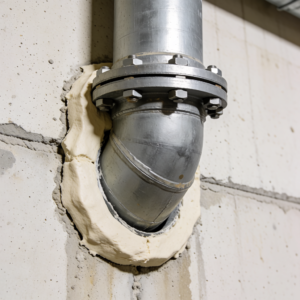
Penetrations (pipes, ducts, cables) and joints (between wall panels) can compromise fire-resistance ratings if not properly protected.
Type
Protection Required
Method
Through-Penetrations
Firestop systems must seal gaps around pipes, conduits, and ducts.
Fire-rated caulk, putty pads, or mechanical firestops.
Curtain Wall Joints
Gap between floor slab and curtain wall must be firestopped to prevent upward fire spread.
Intumescent firestops or fire-resistant mineral wool.
Expansion Joints
Movement joints require flexible firestop systems that allow building movement.
Fire-rated expansion joint systems.
Through-Penetrations
Firestop systems must seal gaps around pipes, conduits, and ducts.
Fire-rated caulk, putty pads, or mechanical firestops.
Common Violation: Fire-rated assemblies compromised by gaps at the top of wall assemblies, around pipes, or at joints.
Section 6: Exterior Wall Finishes
Exterior wall finishes (cladding) can contribute to fire spread.
Finish
Fire Rating
Best Use
Brick Veneer
Non-combustible
Low-risk, classic appearance
Metal Panels
Non-combustible
Modern, lightweight, high wind resistance
Fiber Cement
Non-combustible
Wood-like appearance with high durability
Stucco
Non-combustible
Traditional, high durability
Wood Siding
Combustible (requires fire-retardant treatment or spacing)
Requires strict compliance; may not be allowed in high-fire zones.
Vinyl Siding
Combustible
Can melt and spread flame; limited to low-risk areas.
Pro Tip: In Wildland-Urban Interface zones, exterior walls must be constructed of ignition-resistant materials (non-combustible or fire-retardant-treated).
Section 7: Common Mistakes and How to Avoid Them
Mistake
Why It’s a Problem
How to Fix
Missing firestops at floor penetrations
Fire can spread vertically through gaps.
Ensure all pipes and ducts are properly firestopped.
Incorrect glazing rating
Windows may fail before the wall rating is met.
Verify glazing rating matches wall rating.
Oversized curtain wall gaps
Fire can bypass the wall through unsealed joints.
Install fire-rated joint systems.
Using standard drywall
Standard drywall (Type X only offers 1-hour rating).
Use fire-rated Type X or Type C gypsum board.
Missing documentation
Inspectors cannot verify compliance.
Maintain detailed assembly documentation.
Conclusion
Exterior walls are a critical fire barrier that protect neighboring buildings and structural integrity. By understanding IBC requirements, selecting the right wall assembly, and ensuring proper firestopping, you can ensure compliance and safety.
Take Action Today:
Verify your construction type and required fire-resistance rating.
Check fire separation distances to the property line.
Inspect all penetrations to ensure proper firestopping.
Maintain documentation for all fire-rated assemblies.
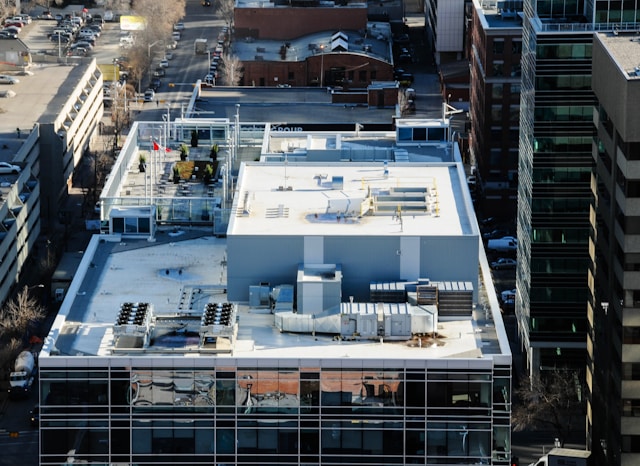
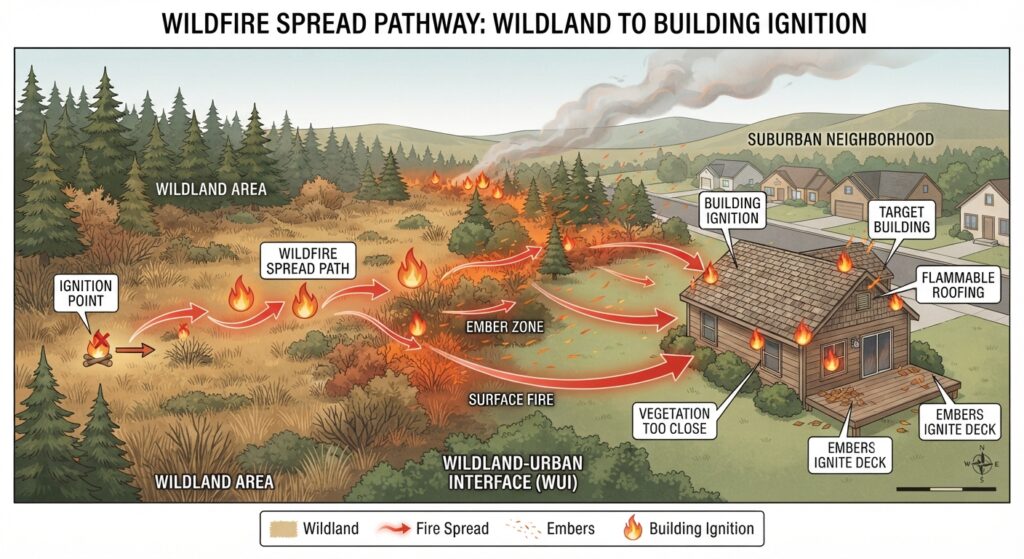
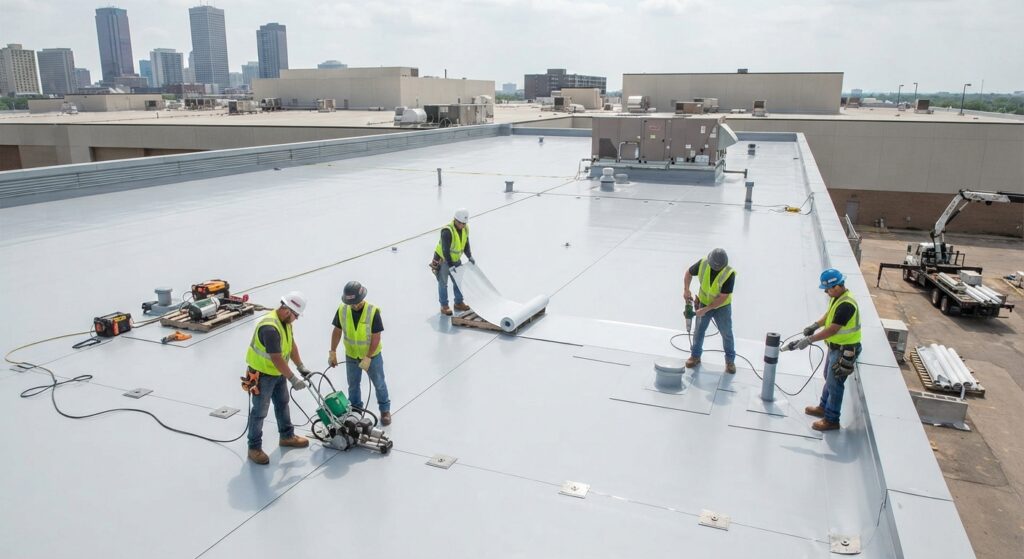
The roof is one of the most vulnerable parts of a commercial building during a fire. Because it is the uppermost exterior surface, it is directly exposed to flying embers, radiant heat, and direct flame contact from adjacent structures or wildfires.
If the roof covering fails, flames can quickly penetrate the interior, leading to rapid structural collapse and total loss of the building. Choosing the right roofing material with the correct fire rating is not just an aesthetic or budgetary choice—it is a critical life-safety decision.
This guide breaks down the fire rating classifications for commercial roofing materials, the IBC requirements, and the best materials to specify for your next project.
Section 1: Understanding Roof Fire Ratings (ASTM E108 / UL 790)
In the United States, roof fire resistance is determined by ASTM E108 or UL 790 (Standard Test Methods for Fire Tests of Roof Coverings). These tests simulate fire exposure from the exterior.
Roof assemblies are classified into three categories based on their performance against flame spread, burning brand penetration, and flaming debris:
Class
Description
Typical Materials
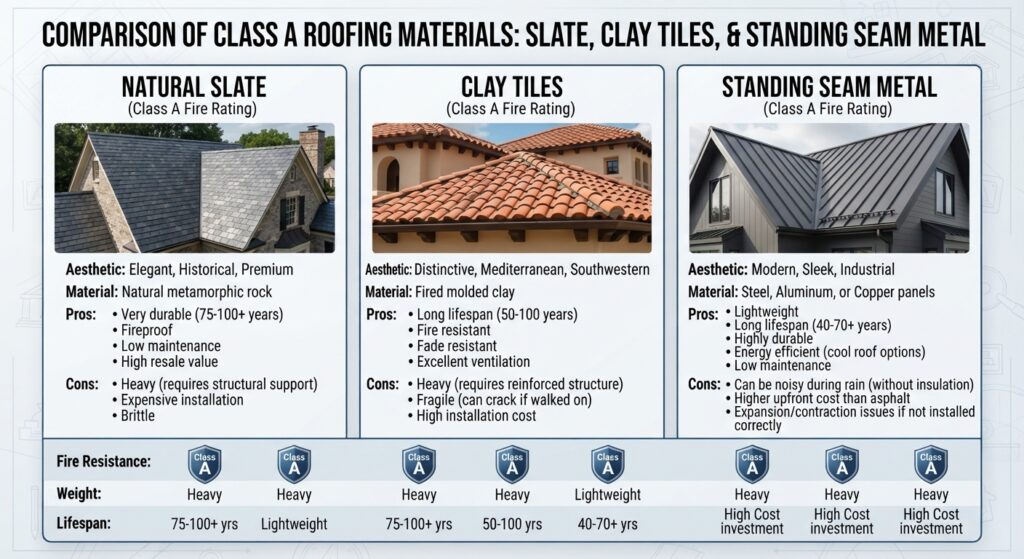
Class A (Highest)
Effective against severe fire exposure. Can withstand heavy flying embers and moderate flame spread.
Slate, clay tiles, concrete tiles, asphalt shingles (with special fire-resistant underlayment), metal roofs (steel/copper).
Class B
Effective against moderate fire exposure. Can withstand light ember attacks.
Pressure-treated wood shakes, some asphalt shingles (standard).
Class C (Lowest)
Effective against light fire exposure. Minimal ember resistance.
Standard untreated wood shakes, some organic shingles (rarely used in commercial).
Pro Tip for Architects:Class A is the standard for most commercial buildings in urban areas and is always required in wildfire-prone zones (Wildland-Urban Interface).
Section 2: IBC Roofing Requirements
The International Building Code (IBC) dictates where these roof classes must be used. The requirements are generally based on the building’s construction type and proximity to property lines.
Non-Combustible Construction (Type I & II): Roof coverings must have a Class A, B, or C rating depending on the fire separation distance from the lot line.
Combustible Construction (Type III, IV, V): If the structure itself is made of combustible materials (wood), the roof covering usually requires a Class A or B rating to protect the underlying structure.
Wildland-Urban Interface (WUI): In states like California and Colorado, local codes mandate Class A roofing for any new construction in WUI zones to protect against wildfires.
Section 3: Commercial Roofing Material Options & Fire Performance
Here is how the most common commercial roofing materials stack up regarding fire safety:
Material
Typical Rating
Best Use Case
TPO/PVC (Single-Ply)
Class A (with proper ballast or adhesive)
Large flat roofs, strip malls. Extremely popular and affordable.
EPDM (Rubber Roof)
Class A (with ballast/cover board)
Flat roofs for large industrial spaces.
Built-Up Roofing (BUR)
Class A
Traditional flat roofs with gravel layers. Very heavy but highly fire-resistant.
Modified Bitumen
Class A (depending on top coating)
Flat roofs with a smooth or granular surface.
Metal Roofing (Standing Seam)
Class A
High-end commercial, architectural designs, and high wind zones. Non-combustible.
Clay/Concrete Tile
Class A
High-end retail, schools, and Mediterranean-style architecture.
Asphalt Shingles
Class A, B, or C
Usually on sloped roofs; high-end laminated shingles often achieve Class A.
Section 4: The Importance of the Roof Deck and Underlayment
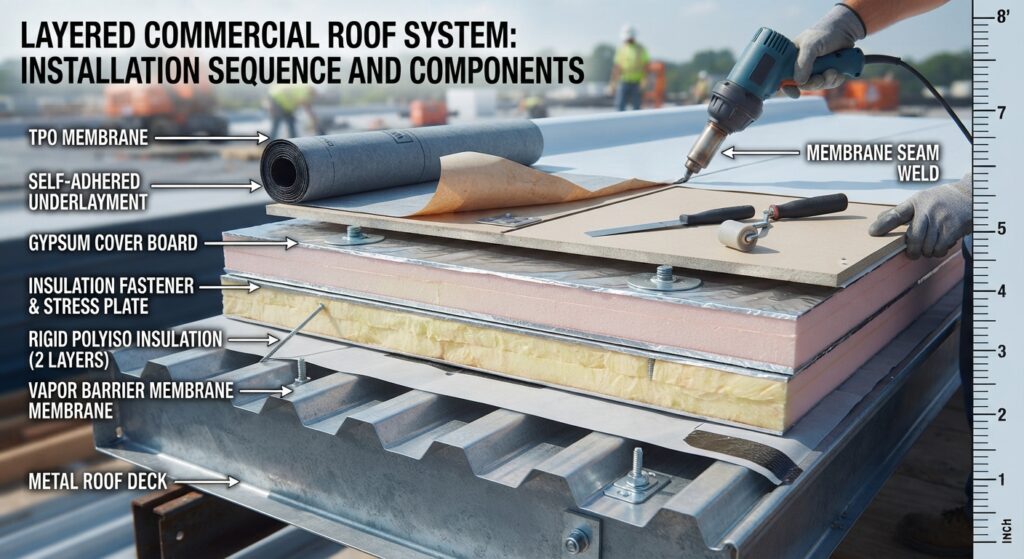
The fire rating of the covering is only half the story. The roof deck (the structural base) and underlayment (the barrier between the deck and the covering) play a vital role.
Non-Combustible Decks: Steel or concrete decks are naturally fire-resistant and support high fire ratings.
Combustible Decks: Plywood or wood plank decks are vulnerable. If you use a combustible deck, you must install an approved fire-retardant treated plywood or use a Class A underlayment.
Insulation: Some rigid foam insulations (like Polyiso) are fire-rated and can be left exposed in specific assemblies, but they usually require a thermal barrier.
Common Code Violation: Installing a Class A roof covering over a combustible wood deck without a proper fire-rated underlayment. This renders the Class A covering useless because the embers will burn through the deck anyway.
Section 5: Special Considerations
Vegetative (Green) Roofs: Plants and soil act as excellent fire barriers (Class A), but care must be taken to ensure the irrigation systems work and the plants are non-flammable.
Photovoltaic (Solar) Panels: Adding solar panels changes the fire rating of the roof. IFC (International Fire Code) requires panels to be located to allow firefighter access and not void the Class A rating of the roof below.
Maintenance: A Class A roof can lose its rating if it is damaged, has standing water degrading the membrane, or has debris (leaves, trash) accumulating on the surface.
Conclusion
Selecting a commercial roof is a high-stakes decision that directly impacts the building’s safety and insurability.
Take Action Today:
Verify your current roof’s rating by checking the manufacturer’s label.
If designing new, specify Class A materials regardless of the minimum code—it provides the best protection and resale value.
Inspect your roof yearly to ensure no damage has compromised its fire resistance.
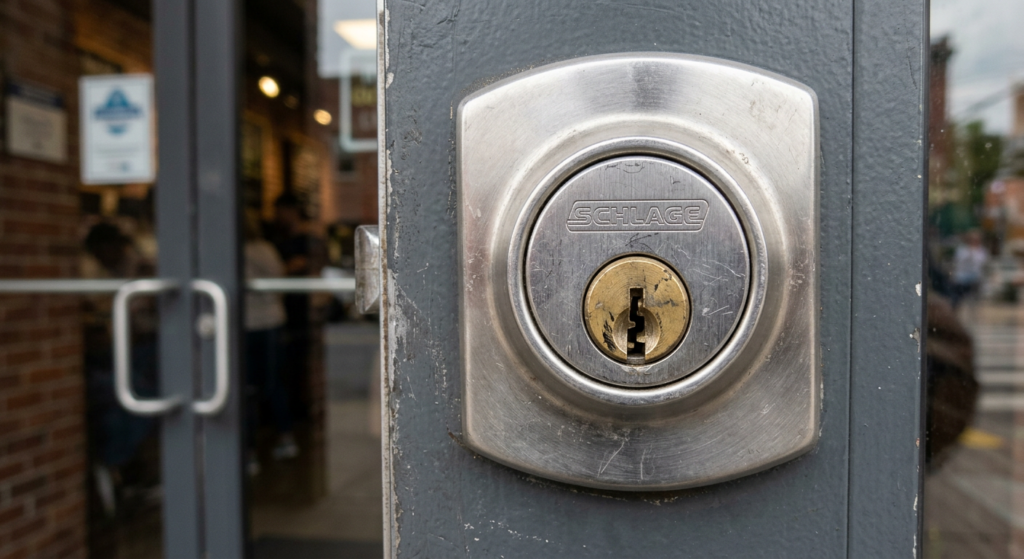
In the world of commercial building safety, a fire door is only effective if it can be opened quickly and easily during an emergency. However, building owners also have legitimate security concerns about keeping doors unlocked.
NFPA 101 (The Life Safety Code) walks a delicate line between security and safety. It establishes strict rules for egress door locking, and these rules vary depending on the occupancy type.
This article serves as a quick-reference guide to egress door locking requirements, highlighting which occupancies must have doors that are freely openable from the inside and which have special exceptions.
The Golden Rule: Section 7.2.1.5.3
The base requirement for most occupancies comes from NFPA 101, Section 7.2.1.5.3. It states that:
“A door shall be openable from the inside without the use of a key, tool, special knowledge, or effort.”
This means that for most commercial spaces (offices, retail, storage, etc.), anyone inside must be able to simply turn a lever or push a bar to exit—no key required.
Egress Door Locking Requirements by Occupancy
The following table summarizes the specific egress door locking rules for different occupancy types.
Occupancy Type
Code Reference
Requirement
Ambulatory Health Care
NFPA 101 – 20.1.1.1.7
Locking Permitted: Doors can be locked to confine and protect building inhabitants (e.g., patients who may wander).
Assembly (Theaters, Arenas, Restaurants)
NFPA 101, 7.2.1.5.3
Openable from inside: Exit doors must be openable without a key during all times the building is occupied.
Business (Offices)
NFPA 101, 7.2.1.5.3
Openable from inside: Exit doors must be openable without a key.
Educational (Schools)
NFPA 101, 7.2.1.5.3
Openable from inside: Exit doors must be openable without a key (Note: Classroom security measures are addressed separately).
Healthcare (Hospitals)
NFPA 101 – 20.1.1.1.7
Locking Permitted: Doors can be locked to confine and protect building inhabitants (e.g., psychiatric units).
One & Two Family Dwellings
NFPA 101, 7.2.1.5.3
Openable from inside: Exit doors must be openable without a key.
Hotels & Dormitories
NFPA 101, 7.2.1.5.3
Openable from inside: Guest room doors must be openable without a key from the inside.
Apartments
NFPA 101, 7.2.1.5.3
Openable from inside: Dwelling unit doors must be openable without a key.
Mercantile (Retail)
NFPA 101, 7.2.1.5.3
Openable from inside: Exit doors must be openable without a key during business hours.
Storage (Warehouses)
NFPA 101, 7.2.1.5.3
Openable from inside: Exit doors must be openable without a key.
Industrial (Factories)
NFPA 101, 7.2.1.5.3
Openable from inside: Exit doors must be openable without a key.
The Special Exception: Ambulatory and Healthcare
As noted in the table, Ambulatory Health Care (e.g., outpatient clinics) and Healthcare (e.g., hospitals) have a specific exemption (20.1.1.1.7).
Why? In these occupancies, the safety of patients is the priority. If a patient is disoriented or poses a risk to themselves, locking doors helps confine and protect them. However, these locking arrangements must be part of a documented fire safety plan and are subject to strict staff training requirements.
Additional Prohibited Hardware and Exceptions
Beyond the specific occupancy rules, NFPA 101 includes general rules that apply to all egress doors.
Prohibited Hardware:
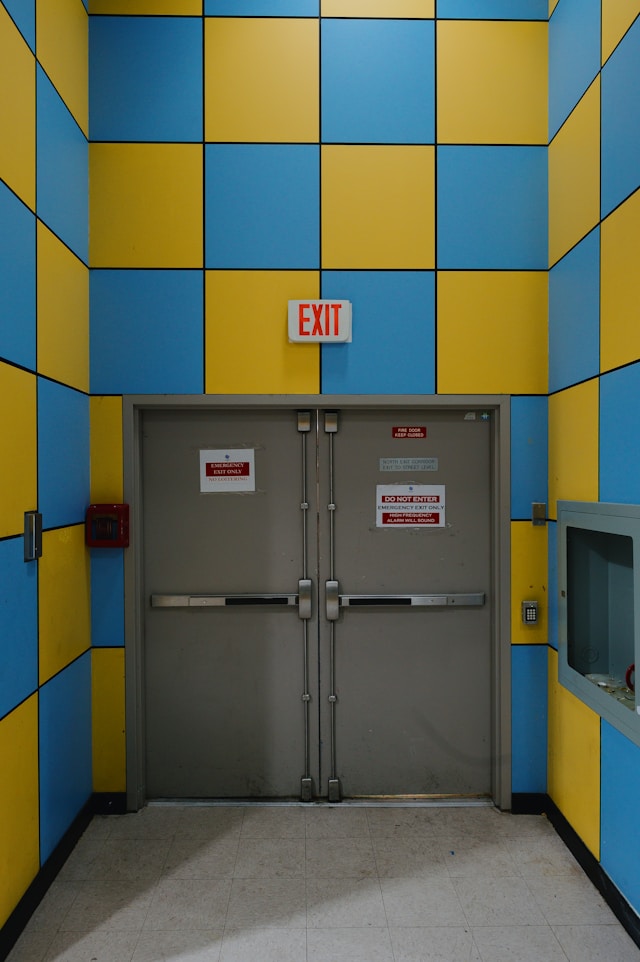
Manually operated flush bolts: These are often found on inactive doors of a double-door pair and are prohibited on required exits.
Sliding bolts or chains: Any device that requires extra effort to disengage is prohibited.
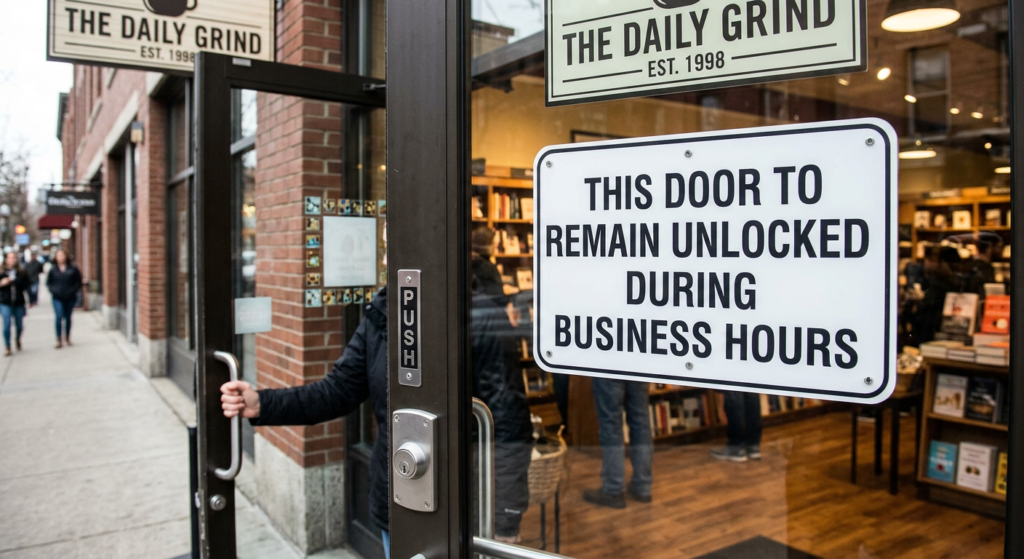
The “Business Hours” Exception (7.2.1.5.3 Exception):
A keyed lock may be used on the main exit (if it consists of a single door or a pair of doors) if it is kept unlocked during business hours.
If it is locked, there must be a readily visible, durable sign on or above the door stating: “THIS DOOR TO REMAIN UNLOCKED DURING BUSINESS HOURS.”
Swinging Direction (7.2.1.4):
All exit doors must swing in the direction of exit travel (i.e., outward) when serving a hazardous area or when the occupant load is 50 or more.
Common Misconceptions
Myth
Reality
“We can lock the front door at the mall during off-hours.”
Yes, but the main exit must have a visible sign reminding employees to unlock it when the store opens.
“We can use a padlock on the warehouse exit to prevent theft.”
No. Padlocks, chains, and hasps are never permitted on required means of egress.
“Hospitals always need unlocked exits.”
No. Healthcare facilities have specific exceptions to protect patients, provided they are staffed and have a fire plan.
“If the door has a push bar, we can lock it.”
Generally, no. Push bars (panic hardware) are designed for egress and should not be locked unless it is a delayed-egress system (which is highly regulated).
Conclusion
Egress door locking is a critical intersection of security and life safety. While most commercial buildings require doors that are openable from the inside without a key, specific exceptions exist for Healthcare and Ambulatory occupancies to protect vulnerable populations.
Take Action Today:
Walk your building and check every exit door.
Verify that all doors swing in the proper direction.
Remove any chains, padlocks, or flush bolts that restrict egress.
Ensure that the “Business Hours” sign is posted if a key lock exists on your main exit.
Fire doors are one of the most critical—and most frequently violated—components of commercial building fire safety. A properly installed and maintained fire door can save lives by containing fire and smoke, allowing occupants to evacuate safely.
Yet, fire doors are often overlooked, improperly installed, or damaged, rendering them ineffective during an emergency.
This guide covers the essential fire door requirements, including:
NFPA 80 (Fire Door Standards)
IBC (International Building Code)
OSHA (Occupational Safety and Health Administration)
ADA (Accessibility compliance)
Section 1: What Is a Fire Door?
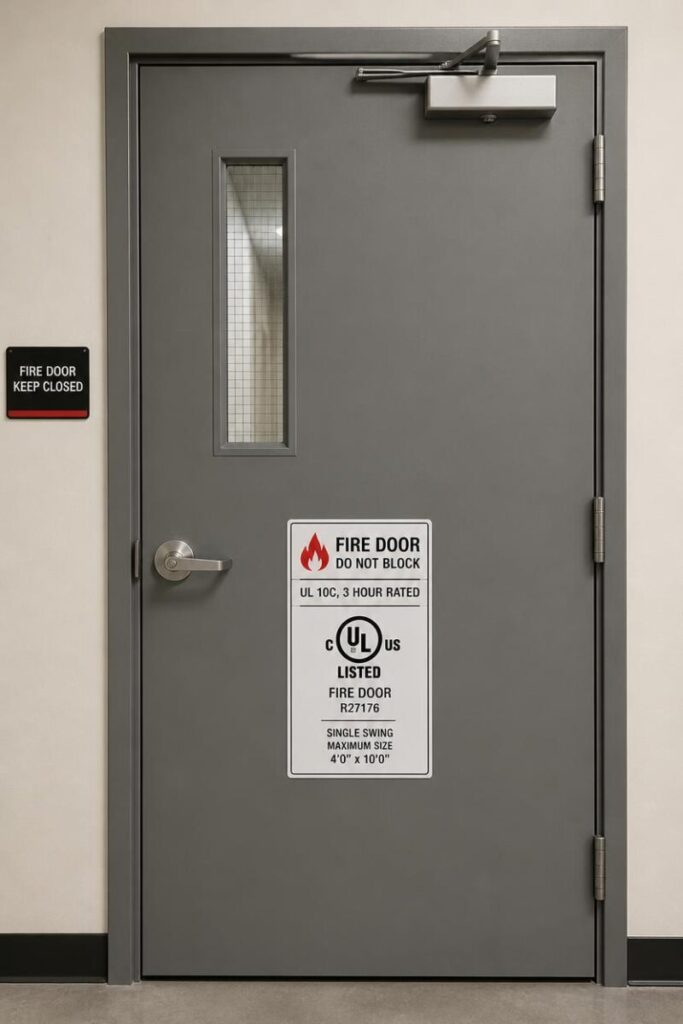
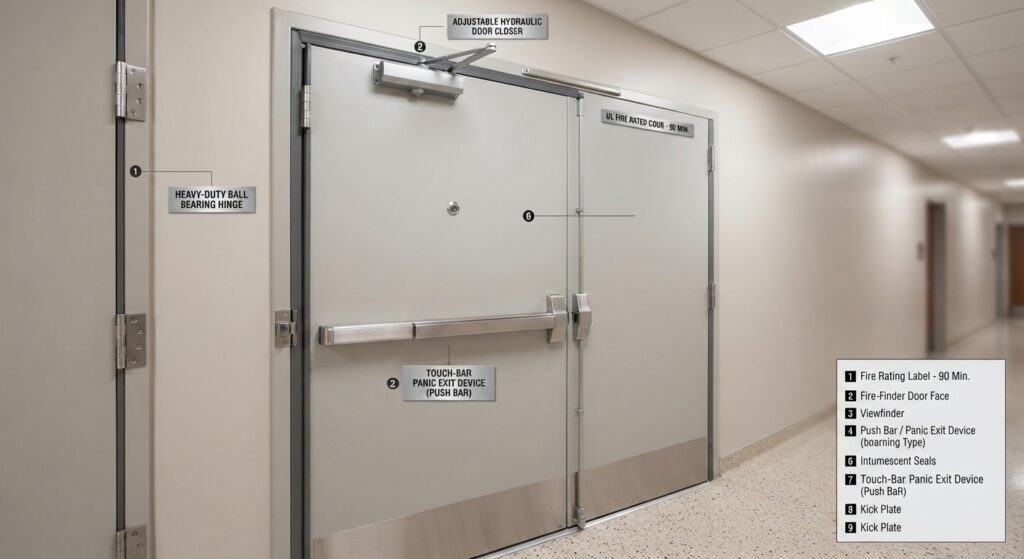
A fire door is a specially constructed door assembly designed to resist fire and smoke for a specific period, allowing occupants to evacuate and firefighters to control the fire.
Component
Purpose
Door Leaf
The door panel itself—constructed of fire-resistant materials.
Frame
Metal or wood frame that supports the door and holds it in place.
Hardware
Hinges, handles, locks, and closers that maintain the door’s integrity.
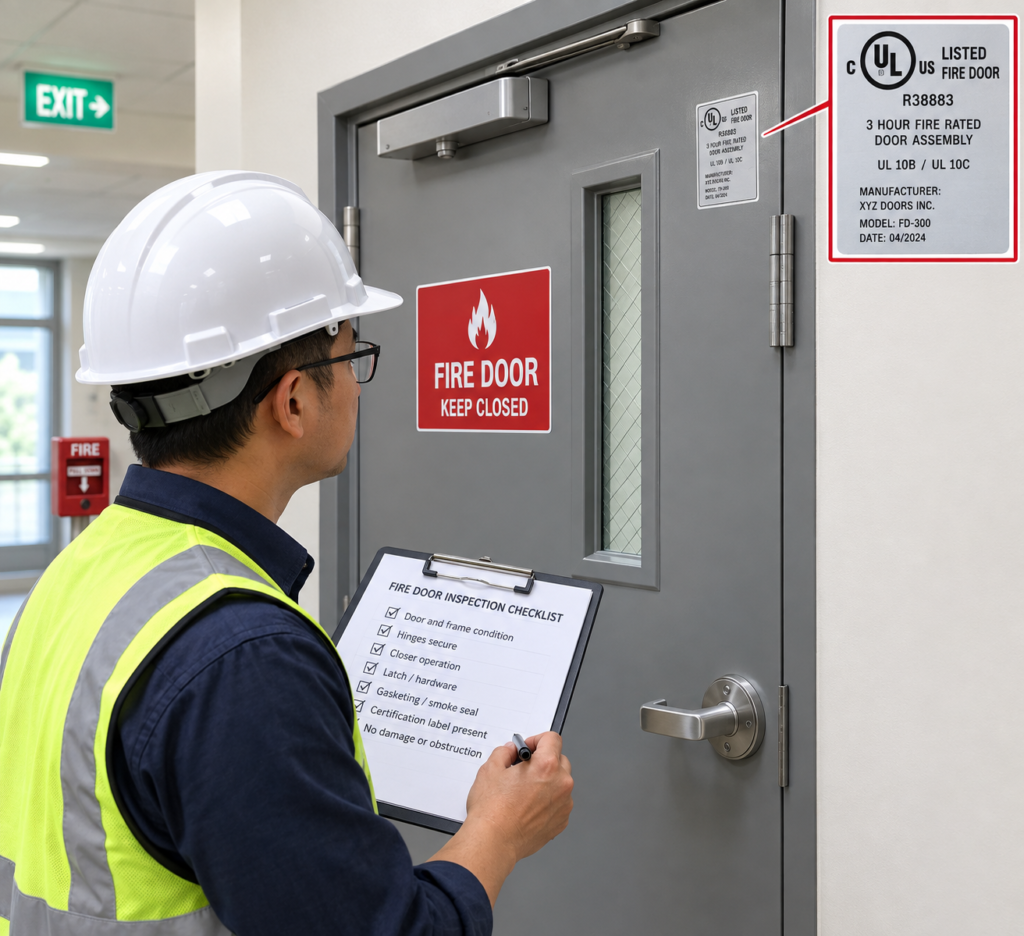
Fire Rating Label
A certification label indicating the door’s fire-resistance rating (e.g., 20, 45, 60, 90 minutes).
Gasketing
Intumescent seals that expand when heated, blocking smoke and fire.
Pro Tip: Never remove or paint over the fire rating label—it is required for inspection and compliance.
Section 2: Key Fire Door Regulations [1]
There are three primary regulatory bodies governing fire doors:
Regulation
What It Covers
NFPA 80
Installation, inspection, testing, and maintenance of fire doors.
IBC (Chapter 7)
Fire-resistance-rated construction requirements, including doors.
OSHA
Workplace safety requirements, including exit routes and door operation.
ADA
Accessibility requirements for door hardware and clearances.
Section 3: Fire Door Ratings (NFPA 80) [2]
Fire doors are classified by their fire-resistance rating—the number of minutes they can withstand fire and smoke.
Rating
Typical Use
Fire-Resistance
20-Minute
Smoke barriers, corridors in sprinklered buildings
20 minutes
45-Minute
Stairwell enclosures, hazardous areas
45 minutes
60-Minute
High-hazard areas, boiler rooms
60 minutes
90-Minute
Fire walls, high-risk areas
90 minutes
3-Hour
Fire walls between buildings
180 minutes
Important: The rating must match the wall’s fire-resistance rating. A 90-minute door cannot be installed in a 60-minute-rated wall.
Section 4: Installation Requirements (IBC and NFPA 80)
Requirement
Details
Code Reference
Labeling [3]
All fire doors must have a permanent certification label from an approved testing laboratory.
NFPA 80, 6.2.1
Clearance (top & sides) [3]
Maximum 1/8 inch between the door and frame at the head, jambs, and meeting stiles (for both steel and most wood fire doors)
NFPA 80, 6.3.1
Undercut (bottom) [3]
Maximum 3/4 inch clearance from the bottom of the door to the floor or threshold (no raised sill); 3/8 inch max where a raised sill is present
NFPA 80, 6.3.1
Door Closers [3]
Fire doors must be equipped with automatic closing devices.
NFPA 80, 6.4.4
Latching [3]
Doors must latch automatically when closed.
NFPA 80, 6.4.5
Hold-Open Devices [3]
Hold-open devices must release automatically when the fire alarm activates.
NFPA 80, 6.4.6
Common Violation: Fire doors propped open with doorstops or wedges. This renders them completely useless during a fire.
Section 5: Inspection, Testing, and Maintenance (NFPA 80) [3]
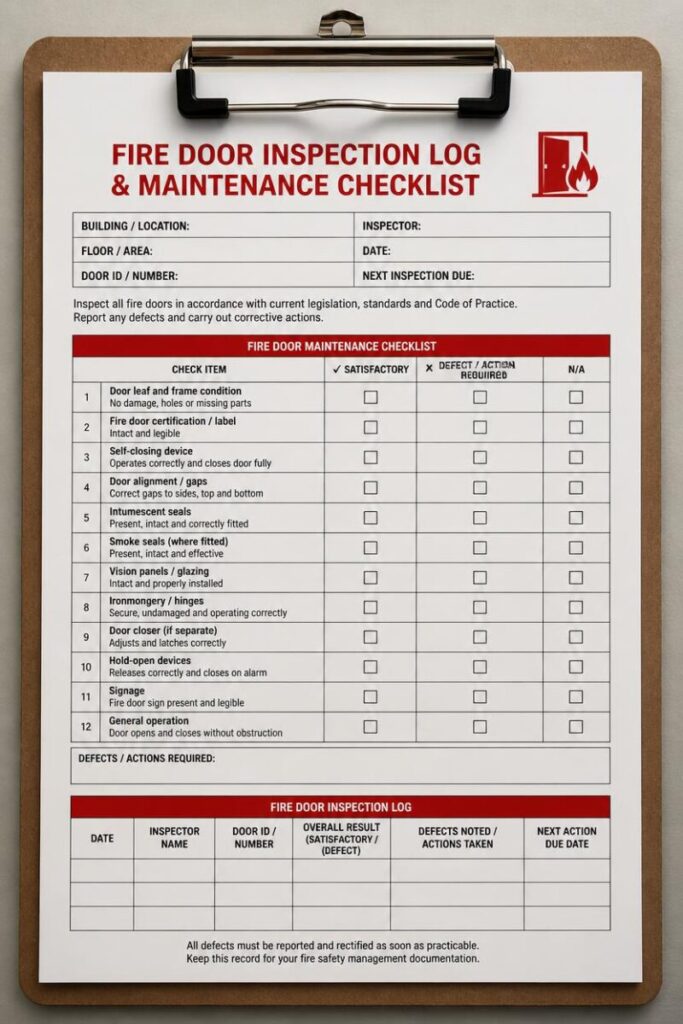
NFPA 80 requires regular inspection and maintenance of fire doors to ensure they function properly.
Inspection Type
Frequency
What to Check
Visual Inspection
Monthly
Check for visible damage, proper closing, and intact labels.
Operational Test
Annually
Open and close the door; verify it latches automatically.
Drop Test (for automatic closing devices)
Annually
Test that hold-open devices release when the alarm activates.
Full Inspection
Annually
Professional inspection of all components; documentation required.
Documentation: All inspections must be recorded and kept for inspection by authorities. NFPA 80 requires that records be maintained for at least 3 years.
Section 6: Common Fire Door Violations
Violation
Why It’s a Problem
How to Fix It
Missing or illegible fire rating label
No way to verify the door’s rating.
Replace the door or contact the manufacturer for a replacement label.
Door propped open
Door won’t contain fire or smoke.
Install automatic hold-open devices (must release during alarms).
Damaged or missing door closer
Door won’t close automatically.
Replace or repair the closer immediately.
Excessive clearance gaps
Smoke and fire can bypass the door.
Adjust the door or install gasketing.
Paint over the label or hardware
Obstructs inspection; may affect operation.
Remove paint carefully; never paint over moving parts.
Blocked door (furniture, equipment)
Door cannot be opened in an emergency.
Keep the area clear at all times.
Door does not latch properly
Door may not stay closed during a fire.
Adjust or replace the latch mechanism.
Section 7: Accessibility Requirements (ADA) [4]
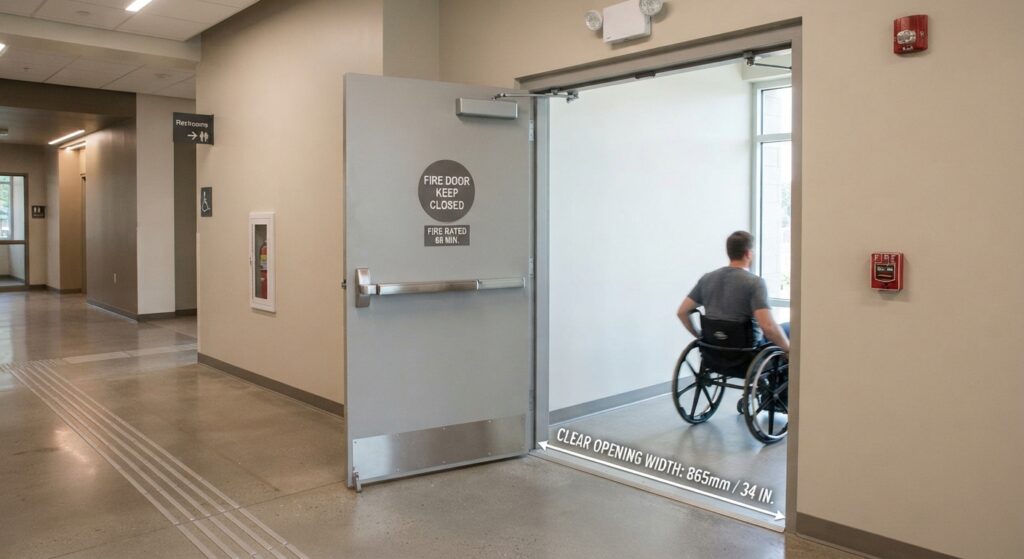
Fire doors must also comply with ADA accessibility requirements.
Requirement
Details
Code Reference
Opening Force
Maximum 5 lbs force to open interior doors; 8.5 lbs for exterior doors.
ADA 404.2.8
Clear Opening Width
Minimum 32 inches clear width.
ADA 404.2.3
Hardware
Lever-style handles required; no round knobs.
ADA 404.2.6
Threshold
Maximum 1/2 inch height (with beveled edges).
ADA 302.4
Closing Speed
Door must take at least 5 seconds to close from 90 degrees to 12 degrees.
ADA 404.2.8
Tip: When specifying fire doors, select hardware that meets both fire safety and ADA requirements.
Section 8: Fire Door Hardware Requirements [3]
Fire door hardware is specifically designed to maintain the door’s fire-resistance rating.
Hardware Type
Requirement
Hinges
Must be fire-rated and listed by a testing laboratory.
Locks
Must not interfere with the door’s ability to close and latch.
Door Closers
Must be installed and adjusted to close the door within required time.
Panic Bars
Required on doors that serve as exits in high-occupancy areas.
Gasketing
Intumescent seals required on the edges of the door.
Conclusion
Fire doors are a critical life-safety feature in commercial buildings. They are not just a code requirement—they are a life-saving investment.
Take Action Today:
Inspect all fire doors for visible damage, proper closing, and intact labels.
Schedule an annual professional inspection to ensure compliance with NFPA 80.
Train staff never to prop fire doors open.
Keep inspection records for at least 3 years.
References & Notes
[1] 2024 International Building Code (IBC), Chapter 7 — Fire and Smoke Protection Features; Occupational Safety and Health Administration (OSHA) 29 CFR 1910.36 — Design and Construction of Exit Routes.
[2] NFPA 80, Standard for Fire Doors and Other Opening Protectives, 2022 Edition, Chapter 4 — Fire Door Assemblies (Ratings and Classifications); UL 10B/10C — Fire Tests of Door Assemblies.
[3] NFPA 80, 2022 Edition, Section 6.3.1 (Clearances and Undercuts), Section 6.4 (Hardware), and Chapter 5 (Inspections, Testing, and Maintenance).
[4] 2010 ADA Standards for Accessible Design, Section 404 — Doors, Doorways, and Gates; Section 302.4 — Thresholds.
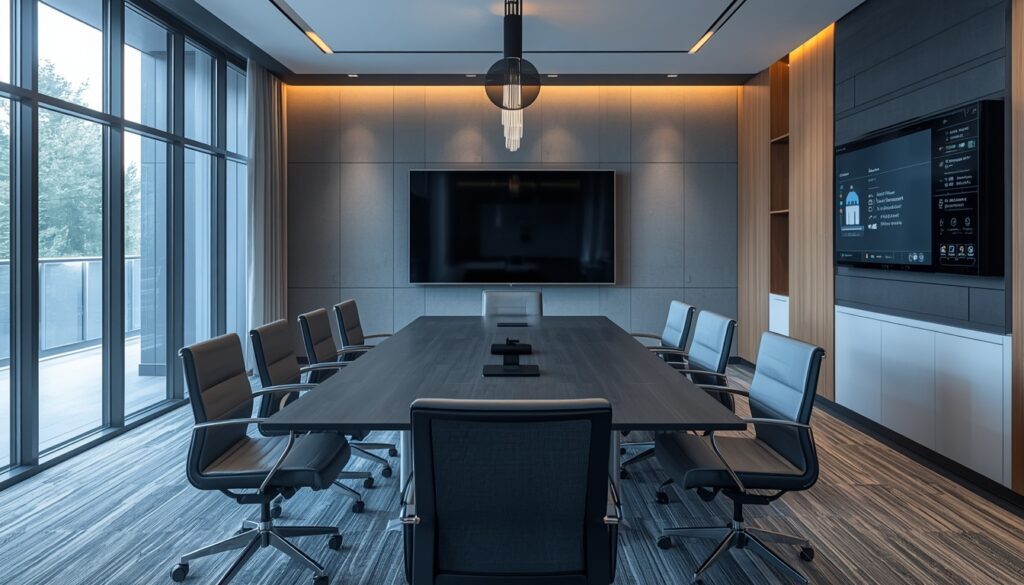
The modern office is evolving. Gone are the days of cubicles, closed doors, and sterile environments. Today’s commercial spaces prioritize flexibility, wellness, and collaboration to attract and retain top talent.
Office design is no longer just about aesthetics—it is a strategic business decision. A well-designed office can:
Boost employee productivity and satisfaction.
Attract premium tenants willing to pay higher rents.
Reduce turnover and improve employee retention.
This guide explores the top modern office design trends shaping the future of commercial real estate.
Trend 1: Biophilic Design
Biophilic design integrates natural elements into the built environment, connecting occupants with nature.
Feature
Examples
Benefits
Living Walls
Vertical gardens, moss walls
Improves air quality, reduces stress
Natural Light
Large windows, skylights, glass walls
Boosts mood, increases productivity
Indoor Plants
Potted plants, green spaces
Reduces noise, enhances aesthetics
Natural Materials
Wood, stone, bamboo
Creates warmth, biophilic connection
Water Features
Indoor fountains, aquariums
Promotes relaxation and focus
Why It Matters: Research shows that employees in biophilic offices report 15% higher well-being and 6% higher productivity [1].
Trend 2: Flexible and Hybrid Workspaces
The post-pandemic world demands flexibility. Employees no longer want to be tied to a single desk from 9-to-5.
Feature
Examples
Benefits
Activity-Based Workspaces
Quiet zones, collaboration areas, social hubs
Supports different work styles
Hot Desking
Unassigned seating, bookable desks
Maximizes space efficiency
Remote Integration
Video conferencing, hybrid meeting rooms
Supports hybrid work models
Mobile Furniture
Lightweight chairs, modular tables
Easy reconfiguration
Bookable Meeting Pods
Acoustic phone booths, huddle rooms
Privacy for calls and focused work
Why It Matters: Employees who have greater choice in where and how they work tend to report higher engagement and are more likely to stay with their employer, making flexibility an increasingly important factor in talent retention.
Trend 3: Wellness-Centric Design
Wellness is no longer a luxury—it is a requirement. Employees expect offices that support their physical and mental health.
Feature
Examples
Benefits
Ergonomic Furniture
Adjustable desks, ergonomic chairs
Reduces strain and injuries
Healthy Materials
Low-VOC paints, non-toxic finishes
Improves indoor air quality
Fitness Facilities
Gyms, yoga studios, bike storage
Encourages physical activity
Wellness Rooms
Quiet rooms, meditation spaces
Reduces stress and burnout
Healthy Food Options
Cafes with nutritious meals
Supports healthy eating habits
Why It Matters: Companies that invest in workplace wellness features tend to see improved employee health outcomes and productivity, though the size of the effect varies significantly by organization and the specific wellness measures implemented.
Trend 4: Smart Office Technology
Technology is transforming the workplace, making offices smarter, safer, and more efficient.
Feature
Examples
Benefits
IoT Sensors
Occupancy sensors, smart lighting, temperature controls
Optimizes energy use and comfort
Smart Meeting Rooms
Auto-scheduling, video conferencing, wireless presentation
Improves meeting efficiency
Digital Wayfinding
Interactive touchscreens, mobile apps
Simplifies navigation
Contactless Access
Mobile entry, facial recognition
Enhances security and hygiene
Room Booking Systems
Desk and meeting room booking via app
Maximizes space utilization
Why It Matters: Smart building technologies — including occupancy sensors and automated lighting and climate controls — can meaningfully reduce energy costs and improve the employee experience, though actual savings depend on the systems installed and building size.
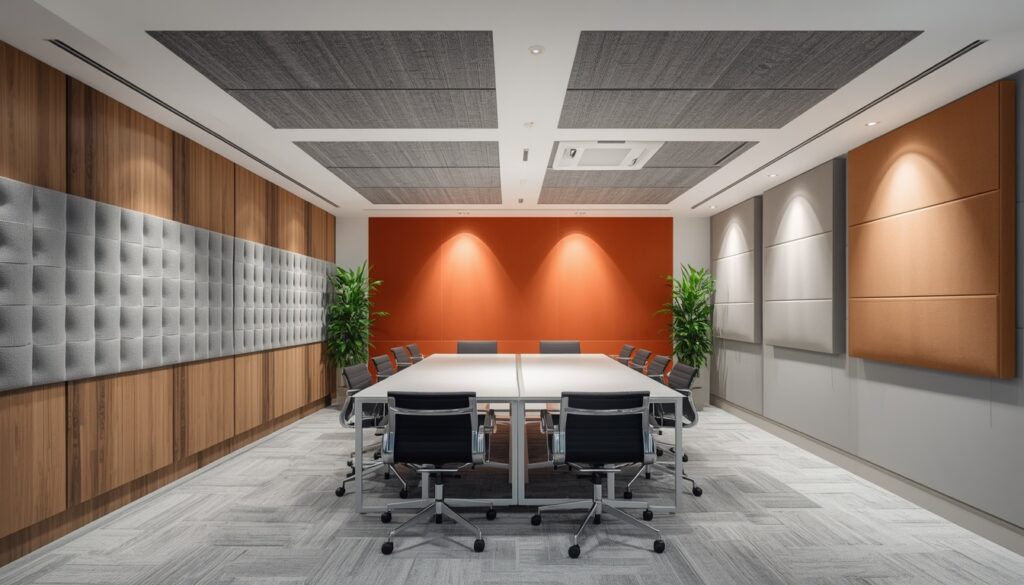
Trend 5: Acoustic Comfort
Sound quality is one of the most overlooked aspects of office design. Poor acoustics lead to distraction, stress, and reduced productivity.
Feature
Examples
Benefits
Acoustic Panels
Wall and ceiling panels, baffles
Absorbs noise and reduces echo
Carpet and Soft Flooring
Area rugs, acoustic tiles
Reduces footfall noise
Acoustic Furniture
Soundproof pods, phone booths
Provides quiet spaces for focus
Background Sound Masking
White noise, ambient sound systems
Covers distracting conversations
Why It Matters: Poor acoustics are consistently cited as one of the top workplace distractions. A 2015 World Green Building Council report found that background noise in open offices can reduce productivity by up to 66% [2].
Trend 6: Adaptive Reuse and Sustainable Design
Sustainability is no longer an afterthought—it is a core design principle. Adaptive reuse (converting existing buildings) is becoming increasingly popular.
Feature
Examples
Benefits
Adaptive Reuse
Converting warehouses, factories, or churches into offices
Reduces construction waste and costs
Sustainable Materials
Recycled, reclaimed, and locally sourced materials
Reduces carbon footprint
Energy Efficiency
Solar panels, high-performance windows, smart controls
Lowers operating costs
Green Certifications
LEED, WELL, BREEAM certification
Increases property value and marketability
Why It Matters: Tenant demand for sustainable office space has been rising, and some tenants are willing to pay a rent premium for it — though survey data on how many tenants and how much of a premium varies considerably by market and year, with willingness-to-pay figures generally in the low single digits to low double digits rather than a fixed universal number.
Trend 7: Community and Social Spaces
Offices are becoming social hubs where employees gather, connect, and build relationships.
Feature
Examples
Benefits
Breakout Areas
Lounge seating, game rooms, cafes
Encourages casual interaction
Event Spaces
Town halls, training rooms, rooftop terraces
Hosts company events and clients
Community Amenities
Showers, bike storage, pet-friendly policies
Supports work-life balance
Art and Branding
Murals, branded installations, curated art
Strengthens company culture
Why It Matters: Offices designed to foster social connection tend to see stronger employee engagement and a greater sense of belonging, contributing to a more positive workplace culture overall.
Conclusion
The modern office is a strategic asset, not just a place to work. By embracing these design trends—biophilic design, flexible workspaces, wellness, smart technology, acoustics, sustainability, and community—you can create spaces that attract and retain top tenants.
Take Action Today:
Audit your current office space against these trends.
Identify upgrades that offer the highest ROI.
Consult with a design professional to implement changes.
Market your building’s features to attract premium tenants.
References & Notes
[1] Human Spaces, “The Global Impact of Biophilic Design in the Workplace,” 2015; Cornell University / View, Inc. daylight workplace study, 2018.
[2] World Green Building Council, “Health, Wellbeing & Productivity in Offices: The Next Chapter for Green Building,” 2015 — cited productivity impact of background noise in open-plan offices.
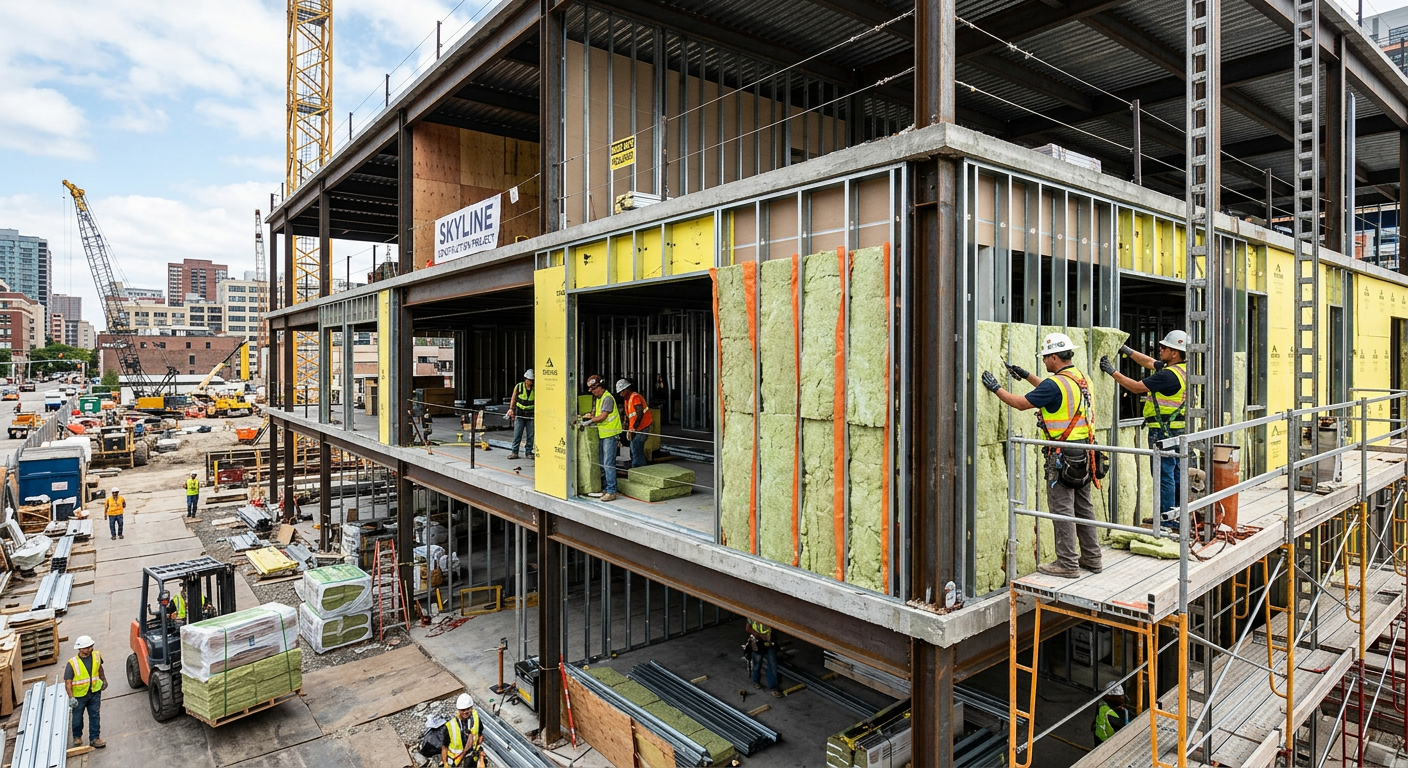
Energy efficiency is no longer a luxury—it is a requirement. Building codes across the United States mandate minimum insulation levels (R-values) for commercial buildings to reduce energy consumption, lower operating costs, and minimize environmental impact.
Understanding R-value requirements is critical for:
Avoiding costly redesigns and permit delays.
Reducing heating and cooling costs for building owners.
Ensuring compliance with local and national energy codes.
This guide breaks down R-value fundamentals, energy code requirements, and practical strategies for compliance.
Section 1: What Is R-Value?
R-value is a measure of thermal resistance—the ability of a material to resist heat flow. The higher the R-value, the better the insulation performs.
Concept
Explanation
Thermal Resistance
The ability of a material to resist heat transfer.
Higher R-Value
Better insulation performance.
Lower R-Value
Poorer insulation performance.
Measurement
R-value is expressed as ft²·°F·hr/Btu (US customary units).
Example: A wall with R-20 insulation resists heat flow twice as effectively as a wall with R-10 insulation.
Section 2: Key Energy Codes for Commercial Buildings [1]
There are two primary energy codes governing commercial buildings in the United States:
Code
What It Is
IECC (International Energy Conservation Code)
Model code adopted by most states; sets minimum energy efficiency requirements.
ASHRAE 90.1
The industry standard for commercial building energy efficiency; often referenced by IECC.
Which Code Applies? Your state or local jurisdiction will adopt a specific version of these codes. Check with your local building department to determine which applies.
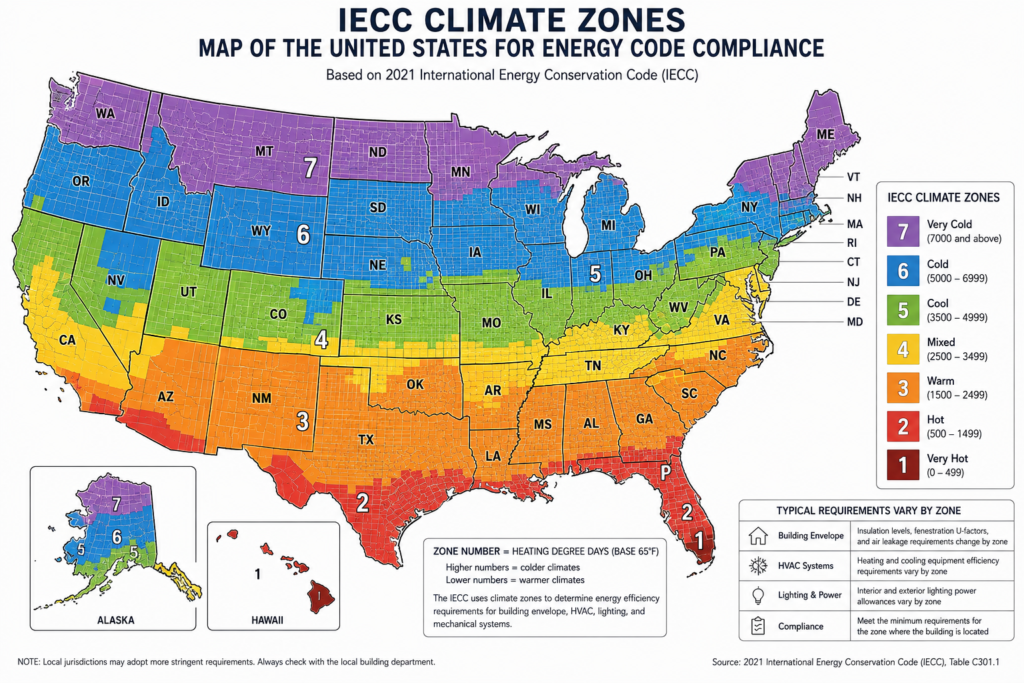
Section 3: R-Value Requirements by Climate Zone (Commercial — IECC 2021 Table C402.1.3, “All Other” Occupancies) [2]
Climate Zone
Roof (insulation entirely above deck)
Steel-Framed Wall
Wood-Framed Wall
Mass Wall
Zone 1 (Hot/Humid — S. Florida)
R-20 ci
R-13 + R-6.5 ci
R-13 or R-0 + R-9.5 ci
R-5.7 ci
Zone 2 (Hot/Dry — AZ, S. TX)
R-25 ci
R-13 + R-7.5 ci
R-13 + R-3.8 ci
R-6 ci
Zone 3 (Mild — CA Coast, SE)
R-25 ci
R-13 + R-7.5 ci
R-13 + R-3.8 ci
R-6.9 ci
Zone 4 (Mixed — Mid-Atlantic)
R-25 ci
R-13 + R-7.5 ci
R-13 + R-3.8 ci or R-20
R-9.5 ci
Zone 5 (Cold — NY, Chicago, MA)
R-30 ci
R-13 + R-10 ci
R-13 + R-7.5 ci or R-20 + R-3.8 ci
R-9.5 ci
Zone 6 (Very Cold — MN, ND)
R-30 ci
R-13 + R-12.5 ci
R-20 + R-3.8 ci or R-13 + R-11.4 ci
R-11.4 ci
Zone 7 (Extreme Cold — MT, ND)
R-35 ci
R-13 + R-12.5 ci
R-27 (2×6 cavity) or R-13 + R-7.5 ci
R-15.2 ci
Zone 8 (Subarctic — AK)
R-35 ci
R-13 + R-16.5 ci
R-13 + R-15.6 ci
R-15.2 ci
(“ci” = continuous insulation, applied over/across framing to reduce thermal bridging — distinct from cavity insulation between studs. Values shown are for the R-value compliance path; the U-factor compliance path in Table C402.1.4 is an alternative method.)
These figures reflect the 2021 IECC’s base “All Other” (non-residential) requirements. Actual compliance also depends on: which specific assembly subtype applies (e.g., metal building walls/roofs have separate values from steel-framed or wood-framed), mass wall weight/heat-capacity thresholds, thermal spacer block requirements for metal-frame assemblies, and any local amendments. Always verify against the current IECC or ASHRAE 90.1 edition adopted by your jurisdiction — several states amend these tables to be more stringent (e.g., Washington State) — and confirm with your local building department or a licensed mechanical/energy engineer before finalizing a design.
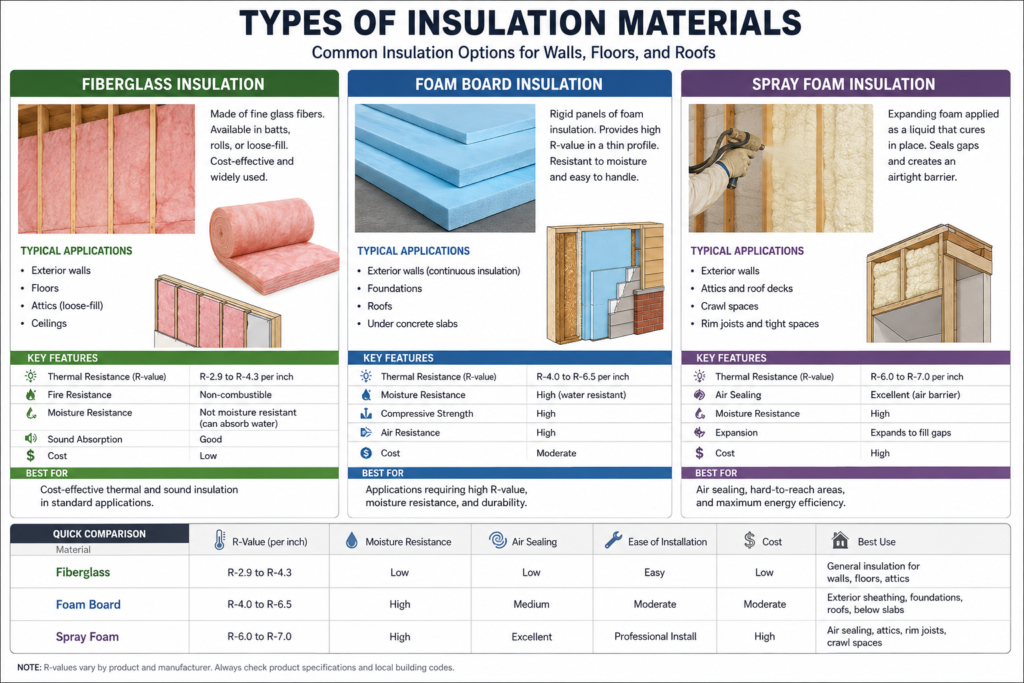
Section 4: Types of Insulation and Their R-Values [3]
Different insulation materials have different R-values per inch of thickness.
Insulation Type
R-Value per Inch
Best Use
Fiberglass Batt
R-2.9 to R-3.8
Walls, attics, floors
Spray Foam (Closed Cell)
R-6.0 to R-7.0
Walls, roof decks, air sealing
Spray Foam (Open Cell)
R-3.5 to R-4.0
Interior walls, attics
Cellulose (Blown)
R-3.2 to R-3.8
Attics, wall cavities
Mineral Wool
R-3.3 to R-4.2
Walls, fire-resistant applications
Rigid Foam Board (XPS)
R-4.5 to R-5.0
Exterior walls, foundations, roofs
Rigid Foam Board (Polyiso)
R-5.0 to R-7.0
Roofs, exterior walls
Structural Insulated Panels (SIPs)
R-3.5 to R-4.0
Walls, roofs
Pro Tip: Always verify the manufacturer’s stated R-value with independent testing (ASTM C518).
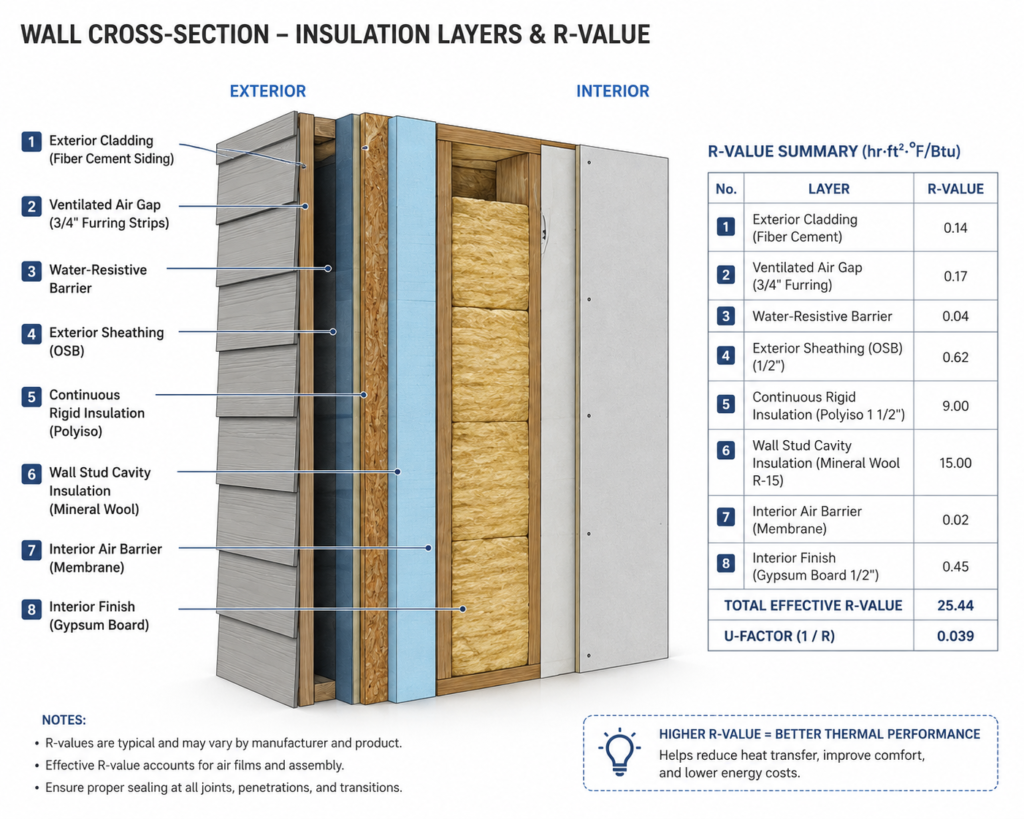
Section 5: Continuous Insulation vs. Cavity Insulation [2]
Energy codes distinguish between cavity insulation (between studs) and continuous insulation (uninterrupted layer over the framing).
Term
Definition
Why It Matters
Cavity Insulation
Insulation placed between framing members (studs).
Allows thermal bridging through the framing.
Continuous Insulation (CI)
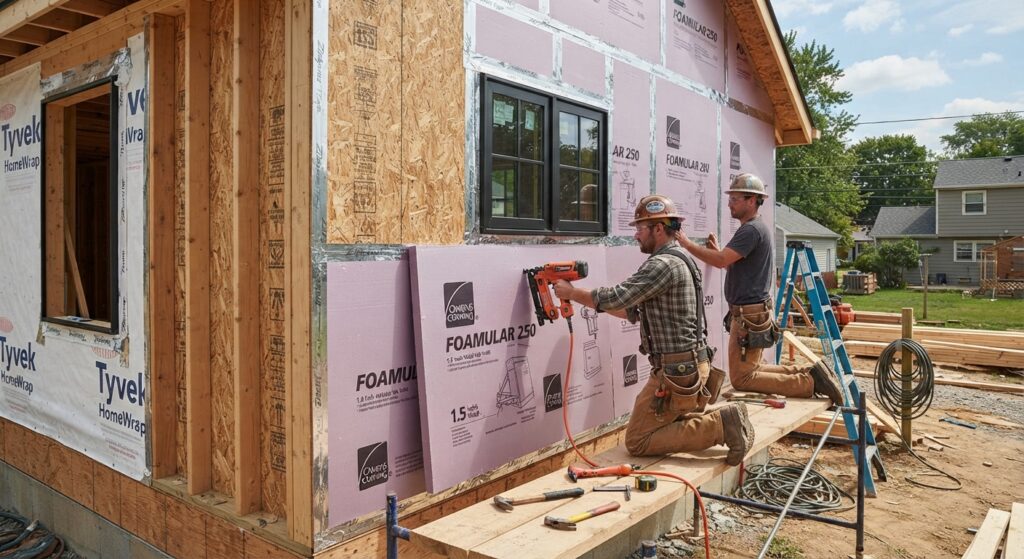
Insulation placed over the exterior sheathing.
Reduces thermal bridging and improves overall R-value.
Why Continuous Insulation Is Important:
Issue
Explanation
Thermal Bridging
Wood and steel studs conduct heat, bypassing cavity insulation.
Effective R-Value
The actual R-value of a wall is lower than the sum of its parts due to thermal bridging.
CI Solution
Adds a continuous layer of insulation over the framing, dramatically improving performance.
Example: A wall with R-19 cavity insulation may have an effective R-value of only R-12 due to thermal bridging. Adding R-5 continuous insulation brings the effective R-value to R-17.
Section 6: Compliance Strategies
Strategy
Details
Design Early
Work with a mechanical engineer to model energy performance early in the design process.
Use Energy Modeling
Software like EnergyPlus or IESVE can simulate building performance and optimize R-values.
Consult Local Codes
Check with the local building department for amendments or more stringent requirements.
Consider Whole-Building Approach
Insulation is only one piece—air sealing, windows, and HVAC systems all impact energy performance.
Section 7: Common Mistakes and How to Avoid Them
Mistake
Why It’s a Problem
How to Fix It
Using the wrong climate zone data
Leads to under-insulated buildings.
Confirm your climate zone with the local building department.
Ignoring continuous insulation requirements
Results in thermal bridging and higher energy bills.
Design with continuous insulation in mind from the start.
Not accounting for compressed insulation
R-value decreases when insulation is compressed (e.g., in electrical boxes).
Use insulation that fits the cavity depth or use spacers.
Failing to seal air leaks
Air infiltration bypasses insulation, reducing its effectiveness.
Combine insulation with air sealing (spray foam, caulking, weatherstripping).
Section 8: The Future of Energy Codes
Energy codes are becoming more stringent over time. Here is what to expect:
Trend
What It Means
Net Zero Energy Buildings
Increasing push for buildings that produce as much energy as they consume.
Electrification
Phasing out fossil fuels; requiring electric heating, cooking, and charging.
Embodied Carbon
Codes may soon regulate the carbon footprint of building materials, not just operational energy.
Smart Controls
Integration of building automation and energy management systems.
Conclusion
Understanding R-value requirements is essential for any commercial building project. By selecting the right insulation types, addressing continuous insulation, and complying with local energy codes, you can reduce energy costs, improve occupant comfort, and protect your investment.
Take Action Today:
Determine your climate zone and required R-values.
Select appropriate insulation materials for your project.
Design with continuous insulation to reduce thermal bridging.
Use energy modeling to verify compliance.
Consult with a mechanical engineer for expert guidance.
References & Notes
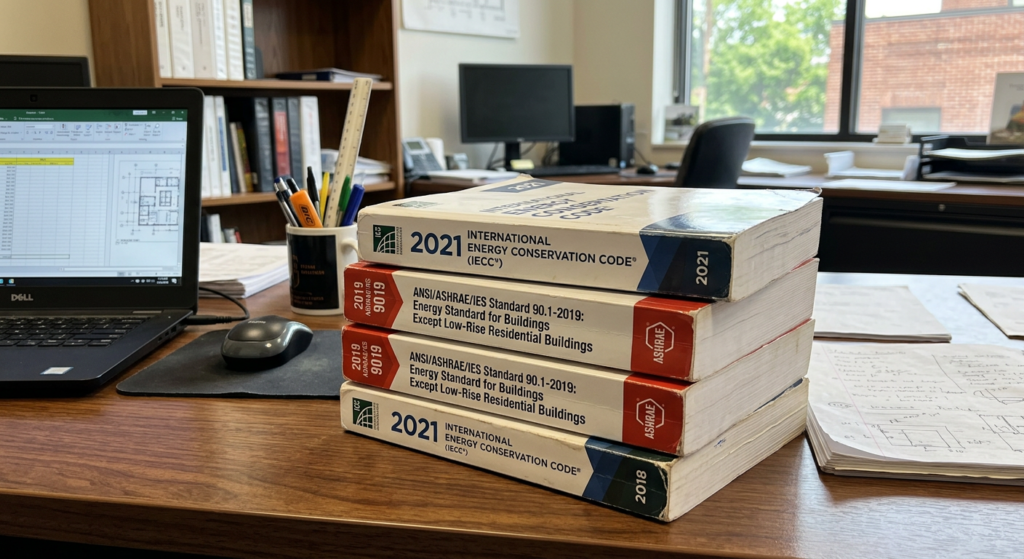
[1] 2021 International Energy Conservation Code (IECC), Chapter 4 [CE] — Commercial Energy Efficiency; ANSI/ASHRAE/IES Standard 90.1-2019, Energy Standard for Buildings Except Low-Rise Residential Buildings.
[2] 2021 IECC, Section C402.1.3 and Table C402.1.3 — Opaque Thermal Envelope Insulation Component Minimum Requirements (“All Other” occupancy column); local jurisdictional amendments may impose stricter values.
[3] ASTM C518, Standard Test Method for Steady-State Thermal Transmission Properties by Means of the Heat Flow Meter Apparatus (basis for manufacturer-stated R-value/inch figures).
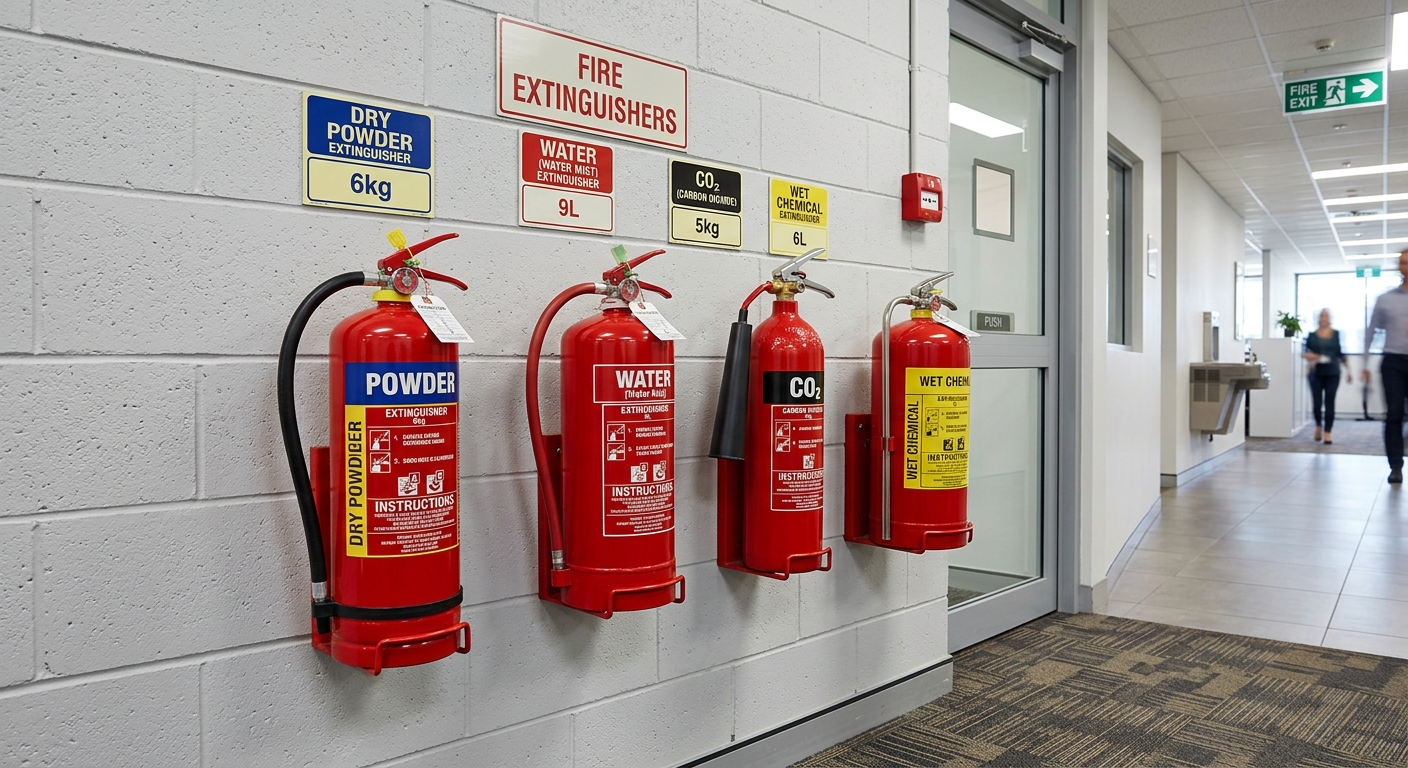
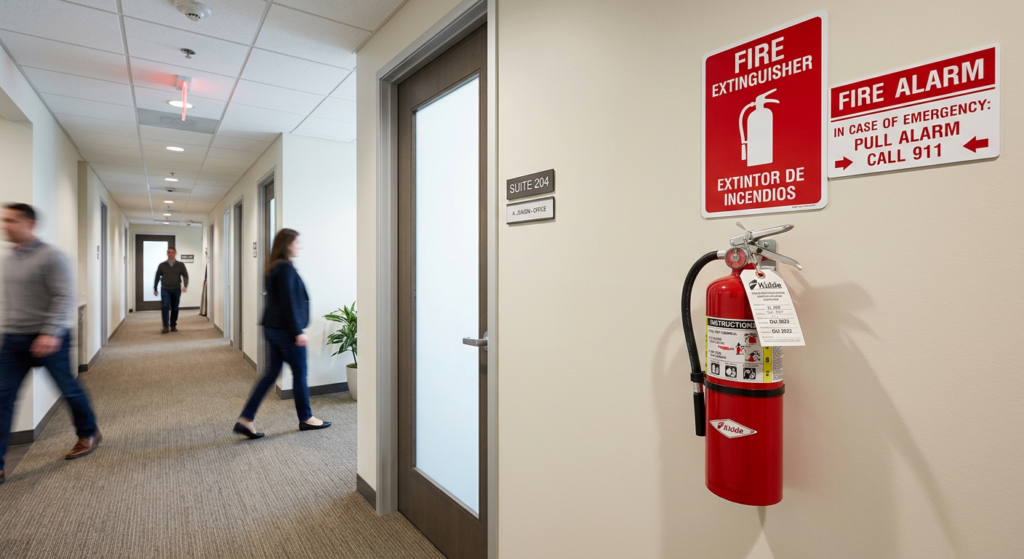
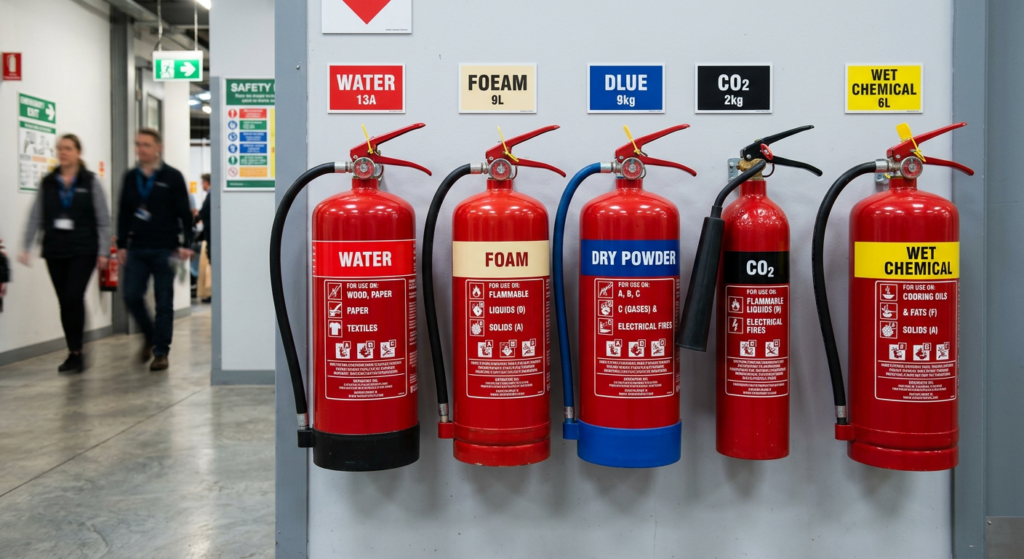
Portable fire extinguishers are your first line of defense against small fires in commercial buildings. However, simply having extinguishers on-site is not enough—they must be the right type, placed in the right locations, and supported by trained personnel.
This comprehensive guide covers:
Which occupancies require portable fire extinguishers.
What types to install in different building locations.
Proper mounting and placement requirements.
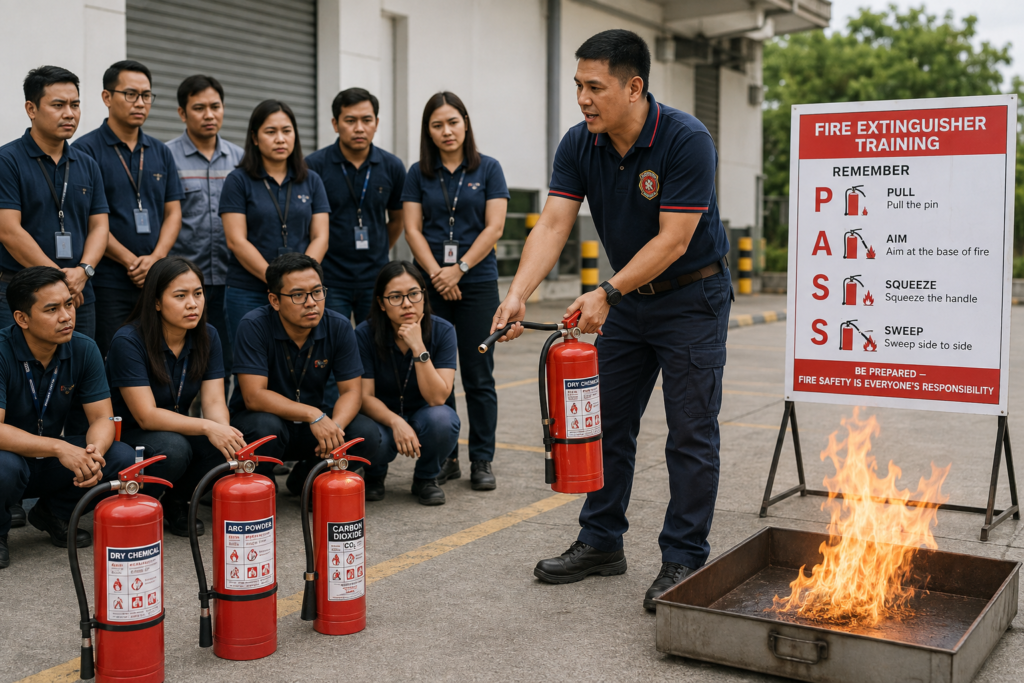
Training requirements for building occupants.
Section 1: Occupancy Requirements for Portable Fire Extinguishers [1]
NFPA 101, the Life Safety Code, specifies which occupancies require portable fire extinguishers. The requirements depend on the occupancy type and whether the building is sprinklered.
Occupancy Type
Does Sprinkler Status Affect the Requirement?
Portable Extinguisher Required?
Code Reference
Ambulatory
No — required regardless of sprinklers
✅ Yes
NFPA 101, 20.3.5.2 & 9.7.4.1
Business
No — required regardless of sprinklers
✅ Yes
NFPA 101, 38.3.5 & 9.7.4.1
Healthcare
No — required regardless of sprinklers
✅ Yes
NFPA 101, 18.3.5.6 & 9.7.4.1
Mercantile
No — required regardless of sprinklers
✅ Yes
NFPA 101, 36.3.5.3
Educational
Not applicable — verify against the current chapter text
❌ No (check sprinkler requirements)
NFPA 101, 14.3.5
One & Two Family Dwellings
Not applicable — verify against the current chapter text
❌ No (check sprinkler requirements)
NFPA 101, 24.3.5.1
Hotels & Dormitories
Yes — required in hazardous areas lacking sprinkler protection
✅ Required in hazardous areas without sprinklers
NFPA 101, 28.3.5.8
Apartments
Yes — required in hazardous areas lacking sprinkler protection
✅ Required in hazardous areas without sprinklers
NFPA 101, 30.3.5.12
Storage
Not applicable
❌ No
NFPA 101, 42.3.5
Key Takeaway: Even when not required, providing portable fire extinguishers in all commercial buildings is a best practice that can save lives and property.
Section 2: Fire Extinguisher Types by Location [2]
Different building areas present different fire hazards. Selecting the right extinguisher type for each location is critical for effective fire response.
Note: The table below reflects regional fire and life safety practice (Gulf Cooperation Council / Middle East civil defence guidance) and uses metric extinguisher sizes and travel distances. It is not derived from NFPA 10. Readers in U.S. jurisdictions should instead apply NFPA 10 Table 6.2.1.1 (Class A) and Table 6.3.1.1 (Class B) for extinguisher sizing and travel-distance requirements — see [2] below.
Location
Recommended Extinguisher Types
Max Travel Distance
Offices
9 Ltr Water (Class A) + 2 kg CO2 (Class B/C)
15 m
Common Circulation Areas (Corridors, Lobbies)
9 Ltr Water + 5 kg CO2
22.5 m
Electrical Rooms, Mechanical Plant Rooms
4.5 kg Dry Powder (ABC) + 5 kg CO2
9 m
Parking Areas
4.5 kg ABC Dry Powder + 2 kg CO2 + Foam Trolley (20 Gal)
15 m (30 m along driveways)
Transformer Rooms
4.5 kg Dry Powder + 5 kg CO2 + 25 kg Dry Powder Trolley
9 m
HV / LV Rooms
4.5 kg Dry Powder + 5 kg CO2 + 12 kg Dry Powder Trolley
9 m
Diesel Generator Rooms
4.5 kg Dry Powder + 5 kg CO2 + 20 Gal Foam Trolley
9 m
Garbage Collection Rooms
6 kg Dry Powder (ABC)
9 m
Libraries
ABC Dry Powder (Class A, B, C) + 2 kg CO2
15 m
Laboratories
9 Ltr Water + 2 kg CO2 + 4.5 kg Dry Powder
9 m
Gymnasiums
9 Ltr Water + 4.5 kg Dry Powder
15 m
Theaters
ABC Dry Powder (Class A, B, C) + 2 kg CO2
15 m
Kitchens
2 kg CO2 + 4.5 kg Dry Powder + Foam Extinguisher
9 m
Patient Rooms
9 Ltr Water + 2 kg CO2 + 4.5 kg Dry Powder
15 m
Hotels
9 Ltr Water + 2 kg CO2 + 4.5 kg Dry Powder
15 m
Important Note on Libraries and Theaters: Water extinguishers are not recommended for these locations due to the presence of electrical equipment. ABC Dry Powder is a safer, more effective alternative.
Section 3: Mounting and Placement Requirements [1]
Proper mounting ensures that extinguishers are accessible, visible, and secure.
Requirement
Details
Maximum Mounting Height
Top of the fire extinguisher must be no more than 1.5 meters (5 feet) above the finished floor.
Minimum Mounting Height
Bottom of the fire extinguisher must be at least 10 cm (4 inches) from the finished floor.
Accessibility
Extinguishers must not be blocked by furniture, equipment, or storage.
Visibility
Extinguishers must be clearly visible or marked with a visible sign.
Securing
Extinguishers must be securely mounted on a wall or placed in an approved stand/cabinet.
Compliance Tip: For extinguishers weighing over 18 kg (40 lbs), the maximum mounting height is 1.07 m (3.5 feet).
Section 4: Training Requirements [2]
Having fire extinguishers is not enough—your staff must know how to use them.
Requirement
Details
Who Must Be Trained
At least 10% of Security Personnel, Occupants, Employees, and Supervisory Personnel.
Training Content
Basic fire awareness, extinguisher types, proper use, and operation in emergency situations.
Frequency
Initial training upon hire and annual refresher training thereafter.
Documentation
All training must be documented and records retained for inspection.
Pro Tip: Consider incorporating “hands-on” training where staff can practice using a fire extinguisher on a controlled fire (using a training prop).
Section 5: Additional Resources
For more information, refer to these trusted resources:
Portable fire extinguishers are a critical component of any commercial building’s fire safety plan. By understanding:
Which occupancies require extinguishers.
What types to install in each location.
How to properly mount and place them.
Who needs to be trained and how often.
You can ensure your building is prepared for fire emergencies.
Take Action Today:
Audit your building’s fire extinguishers.
Replace any incorrect types (especially water extinguishers in libraries/theaters).
Schedule annual training for your staff.
Document all inspections and training.
References & Notes
[1] NFPA 101, Life Safety Code, 2024 Edition — occupancy chapters as cited per row (9.7.4.1, 20.3.5.2, 38.3.5, 18.3.5.6, 36.3.5.3, 14.3.5, 24.3.5.1, 28.3.5.8, 30.3.5.12, 42.3.5); NFPA 10, Standard for Portable Fire Extinguishers, 2024 Edition — Section 6.1.3 (Mounting Height).
[2] Regional fire and life safety code guidance (Gulf Cooperation Council / Middle East civil defence practice) governing extinguisher type, agent quantity, and travel distance by building area and occupant training percentage; figures presented here are metric-native and are not derived from NFPA 10. Readers in U.S. jurisdictions should apply NFPA 10 Table 6.2.1.1 (Class A) and Table 6.3.1.1 (Class B) travel-distance and sizing requirements instead.