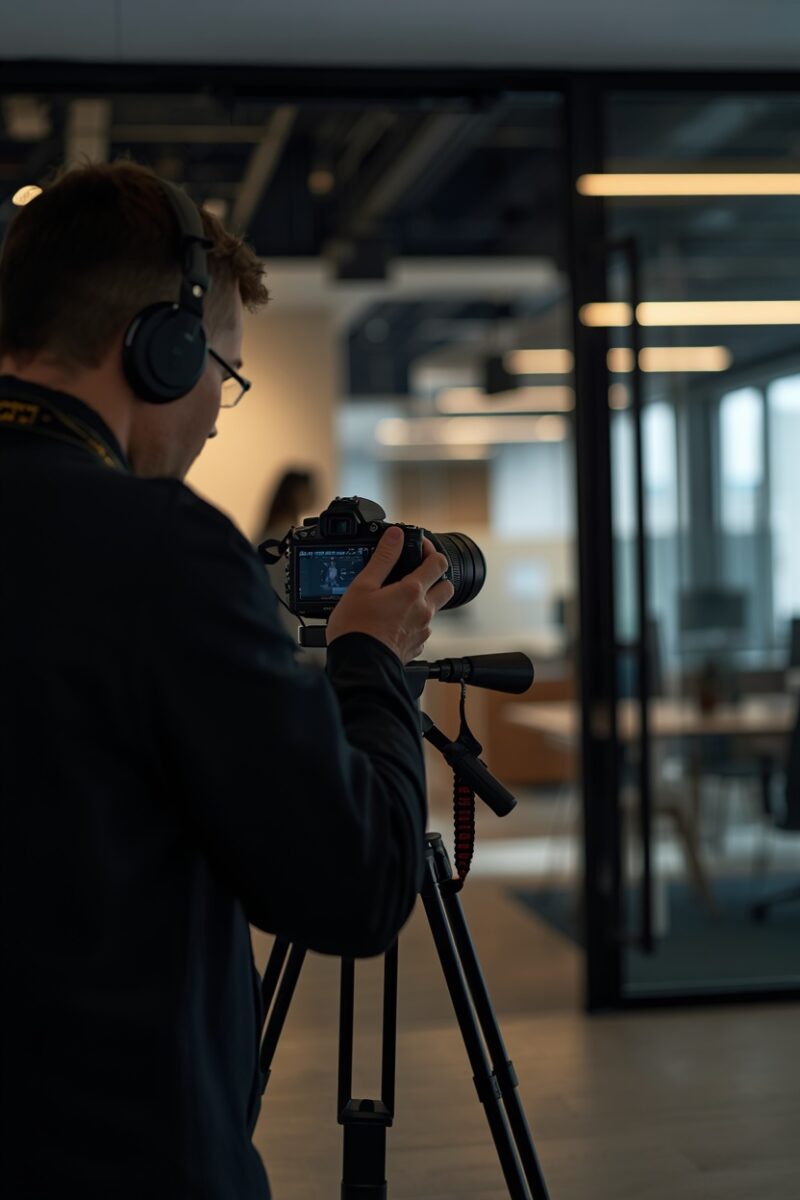
Commercial interior photography is more than just pointing a camera and pressing the shutter. It requires a combination of technical skill, artistic vision, and an understanding of what makes a space appealing to buyers, tenants, and investors.
High-quality interior photography can:
- Attract premium tenants and command higher rents.
- Accelerate property sales by showcasing the space’s best features.
- Enhance your brand as a professional who values quality presentation.
Whether you are a real estate agent, property manager, or architect, these tips will help you capture stunning commercial interiors.
1. Invest in a Wide-Angle Lens
A wide-angle lens is essential for interior photography. It allows you to capture the full scale and layout of a room, making even small spaces feel open and inviting.
| Recommendation | Details |
|---|---|
| Focal Length | 16–35mm (full-frame) or 10–20mm (crop sensor). |
| Why It Works | Captures more of the space, highlights design features, and creates a sense of depth. |
| Pro Tip | Avoid going too wide (below 14mm) to prevent extreme distortion at the edges. |
2. Use Natural Light Whenever Possible
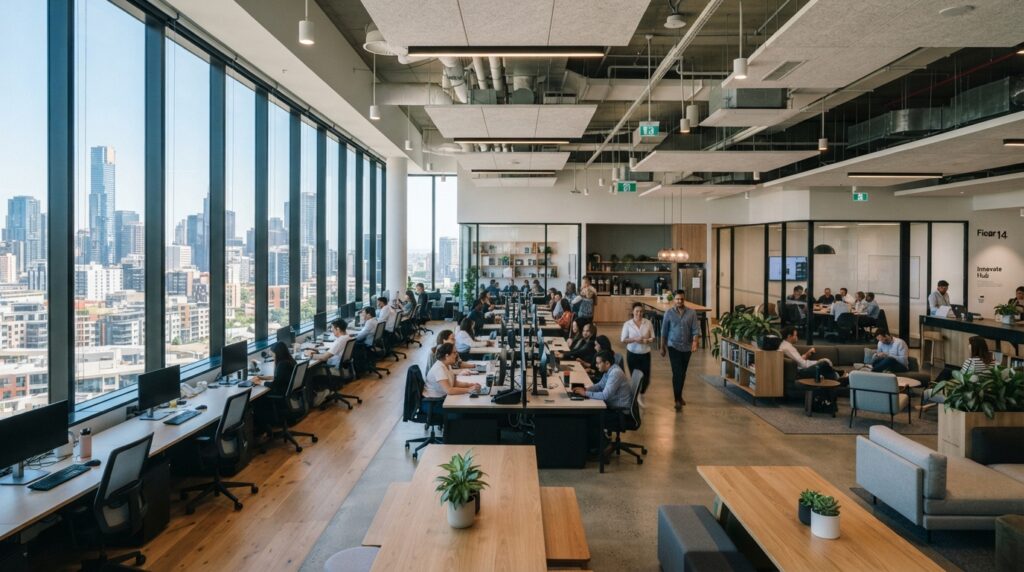
Natural light is the most flattering light source for interior photography. It creates a warm, inviting atmosphere and highlights the true colors of the space.
| Strategy | Details |
|---|---|
| Shoot During the Day | Schedule shoots when the sun is high but not directly shining in. |
| Turn Off Harsh Overhead Lights | Overhead fluorescent lighting creates unflattering shadows and color casts. |
| Use Reflectors | Bounce natural light into dark corners using a white foam board or reflector. |
| Avoid Direct Sunlight | Harsh sunlight creates high contrast and blown-out highlights. |
Pro Tip: If the space has large windows, shoot on a slightly overcast day—the clouds act as a giant diffuser and create soft, even light.
3. Master the Art of Composition
Good composition makes a photo feel balanced and intentional. These techniques will elevate your interior shots:
| Technique | Details |
|---|---|
| Leading Lines | Use lines (e.g., corridors, table edges) to draw the viewer’s eye into the space. |
| Rule of Thirds | Place key elements off-center for a more dynamic composition. |
| Vertical Lines | Keep vertical lines straight—avoid tilting the camera up or down to prevent distortion. |
| Frame Within a Frame | Use doorways or windows to frame the scene and add depth. |
Pro Tip: When composing a shot, step back and look at the scene as a whole. Remove unnecessary clutter and rearrange furniture if needed.
4. Use a Tripod for Sharp, Consistent Images
A tripod is essential for commercial interior photography. It ensures sharp images, especially in low-light conditions.
| Advantage | Details |
|---|---|
| Sharpness | Eliminates camera shake for crisp, clear images. |
| Consistency | Allows you to capture multiple images from the exact same angle for HDR blending. |
| Low-Light Performance | Enables longer exposure times without introducing blur. |
| Precision | Helps you carefully compose your shot without rushing. |
Pro Tip: Use a remote shutter release or your camera’s 2-second timer to eliminate any vibration from pressing the shutter button.
5. Shoot Multiple Exposures for HDR Blending
Commercial interiors often have extreme contrast—bright windows and dark corners. A single exposure cannot capture both.
| Solution | Details |
|---|---|
| Auto Exposure Bracketing (AEB) | Take 3–5 exposures (underexposed, normal, overexposed). |
| HDR Blending | Merge the exposures in post-processing (software like Lightroom, Photomatix, or Photoshop). |
| Why It Works | Retains detail in both the highlights (windows) and shadows (dark corners). |
Pro Tip: When blending HDR images, aim for a natural look. Overcooked HDR photos look unnatural and turn off potential tenants.
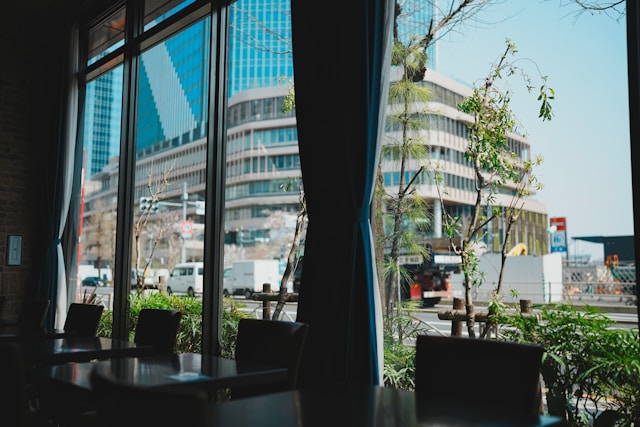
6. Highlight Architectural Features
Every commercial property has unique features that make it special. Highlighting these features in your photography attracts the right kind of attention.
| Features to Highlight | Why They Matter |
|---|---|
| High Ceilings | Creates a sense of spaciousness and prestige. |
| Large Windows | Shows abundant natural light and views. |
| Exposed Beams | Adds character and industrial appeal. |
| Custom Millwork | Demonstrates quality craftsmanship and attention to detail. |
| Modern Fixtures | Signals a well-maintained, updated property. |
Pro Tip: Focus on the features that differentiate the property from competitors. If it has a beautiful lobby, make that the hero shot.
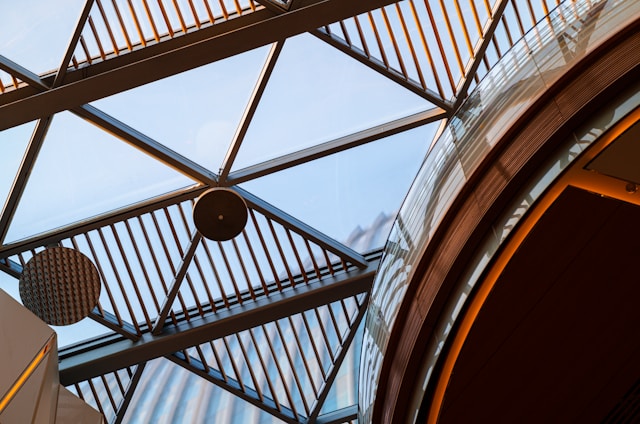
7. Stage the Space Before Shooting
Staging is not just for residential properties—it is equally important for commercial interiors.
| Staging Tip | Details |
|---|---|
| Declutter | Remove personal items, excess furniture, and clutter. |
| Add Decor | Use plants, artwork, and coffee table books to create warmth. |
| Arrange Furniture | Create a logical flow that guides the viewer’s eye through the space. |
| Turn On Lights | Use floor and table lamps to add warmth and depth. |
Pro Tip: If the space is completely empty, use CGI (computer-generated imagery) or rent temporary furniture to show how the space could look.
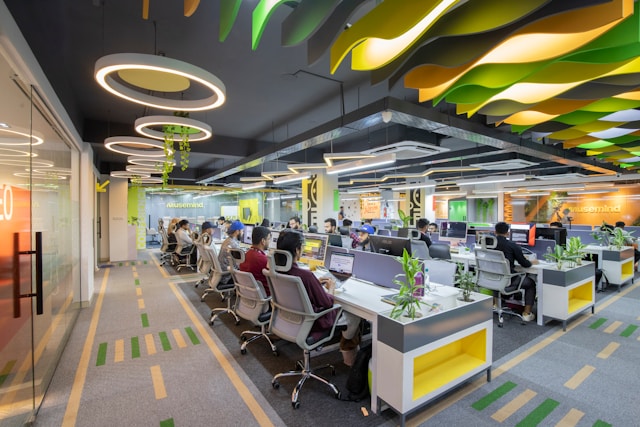
Conclusion
Commercial interior photography is an investment, not an expense. High-quality photos attract better tenants, command higher rents, and close deals faster.
By implementing these 7 tips—investing in a wide-angle lens, using natural light, mastering composition, using a tripod, shooting HDR, highlighting architectural features, and staging the space—you will dramatically improve the visual appeal of your listings.
Take Action Today:
- Schedule your next interior shoot during the golden hour.
- Use a tripod and shoot bracketed exposures.
- Stage the space and highlight its best features.