Author: admin

  • ADA Compliance Checklist for Commercial Entrances and Restrooms

    ADA Compliance Checklist for Commercial Entrances and Restrooms

    The Americans with Disabilities Act (ADA) is not just a legal requirement—it is a fundamental aspect of inclusive design. Commercial properties that fail to meet ADA standards face hefty fines, lawsuits, and loss of tenant trust.

    ADA compliance is also a business advantage. Accessible buildings attract a wider range of tenants, customers, and employees, and they demonstrate a commitment to equality and inclusion.

    This comprehensive checklist covers the most critical ADA requirements for commercial entrances and restrooms.


    Checklist Item #1: Accessible Route to the Entrance

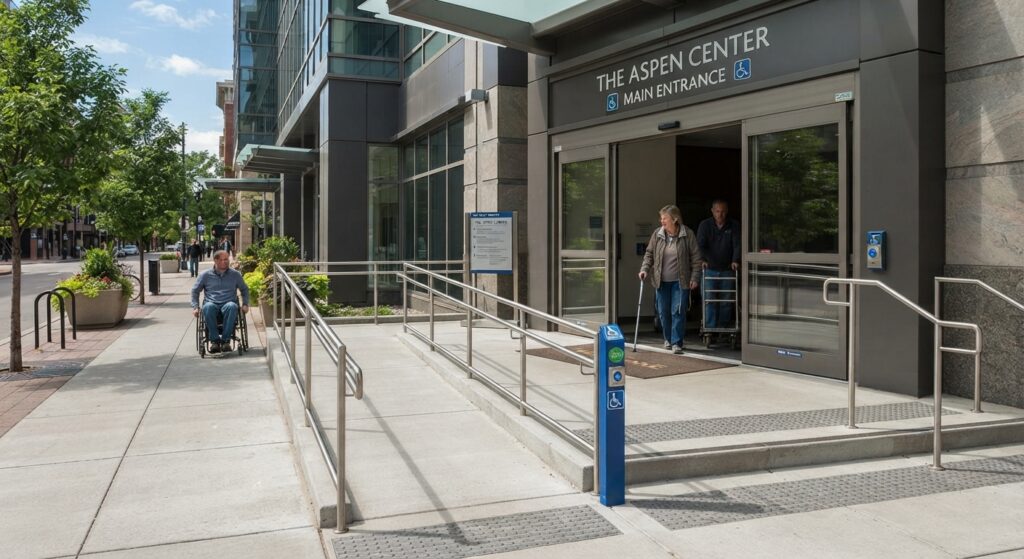
    The ADA requires a clear, accessible path of travel from the public sidewalk or parking lot to the building entrance.

    RequirementDetails
    WidthMinimum 36 inches clear width.
    SurfaceStable, firm, and slip-resistant.
    SlopeMaximum 1:12 (8.33%) for ramps [1].
    ObstructionsNo protruding objects (e.g., signs, hydrants) in the path.

    Common Violation: Cracked or uneven sidewalks, steep ramps, or paths blocked by landscaping or furniture.


    Checklist Item #2: Accessible Parking

    ADA parking requirements apply to both employee and visitor parking.

    RequirementDetails
    Number of Spaces1 accessible space for every 25 total spaces [2].
    Van-Accessible SpacesAt least 1 van-accessible space (with 8 ft wide access aisle).
    Signage“Van Accessible” sign mounted 60–80 inches above the ground.
    SurfaceLevel, stable, and slip-resistant.
    RouteDirect accessible route to the entrance without crossing traffic lanes.

    Common Violation: Insufficient width of the access aisle, missing signage, or parking spaces not level.


    Checklist Item #3: Accessible Entrance Doors

    Doors are a common pain point for ADA compliance.

    RequirementDetails
    Clear WidthMinimum 32 inches clear opening.
    ThresholdMaximum 1/2 inch height (with beveled edges).
    Opening ForceMaximum 5 lbs force to open (interior doors), 8.5 lbs for exterior doors.
    HardwareLever-style handles (not round knobs) that operate with one hand.
    Closing Speed5 seconds minimum to close from 90 degrees to 12 degrees [3].

    Common Violation: Doors that require excessive force, thresholds over 1/2 inch, or round knobs.

    Lever-style door handle on commercial door

    Checklist Item #4: Accessible Restrooms

    Restrooms are one of the most frequently cited ADA violations in commercial buildings.

    RequirementDetails
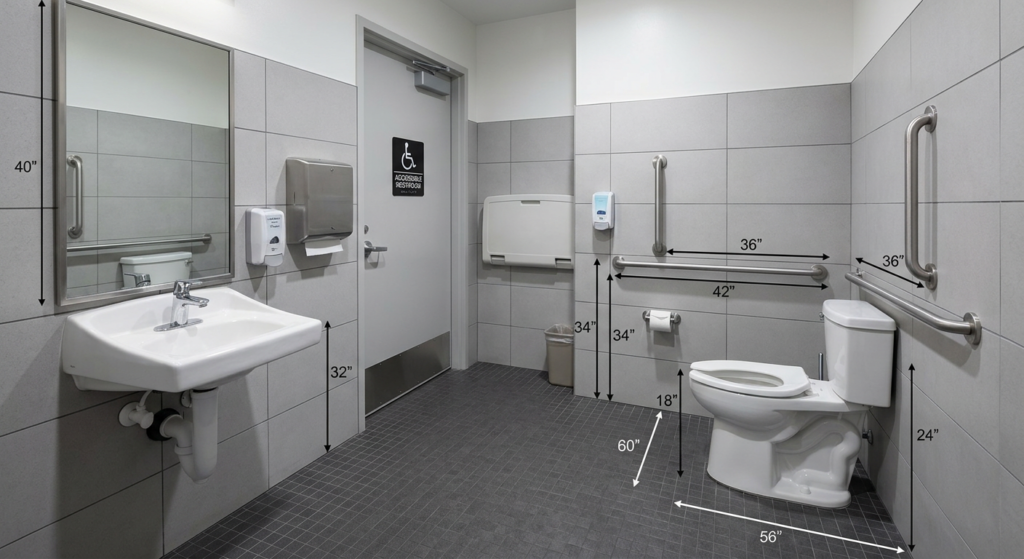
    Single User Restroom60 inches x 60 inches minimum clear floor space for wheelchair turning.
    Multiple User RestroomAt least one accessible stall: 60 inches wide by 56–59 inches deep.
    Grab BarsMust be installed on the back wall and side wall of accessible stalls.
    Toilet Height17–19 inches from the floor to the top of the seat [4].
    Sink HeightMaximum 34 inches from the floor to the top of the rim.
    FaucetsLever, push-type, or motion-activated (not round knobs).
    Clear Floor SpaceMinimum 30 inches x 48 inches in front of sinks.
    Paper DispensersMust be reachable from the seated position (within 48 inches height).

    Common Violation: Toilet paper dispensers mounted too high or too far, insufficient clear floor space, missing grab bars, or sink pipes not insulated (to prevent burns).


    Checklist Item #5: Signage

    ADA signage requirements ensure that all building occupants can navigate the space.

    RequirementDetails
    TypeRaised characters and Braille on all permanent room signs [5].
    HeightMounted 48–60 inches above the ground.
    ContrastLight characters on dark background (or vice versa).
    TactileRaised characters must be at least 1/32 inch high.

    Common Violation: Signs mounted too high or too low, missing Braille, or insufficient contrast between characters and background.


    Checklist Item #6: Common Areas

    ADA compliance extends to common areas like hallways, lobbies, and waiting rooms.

    RequirementDetails
    Clear WidthMinimum 36 inches in corridors.
    Floor SurfaceStable, firm, and slip-resistant.
    Protruding ObjectsNo objects protruding more than 4 inches into the path of travel [1].
    Drinking FountainsOne accessible unit per floor.
    Fire AlarmsAudible and visual alarms (strobes) in public areas.

    Common Violation: Fire extinguishers or wall-mounted objects protruding into the hallway, narrow corridors, or missing visual fire alarms.


    Conclusion

    ADA compliance is not optional—it is a legal and ethical obligation. This checklist provides a comprehensive overview of the most frequently cited violations in commercial buildings.

    Take Action Today:

    1. Walk your building with this checklist.
    2. Identify all non-compliant areas.
    3. Schedule repairs and upgrades.
    4. Document all changes for your records.

    By ensuring your commercial property is fully ADA-compliant, you protect yourself from costly lawsuits, attract a wider range of tenants and customers, and create a more inclusive environment for everyone.


    References & Notes

    [1] 2010 ADA Standards for Accessible Design, Section 403 — Walking Surfaces, and Section 307 — Protruding Objects, U.S. Department of Justice.

    [2] 2010 ADA Standards for Accessible Design, Section 208 — Parking Spaces.

    [3] 2010 ADA Standards for Accessible Design, Section 404.2.8–404.2.9 — Doors, Doorways, and Gates.

    [4] 2010 ADA Standards for Accessible Design, Section 604 — Water Closets and Toilet Compartments; ICC A117.1, Section 604.

    [5] 2010 ADA Standards for Accessible Design, Section 703 — Signs.

  • NFPA 101: Understanding the Life Safety Code for High-Rise Buildings

    NFPA 101: Understanding the Life Safety Code for High-Rise Buildings

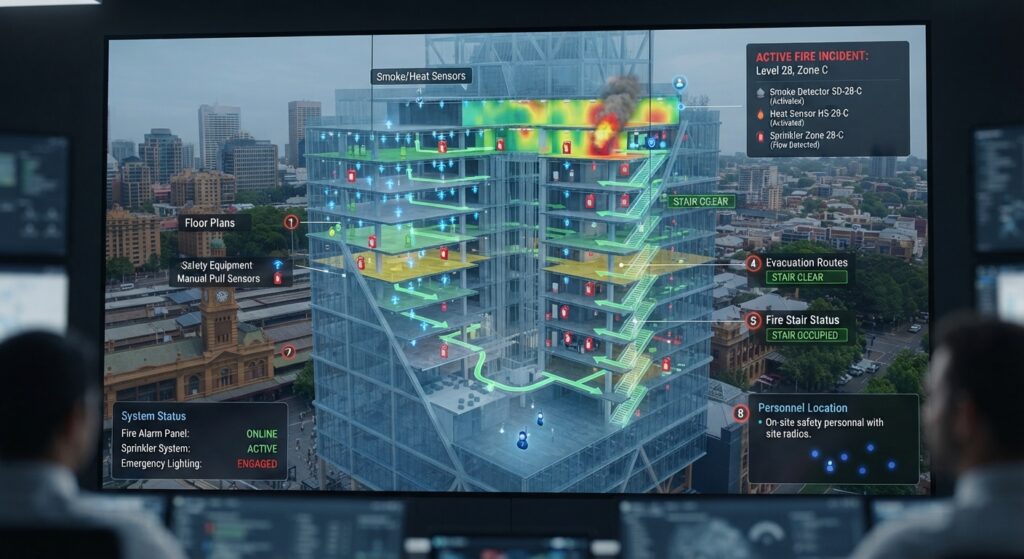
    High-rise buildings are engineering marvels—but they also present unique fire safety challenges. Unlike low-rise structures, high-rises require specialized evacuation strategies, fire containment systems, and occupant protection measures.

    NFPA 101, also known as the Life Safety Code, is the gold standard for fire safety in commercial buildings. It sets the minimum requirements for building design, construction, and operation to protect occupants from fire and smoke.

    In this article, we break down the 5 most critical NFPA 101 requirements that every high-rise building owner or manager must know.


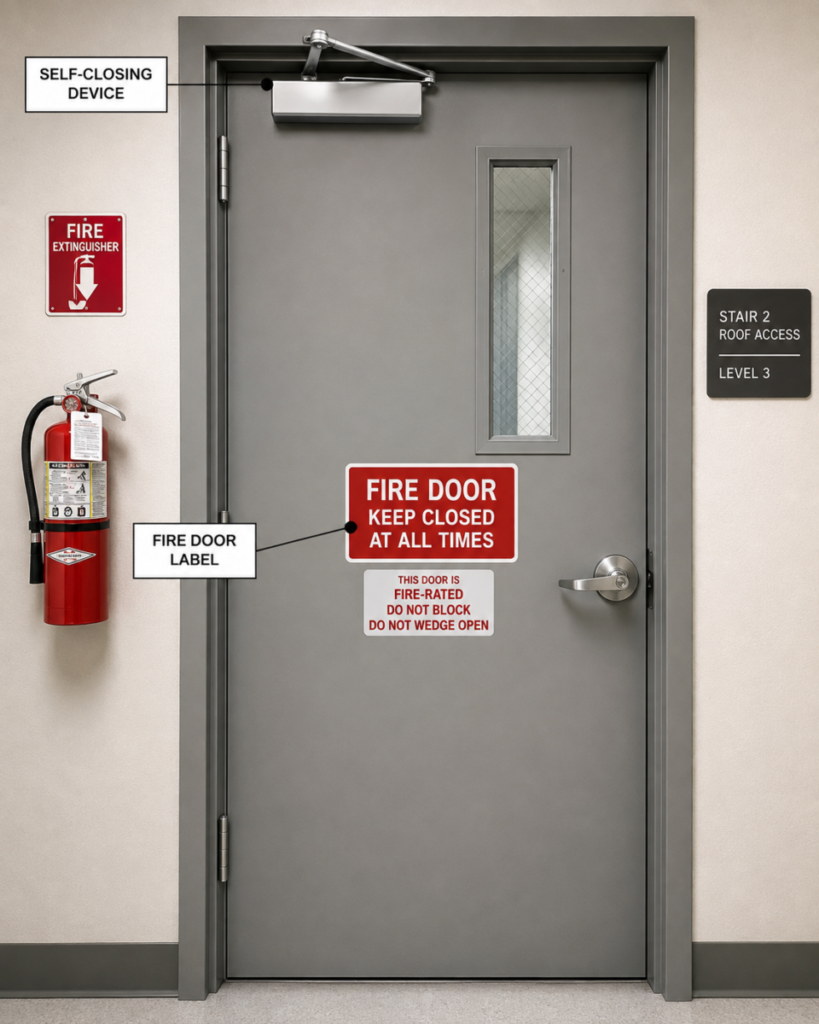
    Fire-rated door assembly with certification label in commercial building

    1. Fire-Resistant Construction (NFPA 101 Section 7.1)

    High-rise buildings must be constructed with fire-resistant materials that contain fires to their floor of origin for a specified period.

    The Requirement:

    • Structural elements (columns, beams, floors) must have a fire-resistance rating of at least 2–3 hours, depending on the building height and occupancy type [1].
    • Fire-rated walls and floors prevent the spread of flames between floors.

    Why It Matters: In a high-rise, a fire that spreads vertically can become catastrophic within minutes. Fire-resistant construction gives occupants time to evacuate and firefighters time to respond.

    Compliance Tip: Ensure your building’s fire-resistance ratings are clearly documented and verified by a certified inspector.


    2. Compartmentation and Smoke Barriers (NFPA 101 Section 8.3)

    Compartmentation is the strategy of dividing a building into fire-resistive compartments to contain a fire to a specific area.

    The Requirement:

    • High-rise buildings must have smoke barriers that limit the spread of smoke to a single compartment [2].
    • Each compartment must be separated by fire-rated walls and floors.
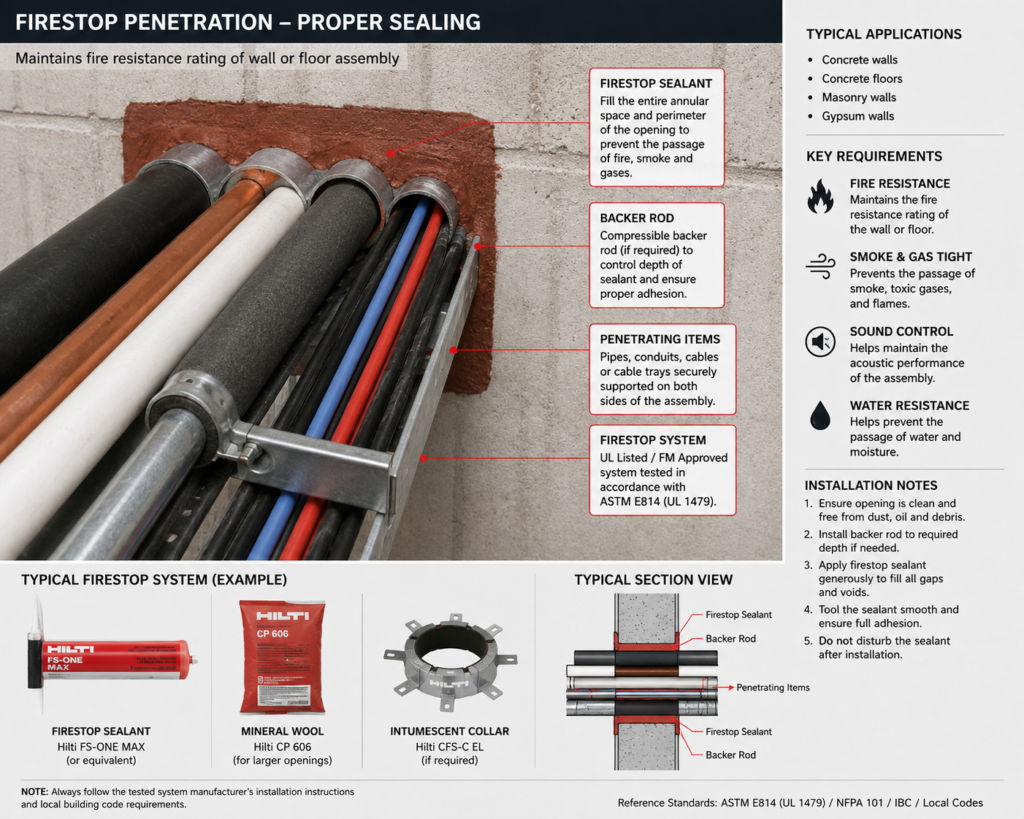
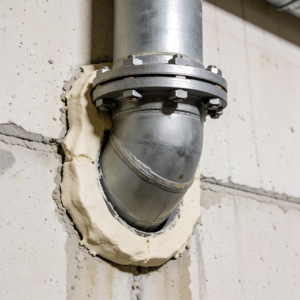
    • Openings (doors, windows, ducts) must be protected with fire-rated closures.

    Why It Matters: Smoke is responsible for more deaths than flames. Compartmentation gives occupants clean air and safe evacuation routes, even during a fire.

    Compliance Tip: Inspect all smoke barriers and fire-rated doors annually. Even small gaps or damaged seals can compromise the barrier’s effectiveness.


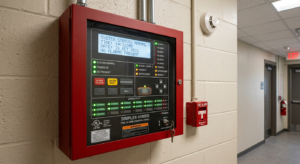
    Commercial fire alarm control panel with indicator lights

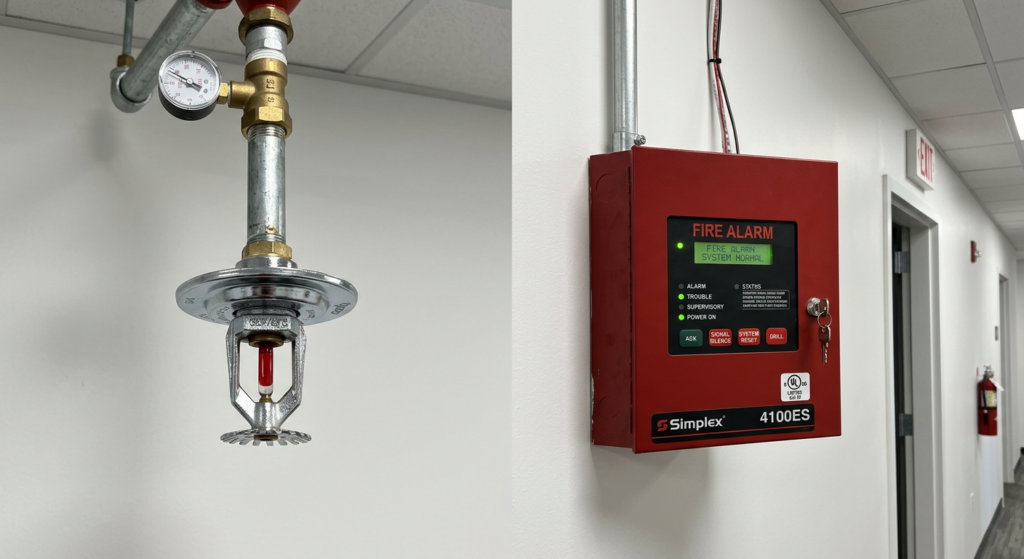
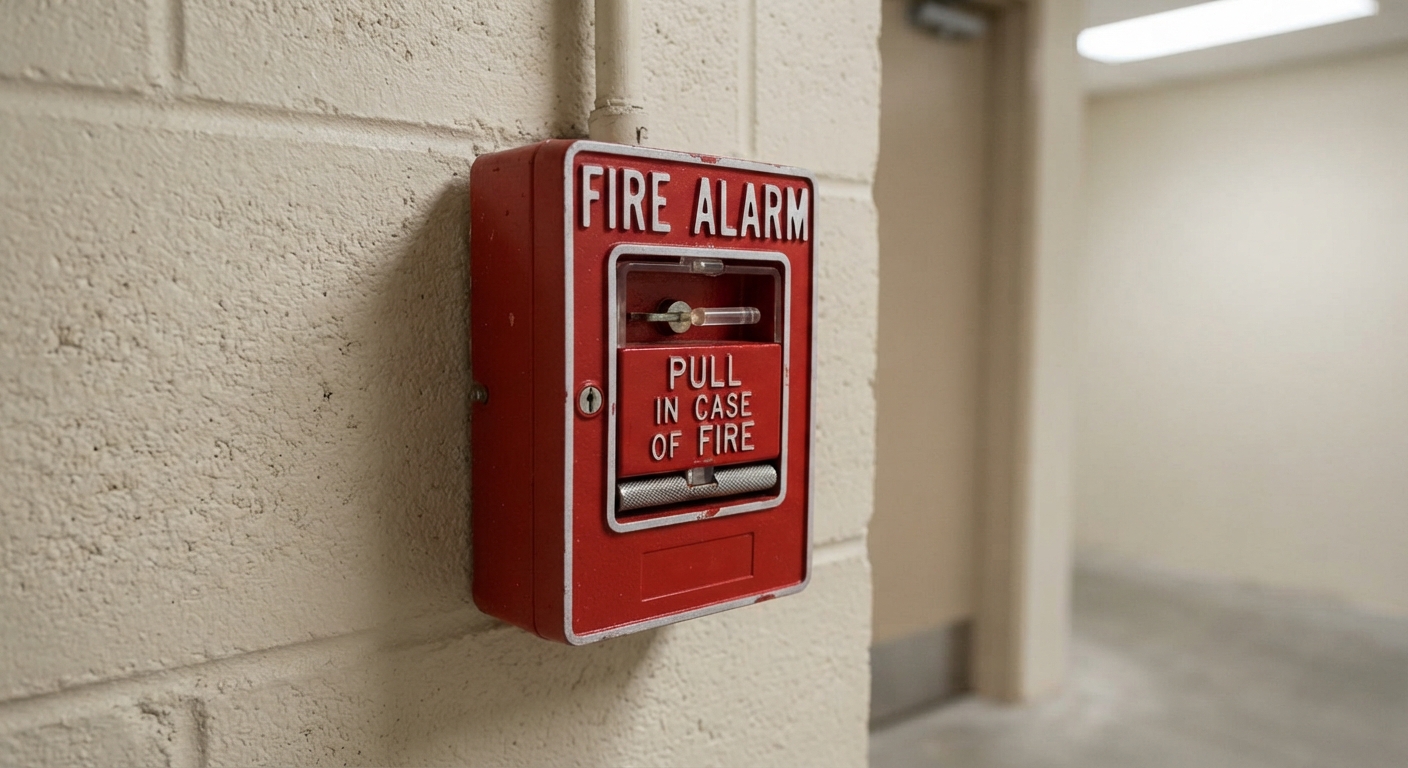
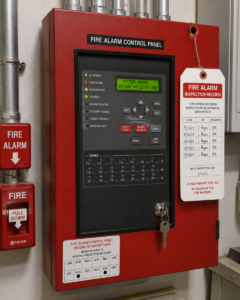
    3. Fire Alarm and Detection Systems (NFPA 101 Section 9.6)

    High-rise buildings require automatic fire detection and alarm systems that alert all occupants simultaneously.

    The Requirement:

    • Smoke detectors must be installed in all corridors, lobbies, and common areas.
    • Alarm systems must include audible and visual signals (strobes for hearing-impaired occupants).
    • The system must be connected to a central monitoring station [3] (or directly to the fire department).

    Why It Matters: In a high-rise building, early detection is critical. Even a few minutes’ delay can mean the difference between a contained fire and a major disaster.

    Compliance Tip: Test your fire alarm system monthly and document all tests. Any malfunctioning detector must be replaced immediately.


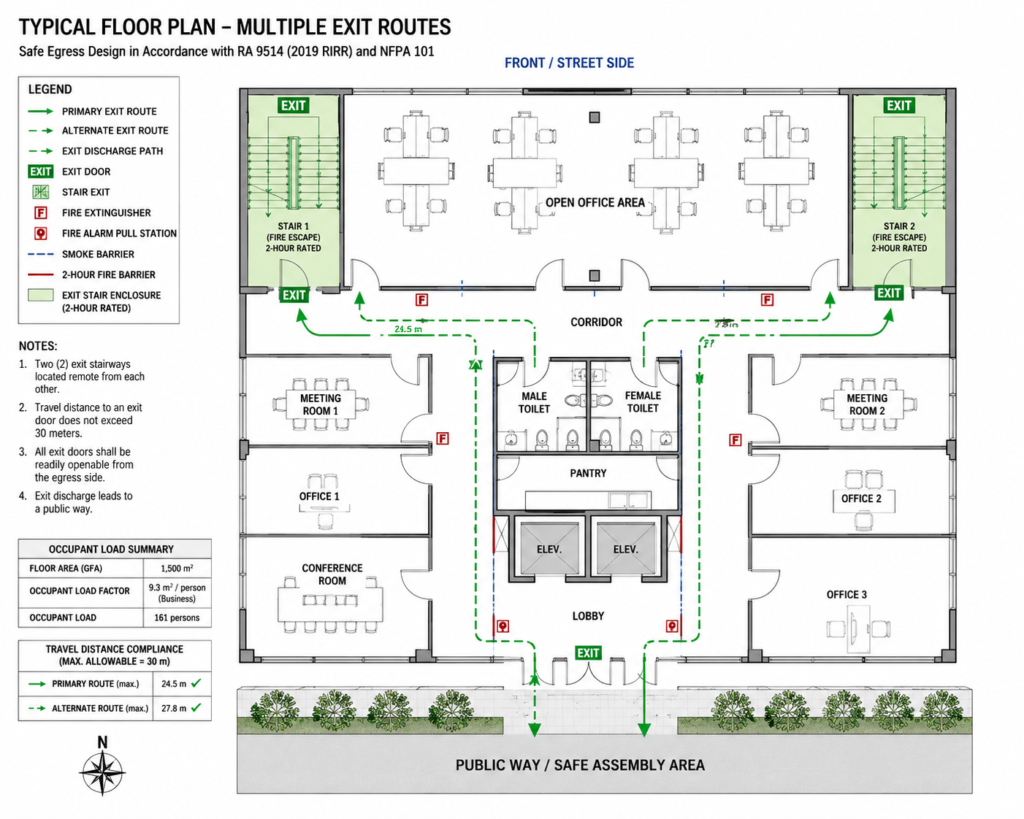
    4. Means of Egress (NFPA 101 Section 7)

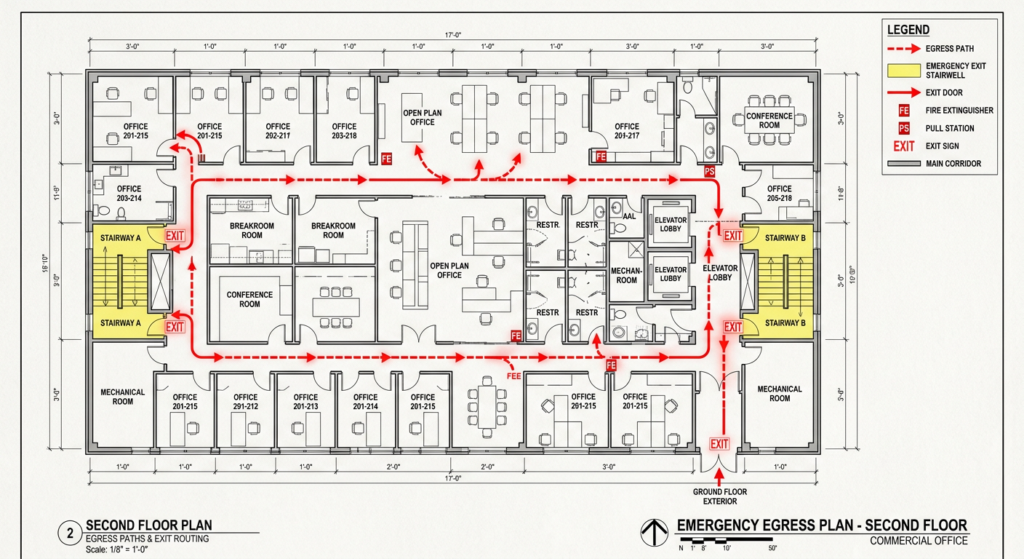
    Means of egress refers to the continuous path of travel from any point in the building to a safe outdoor area.

    The Requirement:

    • High-rises require at least two separate and remote exits [4] from each floor.
    • Exit routes must be clearly marked with illuminated exit signs.
    • Exit doors must swing in the direction of travel and be unlocked during occupancy.

    Why It Matters: In a high-rise fire, elevators are usually shut down. Stairwells become the only escape route. A blocked, locked, or poorly marked exit can be deadly.

    Compliance Tip: Conduct regular egress drills and ensure all stairwell doors are equipped with self-closing mechanisms and panic hardware.


    5. Emergency Communication Systems (NFPA 101 Section 9.12)

    High-rise buildings must have two-way emergency communication systems that allow firefighters and building management to communicate with occupants.

    The Requirement:

    • A voice alarm system that broadcasts evacuation instructions during a fire.
    • A two-way intercom system in stairwells and fire command centers for firefighter communication.
    • System must maintain secondary (battery) power for a minimum of 24 hours in standby mode, followed by at least 15 minutes of full voice-alarm operation, per NFPA 72 [5].

    Why It Matters: In a large high-rise, rumors and panic can spread faster than a fire. A clear, calm voice directing occupants to safe exits saves lives.

    Compliance Tip: Test the emergency communication system monthly and include it in your annual fire drill.


    Conclusion

    NFPA 101 is not just a set of rules—it is a life-saving framework that protects everyone who works, lives, or visits your high-rise building.

    By adhering to these 5 critical requirements, you are not only avoiding fines and legal liabilities but also creating a safe environment that attracts quality tenants and protects your investment.


    References & Notes

    [1] 2024 International Building Code (IBC), Table 601 — Fire-Resistance Rating Requirements for Building Elements; NFPA 220, Standard on Types of Building Construction.

    [2] NFPA 101, Life Safety Code, Chapter 8 — Features of Fire Protection (Compartmentation and Smoke Barriers).

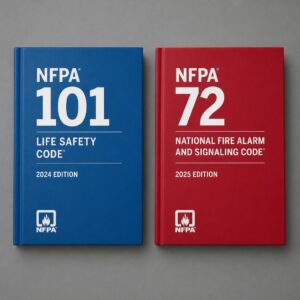
    [3] NFPA 101, Section 9.6 — Fire Detection, Alarm, and Communications Systems; NFPA 72, National Fire Alarm and Signaling Code.

    [4] NFPA 101, Chapter 7 — Means of Egress.

    [5] NFPA 72, National Fire Alarm and Signaling Code, Section 10.6.7.2 — Secondary Power Supply Capacity Requirements.

  • 7 Commercial Real Estate Photography Tips That Sell Properties Faster

    7 Commercial Real Estate Photography Tips That Sell Properties Faster

    In commercial real estate, presentation is everything. A poorly photographed property can sit on the market for months, while a well-photographed one can attract multiple offers within days.

    Professional commercial real estate photography is not just about taking pretty pictures—it is about telling a story that makes buyers and tenants imagine themselves in the space.

    Here are 7 proven tips to elevate your commercial property photography and sell faster.


    architectural photography tip Shoot During the Golden Hour

    1. Shoot During the “Golden Hour”

    The “golden hour”—the first hour after sunrise and the last hour before sunset—provides soft, warm, and flattering light. This is especially important for exterior shots.

    Why it works: Harsh midday sun creates unflattering shadows and blown-out highlights. Golden hour light makes buildings look warm, inviting, and high-end.

    Pro Tip: Plan your exterior shoots around sunrise or sunset. If you cannot, use cloudy days—they act like a giant softbox and diffuse light evenly.


    architectural photography showing context

    2. Show the Context (Not Just the Building)

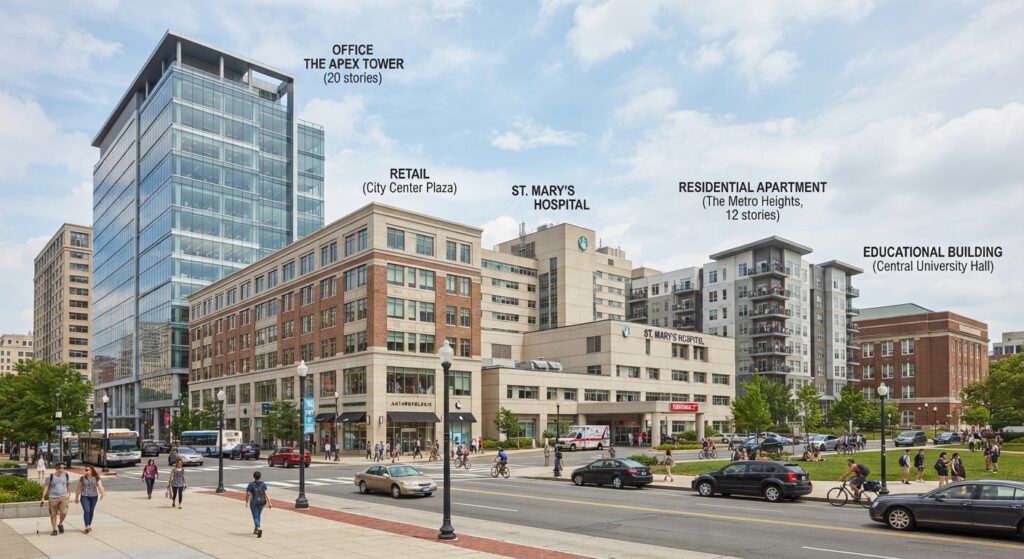
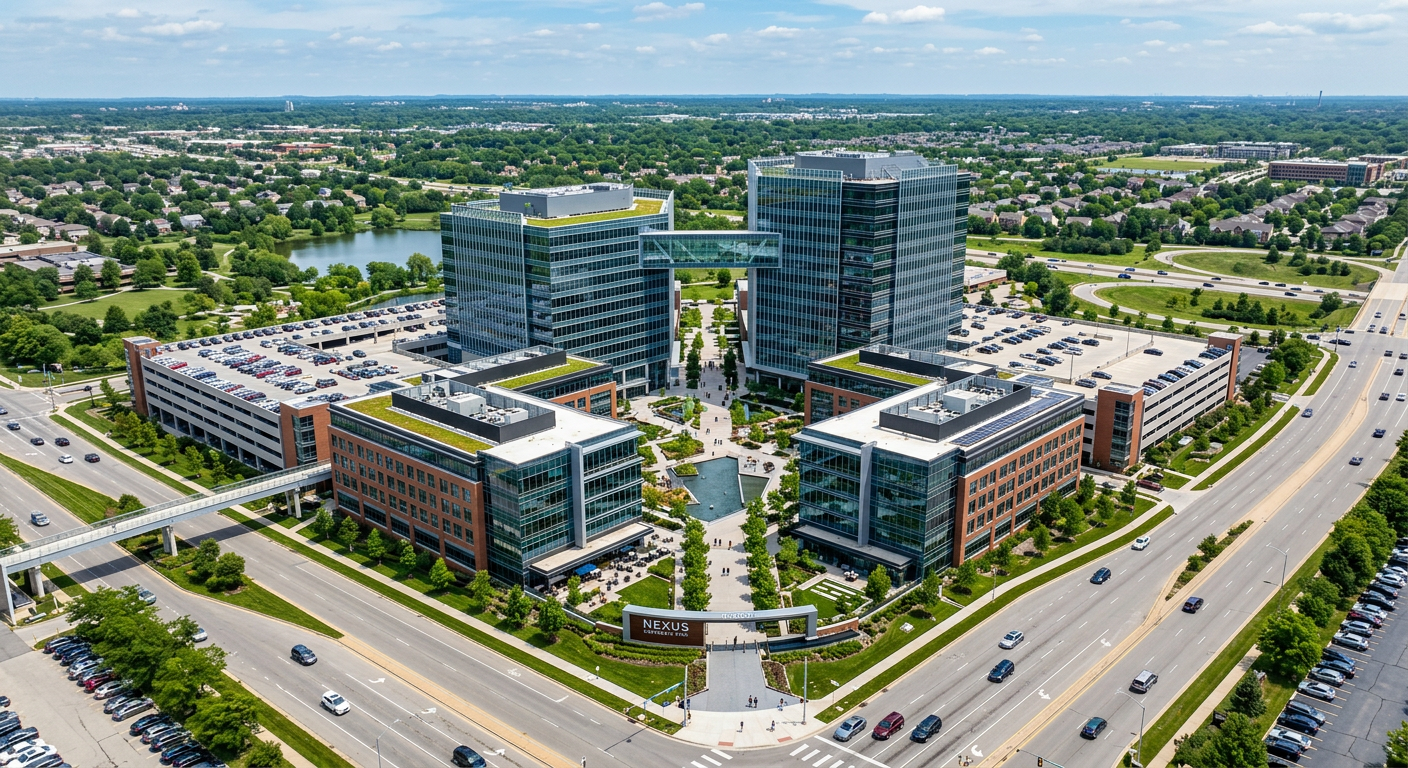
    Buyers and tenants do not just buy a building—they buy a location. Show the surrounding area to give context.

    What to capture:

    • Nearby amenities (restaurants, shops, parks).
    • Accessibility (parking lots, public transport).
    • Neighborhood vibe (foot traffic, street appeal).

    Pro Tip: Include a few wide-angle shots that show the property in its environment. This helps buyers visualize the lifestyle or business potential.


    architectural photography tips - Stage the Space Before Shooting

    3. Stage the Space Before Shooting

    Staging is not just for residential properties—it is equally important for commercial spaces. A cluttered or empty space looks unappealing.

    What to do:

    • Clear clutter from desks, counters, and floors.
    • Arrange furniture to show flow and functionality.
    • Add a few decorative items (plants, artwork, coffee table books) to create warmth.

    Pro Tip: If the space is completely empty, rent temporary furniture or use CGI (computer-generated imagery) to show how the space could look.


    4. Use a Tripod for Sharp Images

    Camera shake is the #1 enemy of professional-looking photos. A sturdy tripod ensures sharp, crisp images—especially in low-light conditions.

    Why it matters: Commercial spaces often have mixed lighting (fluorescent + natural). A tripod allows you to use slower shutter speeds without introducing blur.

    Pro Tip: Use a remote shutter release or your camera’s 2-second timer to eliminate any vibration from pressing the shutter button.


    5. Embrace HDR (High Dynamic Range) Photography

    Commercial interiors often have extreme contrast—bright windows and dark corners. A single exposure cannot capture both.

    HDR Solution: Take 3–5 bracketed exposures (underexposed, normal, overexposed) and merge them in post-processing.

    Pro Tip: Most modern cameras have an Auto Exposure Bracketing (AEB) feature. Use it to capture the full dynamic range of the scene.


    Use photography to tell a story of movement.

    6. Show the “Flow” of the Space

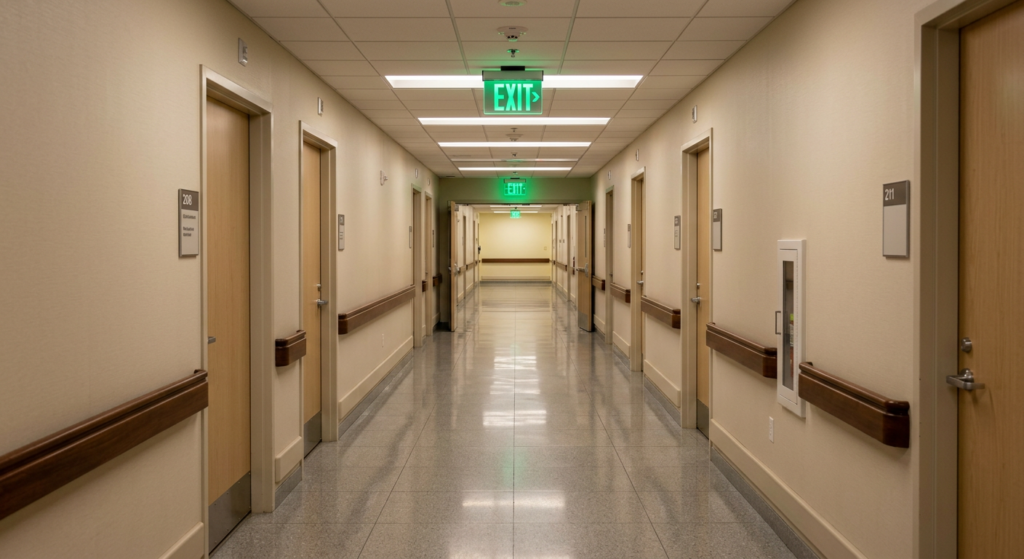
    Buyers and tenants want to understand how a space functions. Use photography to tell a story of movement.

    What to capture:

    • How someone enters the building.
    • How they move through the lobby.
    • How they transition between rooms and floors.

    Pro Tip: Include a few “pathway” shots—a hallway leading to an office, a staircase going up, a door opening to a view. This creates a sense of journey.


    7. Don’t Forget the Details

    While wide-angle shots are essential, the details are what make a property memorable.

    What to capture:

    • Unique architectural features (exposed beams, high ceilings, custom millwork).
    • High-end finishes (marble countertops, hardwood floors, modern fixtures).
    • Technological features (conference room setups, smart lighting).

    Pro Tip: A mix of wide, medium, and close-up shots creates a compelling visual narrative that keeps buyers scrolling.


    Final Thought

    Commercial real estate photography is an investment, not an expense. High-quality photos attract better tenants, command higher rents, and close deals faster.

    By implementing these 7 tips, you will dramatically improve the visual appeal of your listings and stand out in a competitive market.

  • 5 International Building Code (IBC) Requirements Most Contractors Ignore

    5 International Building Code (IBC) Requirements Most Contractors Ignore

    If you are a contractor, architect, or commercial property developer, you know that passing a building inspection is one of the most stressful parts of any project.

    Based on the International Building Code (IBC) 2024, here are the top 5 requirements that contractors routinely overlook—and fixing them before inspection can save you thousands in rework costs.


    IBC Egress Width Requirements

    1. Egress Width Requirements (IBC Section 1005)

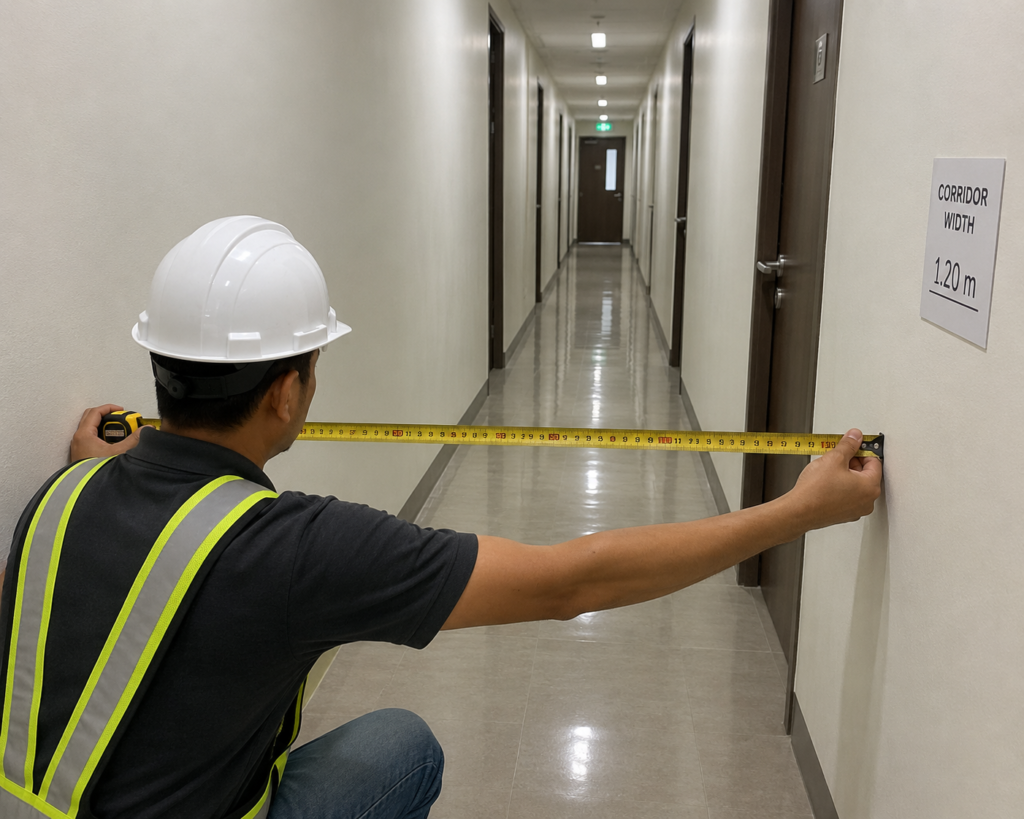
    One of the most common failures we see involves the width of exit corridors. The IBC requires a minimum clear width of 36 inches for corridors serving an occupant load of less than 50, and wider for larger capacities.

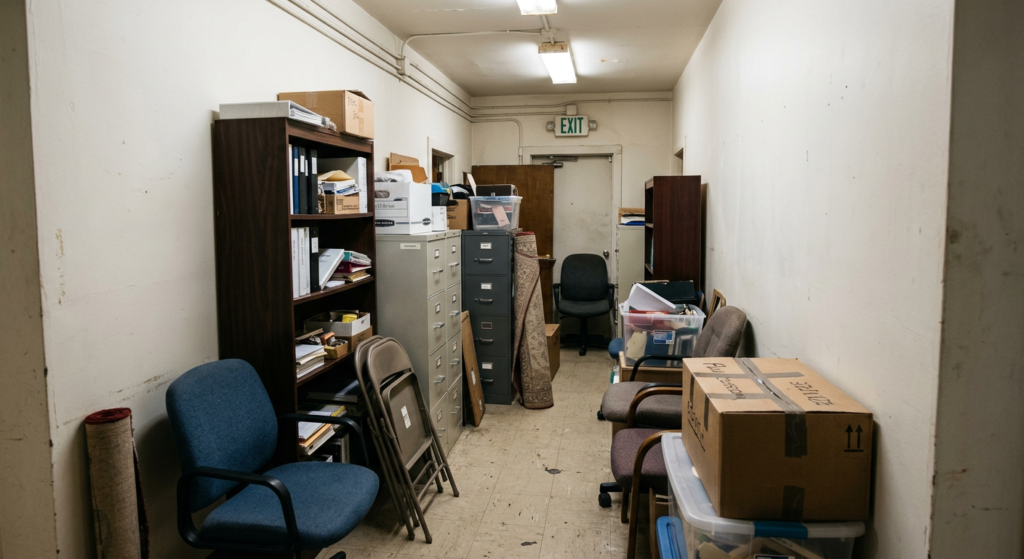
    The problem? Contractors often measure from wall-to-wall, forgetting to account for handrails, fire extinguisher cabinets, or even door swings that protrude into the path.

    Fix: Before final inspection, walk the egress path with a tape measure and ensure the “clear” width—unobstructed by anything—meets the required dimension.


    Fire-Rated Door Assembly Compliance (IBC Section 716)

    2. Fire-Rated Door Assembly Compliance (IBC Section 716)

    Fire-rated doors are critical, but many contractors make the mistake of installing a fire-rated door without the appropriate fire-rated frame and hardware.

    If the door has a 90-minute rating but the frame and hinges are standard commercial grade, the entire assembly fails. This is one of the most expensive mistakes because you have to remove and replace the entire unit.

    Fix: Purchase your door, frame, and hardware as a complete UL-listed assembly from a single manufacturer. They will provide a single certification label that inspectors want to see.


    Toilet Room Clearances (IBC Section 2902)

    3. Toilet Room Clearances (IBC Section 2902)

    The IBC requires a minimum of 24 inches of clear floor space in front of a water closet (toilet) for commercial occupancies, and a minimum of 15 inches of clear space from the centerline of the fixture to any side wall or partition — with fixtures spaced at least 30 inches center-to-center from one another [3].

    Contractors often confuse the residential clearance figures with commercial ones, or forget to account for finished wall thickness, only to discover they can’t achieve the required clearances due to thick wall finishes or oversized fixtures.

    Fix: When roughing in the plumbing, always account for the finished wall thickness (drywall + tile) and the actual dimensions of the specific toilet model. Subtract at least 2 inches from your rough-in measurements to be safe.


    Guardrail Height and Openings (IBC Section 1015)

    4. Guardrail Height and Openings (IBC Section 1015)

    For any elevated surface, mezzanine, or balcony, guardrails are mandatory. The IBC requires guardrails to be a minimum of 42 inches in height for commercial buildings.

    The overlooked part? The openings between balusters must not allow a 4-inch sphere to pass through. Contractors often space balusters at 4 inches on center, forgetting that the baluster itself is only 1.5 inches thick, leaving a 5.5-inch gap—which is a violation.

    Fix: Space your balusters at 3.5 inches on center to guarantee the 4-inch sphere rule is always satisfied, even with standard lumber.


    Accessible Parking Spaces (IBC Section 1106)

    5. Accessible Parking Spaces (IBC Section 1106)

    Even if your building is fully accessible, the parking lot is the very first thing an inspector—and the ADA—will check. For every 25 total parking spaces, at least one must be accessible and clearly marked with an access aisle.

    Contractors often pour the parking lot and stripe it, only to realize the accessible spaces are too far from the building entrance, or the access aisle is not properly sloped.

    Fix: During your site planning phase, designate the closest parking spaces to the entrance as accessible, and ensure the slope of the aisle does not exceed 2% (1/4 inch per foot).


    Final Word

    Building codes exist to protect occupants, but they also protect your bottom line. An inspection failure can cost you days or weeks of delays. By paying attention to these five often-overlooked areas, you can walk into your final inspection with confidence.

    Want more building code insights? Stay tuned for our next article on NFPA fire safety requirements for commercial interiors.


    References & Notes

    [1] 2024 International Building Code (IBC), Section 1005 — Egress Width.

    [2] 2024 IBC, Section 716 — Opening Protectives, and UL 10B/10C — Fire Tests of Door Assemblies.

    [3] 2024 IBC, Chapter 29 — Plumbing Systems; ICC A117.1, Section 604 — Water Closets and Toilet Compartments.

    [4] 2024 IBC, Section 1015 — Guards.

    [5] 2024 IBC, Section 1106 — Parking Facilities; ADA Standards for Accessible Design, Section 208.

  • 5 Architectural Design Principles That Increase Commercial Property Value

    5 Architectural Design Principles That Increase Commercial Property Value

    When it comes to commercial real estate, a building’s design is not just about aesthetics—it is about profitability.

    A well-designed building commands higher rent, attracts premium tenants, and sells for a significantly higher price than a poorly designed counterpart.

    Here are 5 architectural design principles that directly impact commercial property value.


    1. Natural Light Optimization

    Tenants are willing to pay a premium for spaces filled with natural light. Studies link daylight exposure to measurable gains in employee wellbeing and productivity, with one widely cited workplace study finding a 15% increase in reported wellbeing and creativity and a 6% increase in productivity [1].

    Architectural Strategy: Use large, energy-efficient windows, glass curtain walls, and strategically placed skylights. Designing with an open floor plan also allows light to penetrate deeper into the interior.

    ROI: Buildings with strong natural light access tend to be more attractive to tenants and can support faster lease-up times, though the effect varies by market [1].

    Natural Light

    2. Flexible Floor Plans

    Modern tenants want spaces that can adapt to their changing needs. Fixed walls and rigid layouts are becoming obsolete.

    Architectural Strategy: Design with modular interior walls, minimal structural columns, and open-span construction. This allows tenants to easily reconfigure the space for open offices, private offices, or collaborative zones.

    ROI: Flexible spaces command higher rent because they reduce tenant fit-out costs and allow quicker move-ins.


    3. Sustainable Materials and Systems

    Sustainability is no longer a “nice-to-have”—it is a requirement. LEED-certified office buildings command an average rent premium of roughly 4% over non-certified buildings, with the premium historically ranging from 4–8% depending on market conditions [2].

    Architectural Strategy: Incorporate recycled materials, low-VOC paints, energy-efficient HVAC systems, and green roofs. Even small choices, like installing energy-efficient lighting, make a difference.

    ROI: Lower utility costs for tenants and measurably higher building valuations for owners [2].

    sustainable building

    4. Inviting Entrance and Lobby

    First impressions are everything in commercial real estate. A dated or uninviting lobby can turn potential tenants away before they even tour the space.

    Architectural Strategy: Use high-quality finishes, modern lighting fixtures, and comfortable seating areas. Consider adding artwork, greenery, and clear wayfinding signage to create a welcoming atmosphere.

    ROI: Lobby renovations can improve tenant retention and first impressions, though the return depends heavily on the property and market.


    5. Accessible Design (ADA Compliance)

    Accessibility is not just a legal requirement—it is good design. Wide doorways, ramps, accessible restrooms, and clear circulation paths are essential.

    Architectural Strategy: Incorporate universal design principles from the beginning. Ensure entrances are at grade level or have well-designed ramps. Include accessible parking spots closest to the entrance.

    ROI: Accessible buildings attract a wider range of tenants and avoid costly retrofits later.

    ADA compliance

    Final Thought

    Commercial architecture is an investment, not an expense. By incorporating these five principles, property owners can create spaces that tenants love, buyers desire, and investors value.

    Want to learn more about optimizing commercial interiors? Stay tuned for our next article on building code compliance.


    References & Notes

    [1] Human Spaces, “The Global Impact of Biophilic Design in the Workplace”; Cornell University / View, Inc. daylight workplace study, 2018.

    [2] CBRE Research, “Green Is Good: The Enduring Rent Premium of LEED-Certified U.S. Office Buildings,” 2022–2023, based on analysis of 20,600 U.S. office buildings.

  • 5 NFPA Fire Safety Checklist Items Every Commercial Landlord Must Inspect Monthly

    5 NFPA Fire Safety Checklist Items Every Commercial Landlord Must Inspect Monthly

    If you own or manage a commercial property, the National Fire Protection Association (NFPA) isn’t just a suggestion—it is the law. Failing a single inspection can cost you thousands in fines and void your property insurance.

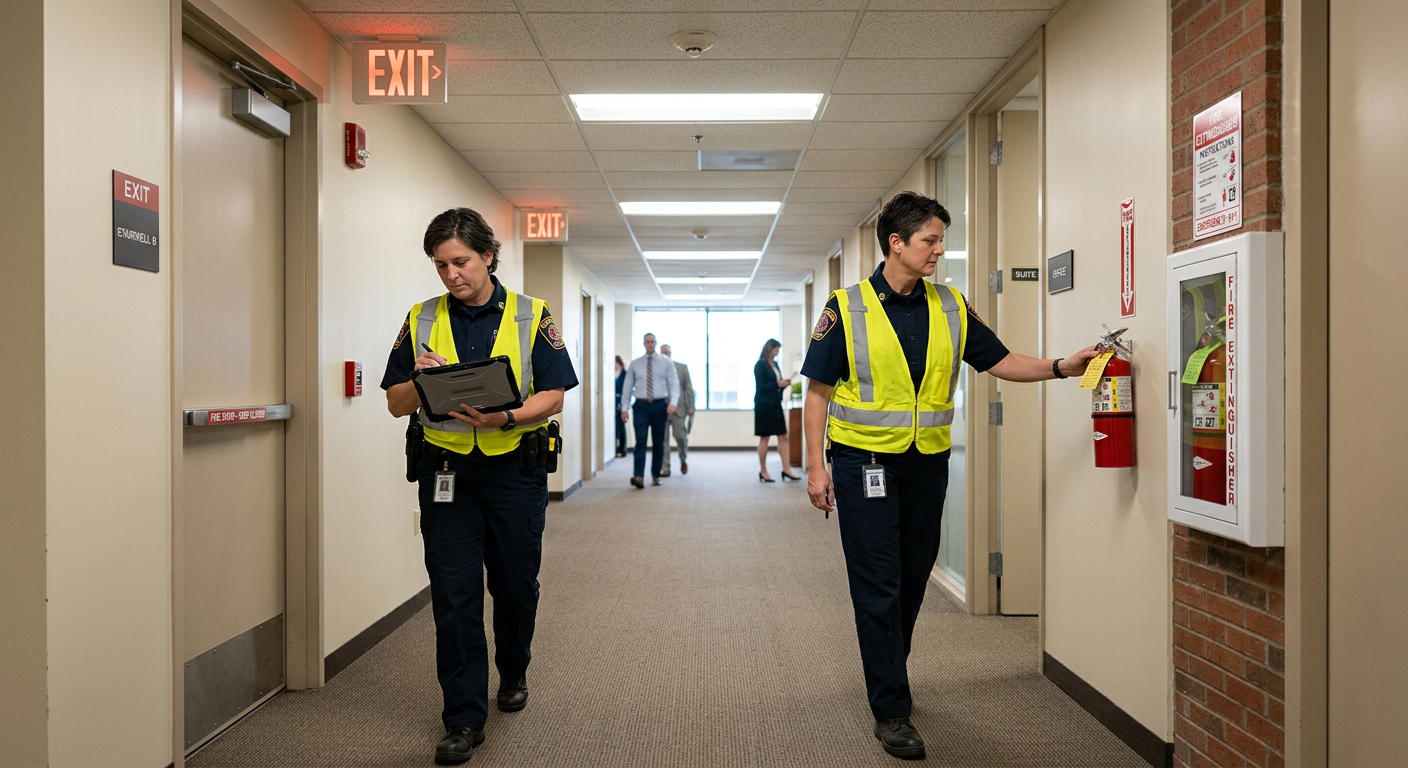
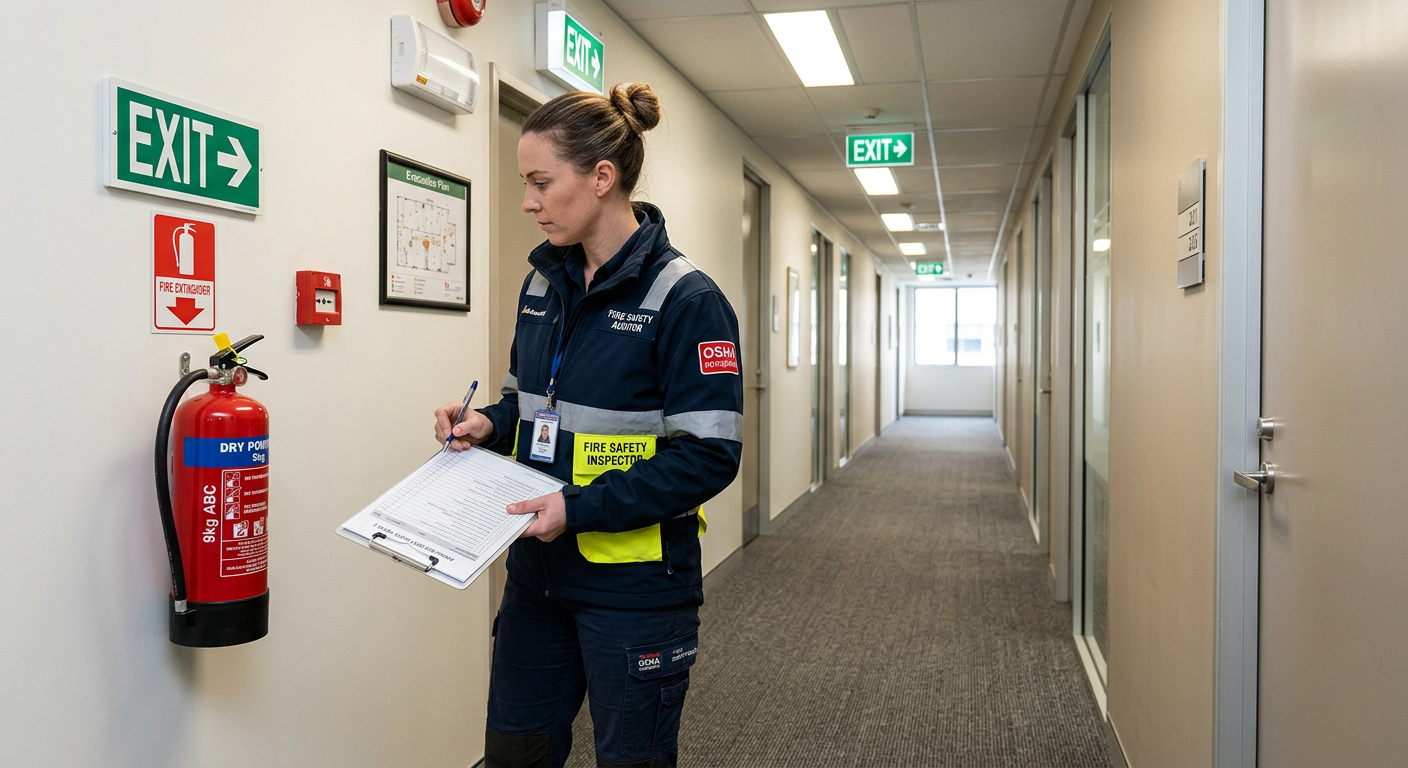
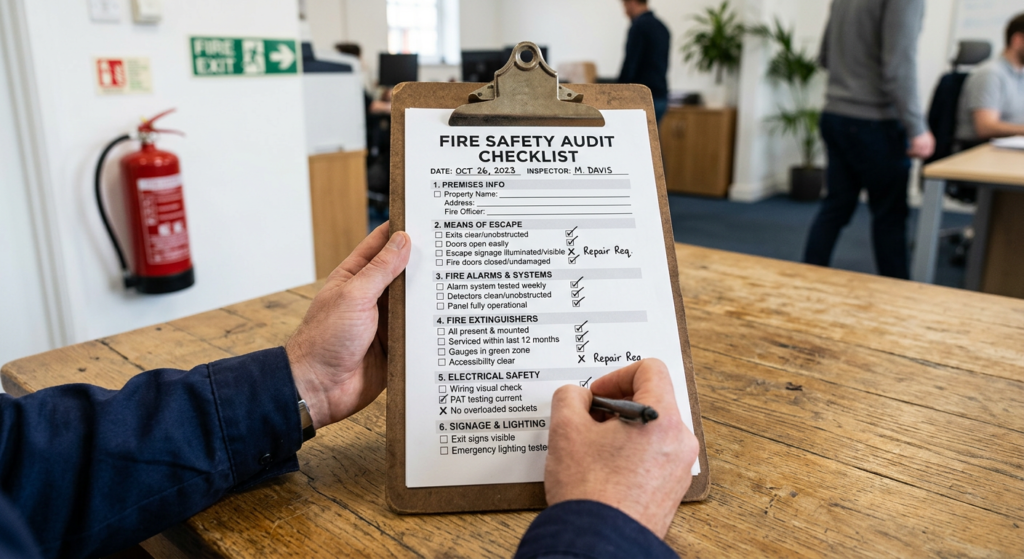
    Based on the latest NFPA 101 Life Safety Code, here are the 5 non-negotiable items you must visually inspect every single month:


    1. Emergency Exit Signage (NFPA 101 Section 7.10)

    Are your exit signs visibly illuminated for at least 90 minutes during a power outage [1]. Walk your entire building today. If even one bulb is flickering, replace it immediately. Tenants need to see the path of egress clearly in a smoke-filled room.

    Emergency Exit Signage NFPA 101 Section 7.10

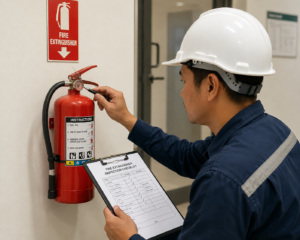
    2. Fire Extinguisher Accessibility (NFPA 10)

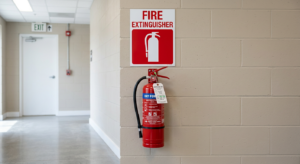
    Your extinguishers must be mounted with the handle no more than 3.5 feet from the floor. More importantly, they must be within 75 feet of travel distance from any point in the building [2]. Check the pressure gauge—if the needle is in the “red” zone, get it recharged this week.

    Fire Extinguisher Accessibility NFPA 10

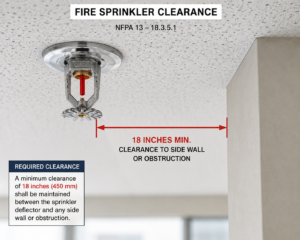
    3. Sprinkler Head Clearance (NFPA 13)

    This is the #1 violation we see. You must maintain an 18-inch clear space below all sprinkler heads [3]. If your tenants have stacked boxes, storage, or furniture up to the ceiling, they are blocking the water spray pattern. Send a memo to all tenants today to clear that space.

    Sprinkler Head Clearance NFPA 13

    4. Extension Cord Prohibition (NFPA 1)

    Temporary extension cords are strictly prohibited as a substitute for permanent wiring [4]. If you see power strips daisy-chained together in an office, that is an immediate fire hazard and a direct NFPA violation. Demand they unplug it and call an electrician.


    5. Fire Drill Logs (NFPA 101)

    Do you have a written record of your last fire drill? For office buildings, you must conduct and log an evacuation drill at least once a year [5]. If you cannot produce this log to the fire marshal, you will receive a citation on the spot.


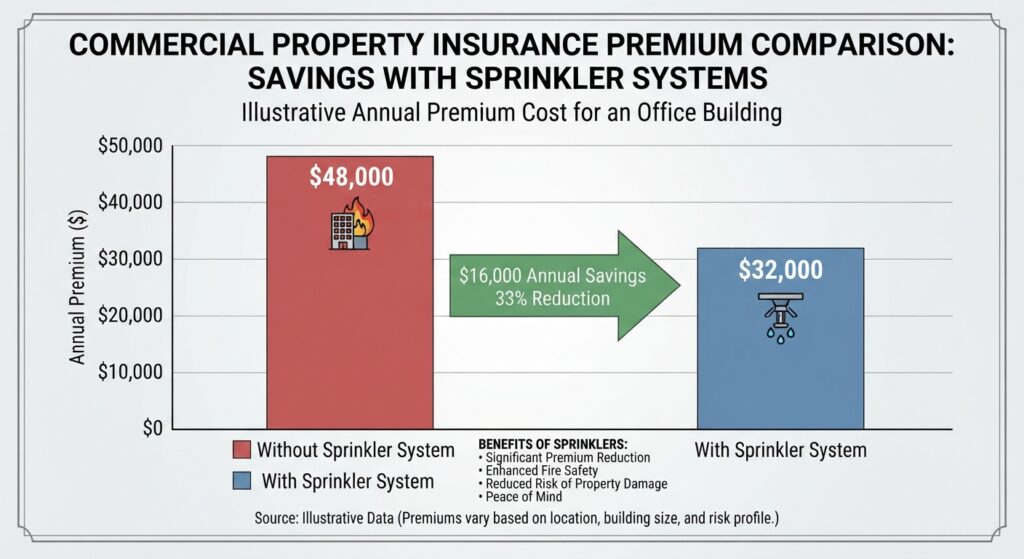
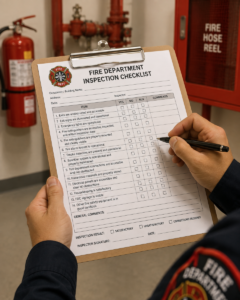
    Your Action Step Today: Walk your building with this checklist and take photos of any violations. Not only does this protect your tenants, but it can also help lower your commercial insurance premium.


    References & Notes

    [1] NFPA 101, Life Safety Code, Section 7.10 — Means of Egress Marking (Emergency Illumination).

    [2] NFPA 10, Standard for Portable Fire Extinguishers.

    [3] NFPA 13, Standard for the Installation of Sprinkler Systems.

    [4] NFPA 1, Fire Code — Temporary Wiring and Extension Cord Use.

    [5] NFPA 101, Life Safety Code — Emergency Egress and Relocation Drills.